The nature of paint prep work appears to be that for every task completed, 1.6 tasks replace it. At some point, ya gotta say "enough" and get some color on the thing.
Before reaching that point....


The step fric stuff came off pretty easily, though not quite as easily as this picture might have you believe. We found new ones just like them at Home Depot, so we'll be able to put some back.


Sadly, I can't count under the influence of Bondo fumes.

Gabby stained the wood that will go over the openings left by the removal of all that expanded metal.

She also repainted the engine with a plain silver. The other stuff was just too blue.


The inside of the fenders got a coat of cheap black enamel that was sitting around in the garage.


The fenders got a coat of primer. There are two rear fenders. It pretty much take a full rattle can of primer for the two. I think we've been through at least 5 cans of primer.
I neglected to take pictures of it, but the old shifter shaft was spliced with a piece of 1/2" EMT and two 1/4 x 20 bolts. I was able to get it settle down by cranking the bolts down, but the way it was put together, it just wasn't stable.
In the interest of spending the least time one it, but still fixing it, I took it apart, wire brushed all the galvanizing off the splicer bit and worked the original VW parts back into round. I put the bolts through the holes, just as temporary pins, and clamped the assembly to the inside of a big piece of angle iron to keep it all straight. Did a couple of tack welds then welded both ends all the way around. I dressed the welds with the grinder, a file and the wire wheel and it's ready to install.

So we could paint the sides unimpeded, we pulled the wheels off. The big square notch was added, apparently to allow clearance for the brake caliper.
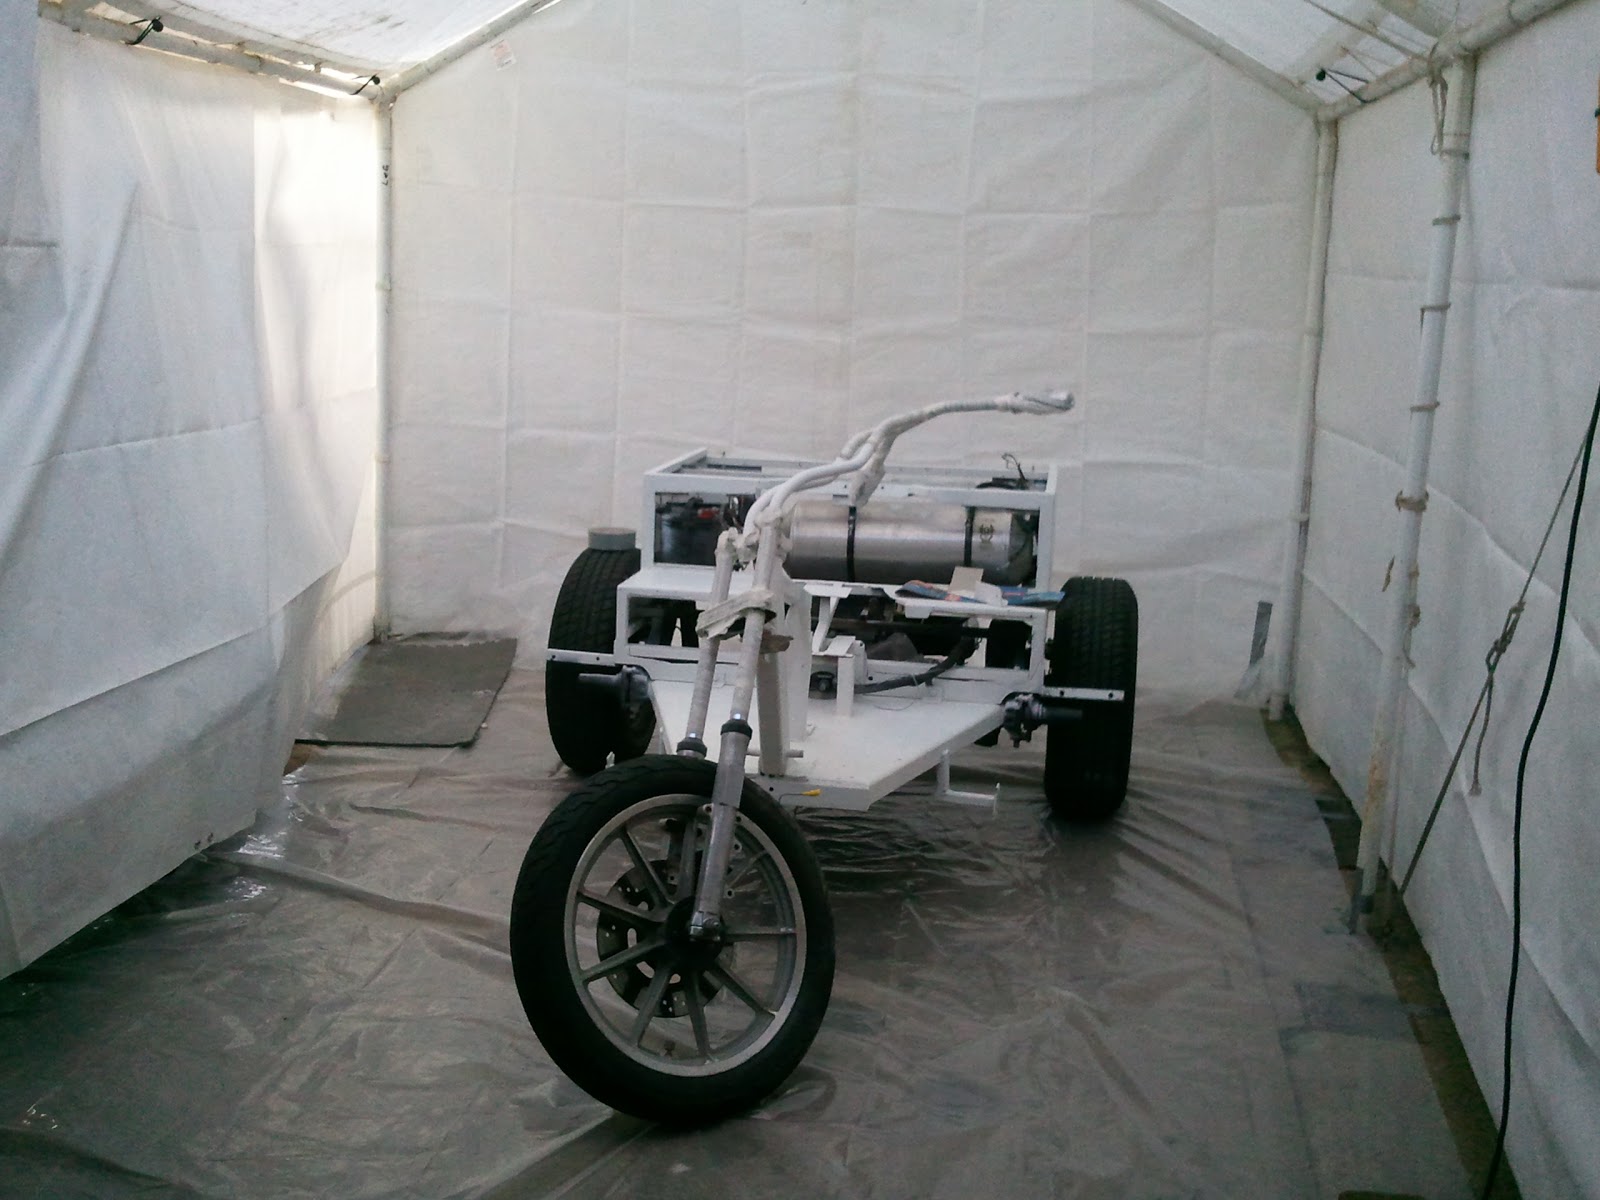

Finally.... There's color on the trike!

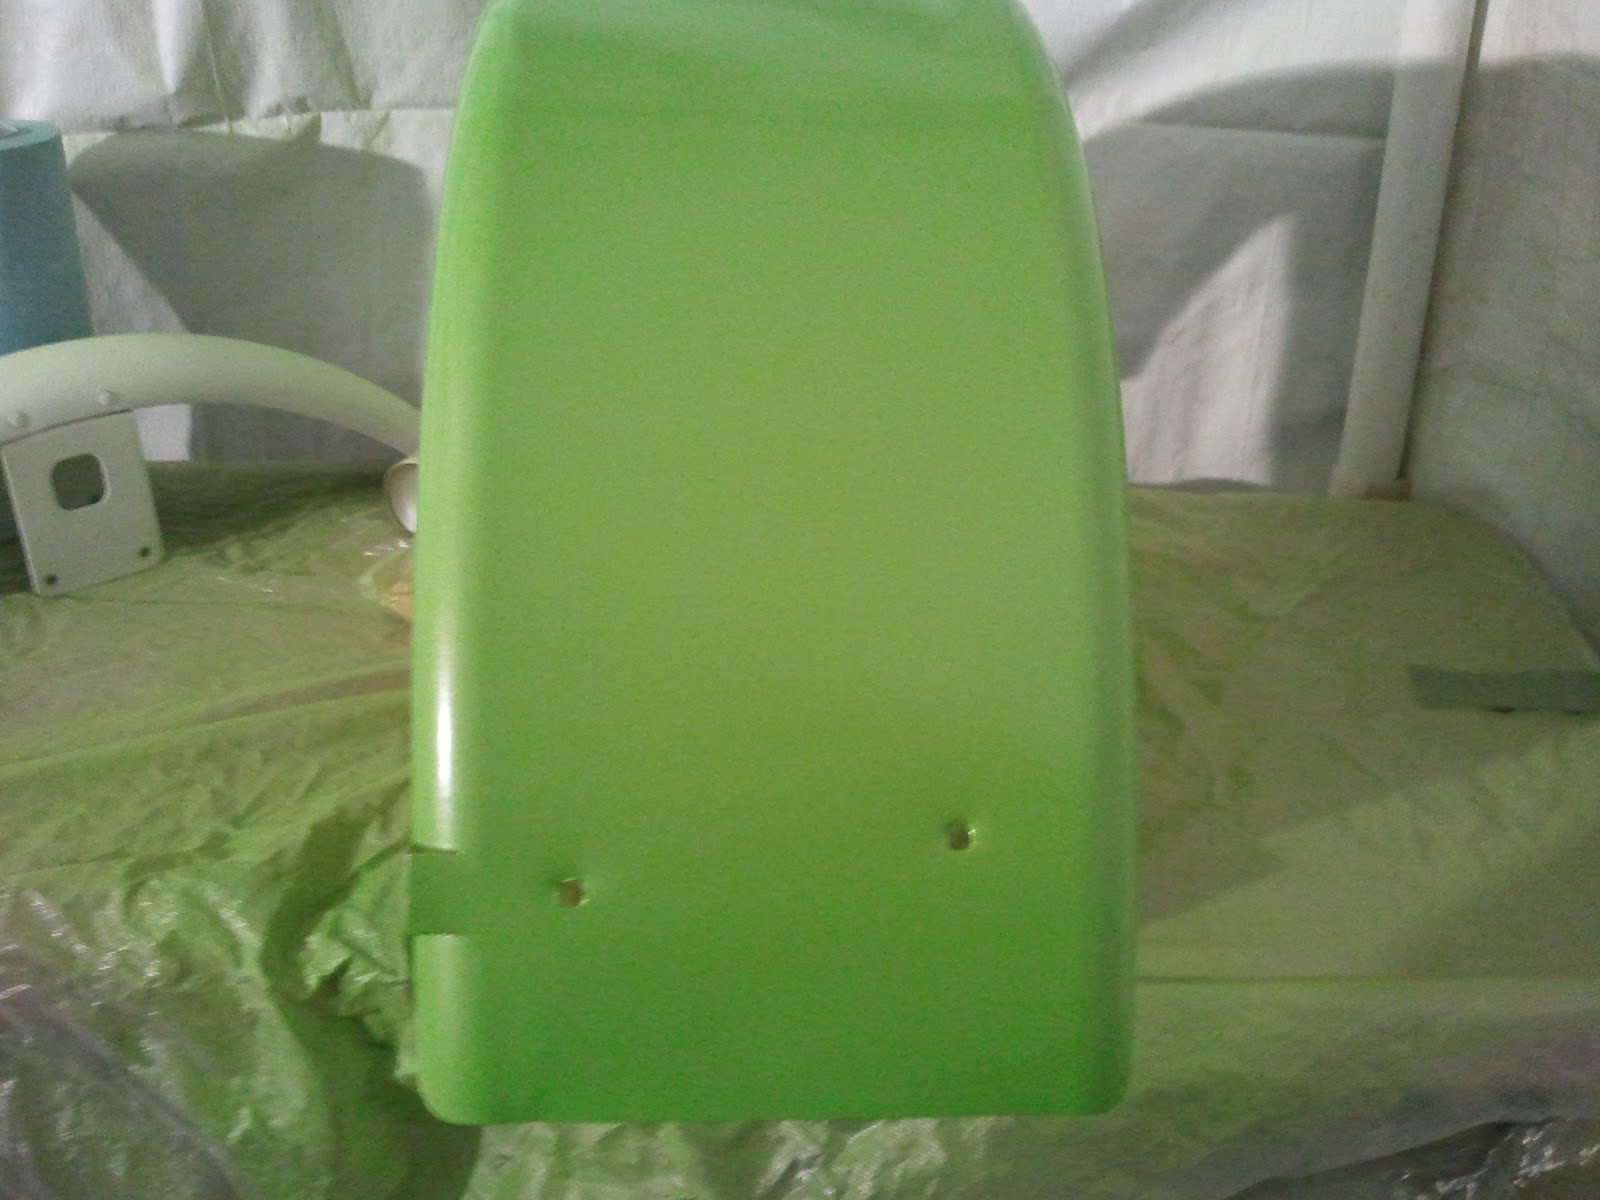

What's left to paint is the other fenders, the trunk, the deck lids, the "tank" dashboard thing, the bumper, the cooling tins and a few miscellaneous small parts.
Oh, and assembling it. It's pretty much dismantled at this point.
No comments:
Post a Comment