Sunday, June 20, 2010

Vacation, With Moderate Drama

Short version: Went on vacation; discovered an old problem that I made for myself; no broken bones, bloodletting or other trauma.

My most lovely and cool wife was on a road trip for work week before last. While she was gone, it was my plan (plan: n. a specific project or definite purpose that will not go as intended) to get the dragon back on the road, but it was just too freakin' hot to enjoy working outdoors enough to get off my duff an do it.


Trikes did well with two exceptions.

We had minor electrical trauma on the Harley. It was a goofy symptom. It would cut out momentarily at not quite random times. We first blamed it on bad gas from a Valero station in Hico, TX. After multiple refills, often with Seafoam added, it was still doing it. It would get bad sometimes and not do it at all others.

I finally decided it was more like a loss of spark than a fuel issue and it occurred to me that the alarm immobilizes the bike by interrupting the coil. We tolerated it for another day because I didn't want to risk tearing into mostly working wiring and making something *really* break.

We were in Pedernales Falls SP, under a bit of shade, with the seat off the bike. I dug in, found the two connections, saw that I had used crimp connectors and gave them a tug. They came loose with very little effort. I know better and have been bitten by crimp connectors before, but at the time I was putting in the alarm, I'm sure I justified using crimp connectors "just this once".

So, I soldered those two connections and checked the starter lockout connectors, which are also crimped, but crimped better. Gilbert ran great the rest of the day and all the way home today.

The other exception was really the escalation of another known issue. The yellow trike has air shocks. It seems to only want to handle correctly with them fully inflated, to 100 PSI. Trouble was, they would leak down over a couple of days. More trouble now because they leak down in a few hours. I pretty much top them off at every stop, if it's been a little while since the last top off.

At least I can top them off with a portable air compressor. Almost none of the air hoses out there will inflate over about 70 PSI, and most are more like 50 PSI.

Monday, June 7, 2010

Transaxle Procured

After work on Friday, I picked up the replacement transaxle. From the part number, it appears as though it may be a 1971 or later model 12 volt transaxle, rather than, as it was advertised, a 1963 converted 6 volt. Yea me!

I had a busy weekend otherwise, so I didn't get to install it. I moved it around a few times, but that was it. Chances look pretty good for getting some work done on it weekday evenings this week.

Wednesday, June 2, 2010

Big Update, Continued

Sorry these updates are taking so long. Here it is Wednesday and I'm just now writing about last weekend...

Saturday morning, later than hoped but earlier than expected, we headed for 
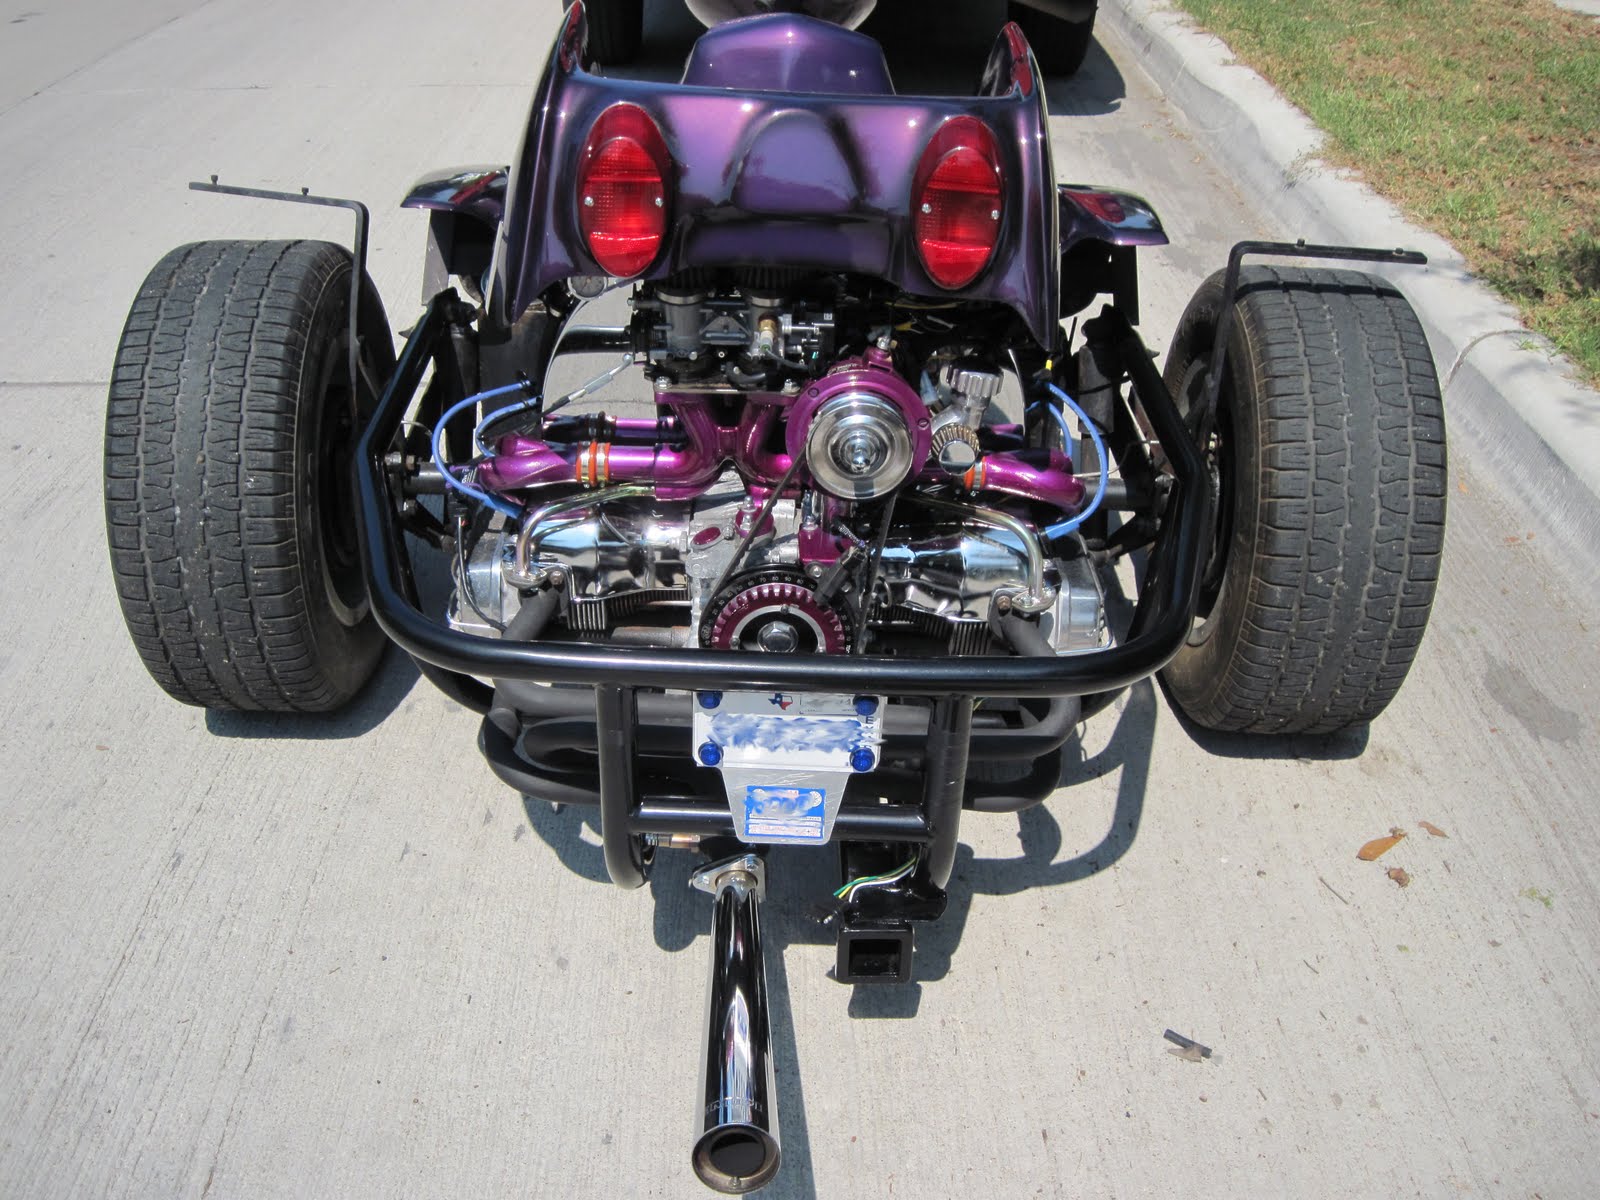
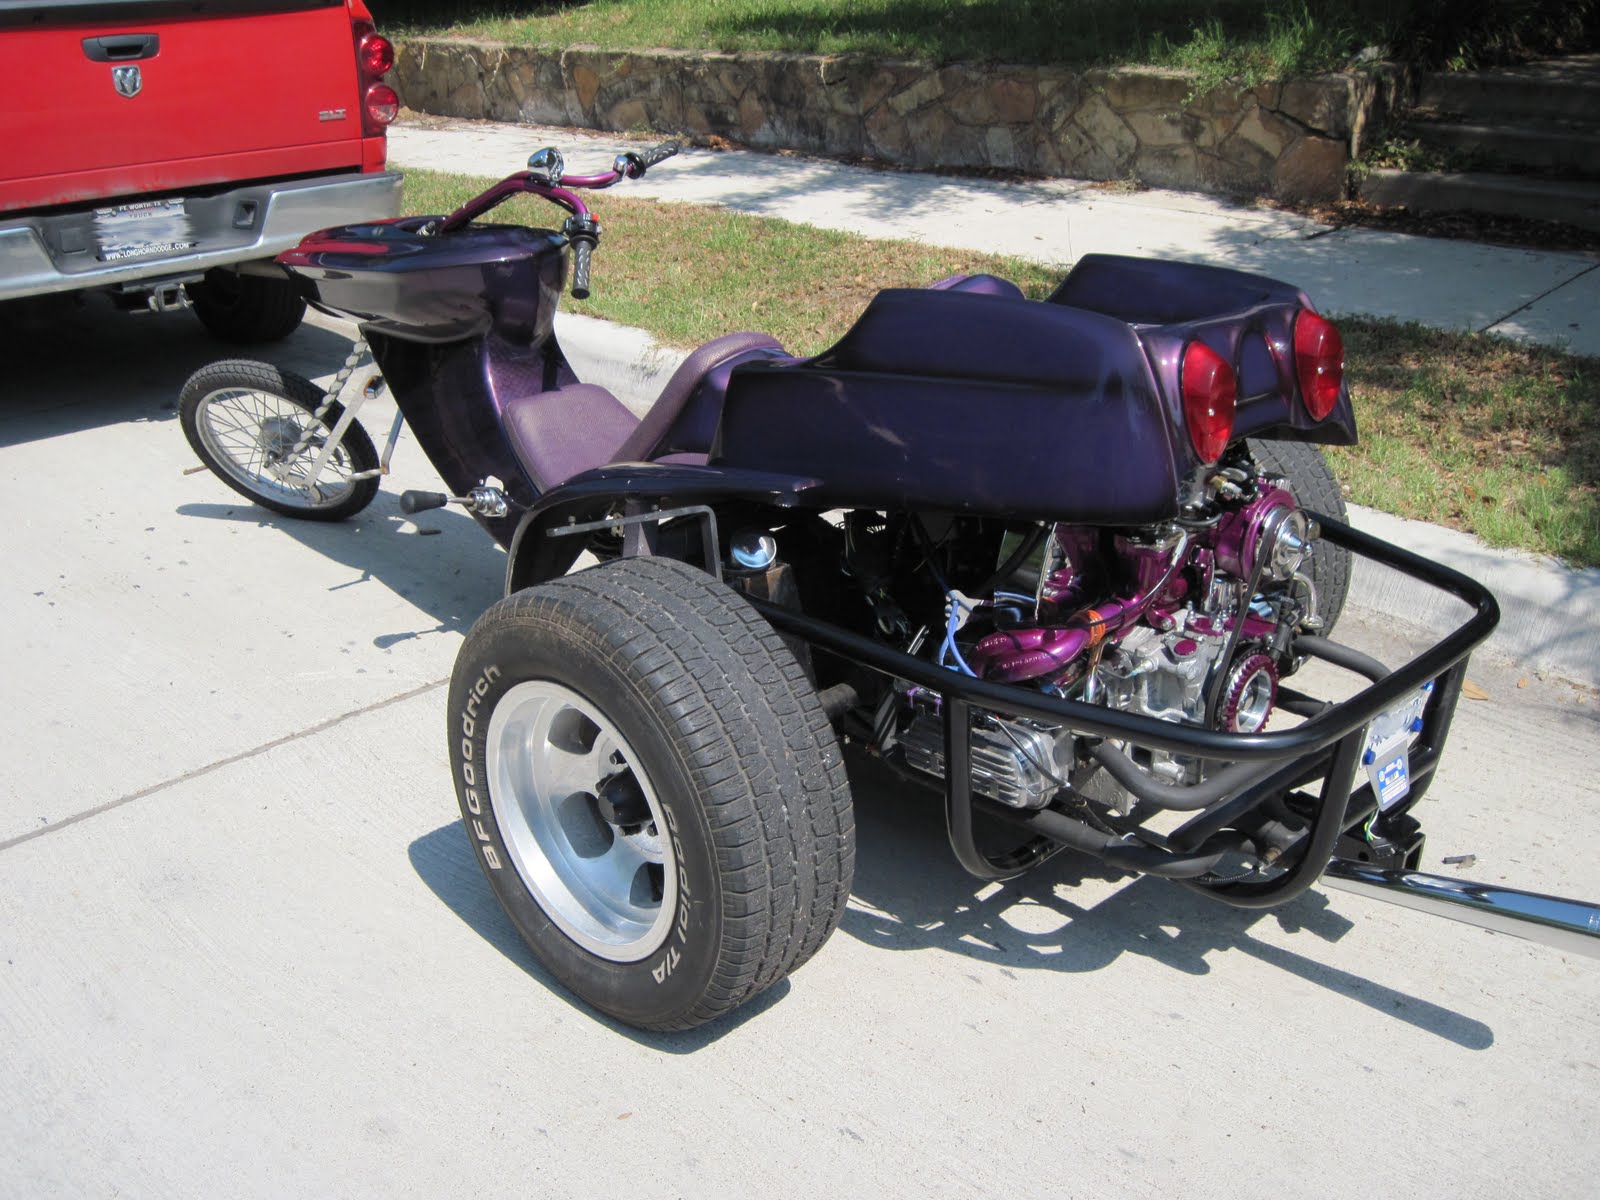
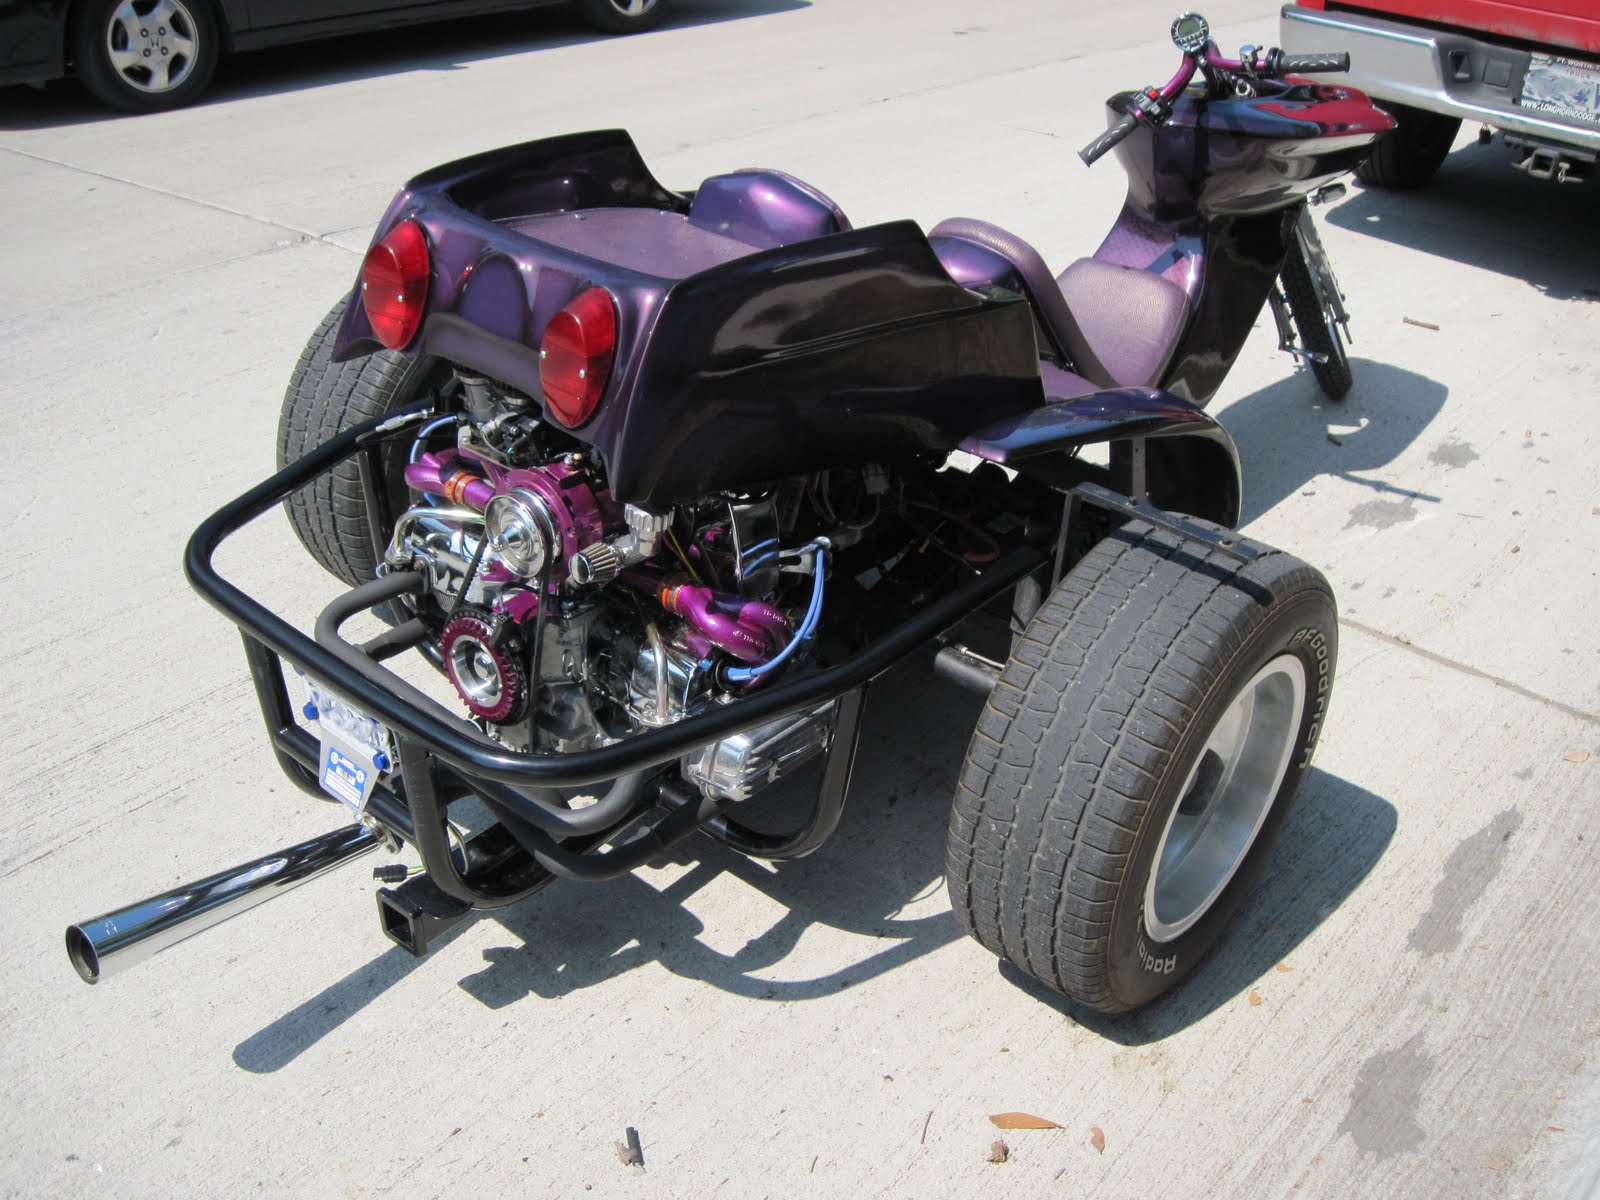
Star Of The River. The trike sits low to the ground and the bumper and trailer hitch are the lowest point when the front wheel is on the stinger, a hitch made to carry the front wheel of a trike so that the trike can be towed like a trailer. Sitting still, it was only an inch or so off the ground. Every bump, intersection or driveway forced hard contact between the hitch and the ground. Mere blocks from home, the reinforcing ring around the receiver had been knocked loose, held now only by the top edge. *My* welds attaching the hitch to the bumper held. The Chinese welds on the hitch did not. One point for the home team.

The dirt roads leading into the site were often sand, but usually crushed stone, about 2" chunks. The tire ruts meant that the higher center of the road spent maybe 60-70% of the time in contact with the hitch. There was not much to be done about it.

Everyone liked the trike; though some questioned why I would make it so complex, put so much *stuff* on it to fail. Shrug. Hey, it's my hobby. How do you expect to have road stories if your trike runs 100% of the time?!?!

So, on Saturday and Sunday, I was able to putt around the campsite a little, gave a couple of rides. I was careful to park where I could pull forward to leave as often as possible, for reverse was unobtainable. Third seemed the best bet in most instances.

Due to the condition of the roads, I took it all the way up past the bad stuff, nearly to the highway and parked it there. Gabby took me back down to the truck, where we finished up our packing, then headed out, me on Sponge Bob Square Trike. We stopped at the gate, loaded the Dragon on the stinger and headed for home.

Monday afternoon, after Gabby went to work (no such thing as a holiday there), I tore into reworking the shifter.

My original plan was to cut off the old shifter hanger and replace it with a new one I picked up long ago, then reinstall the shaft with new bushings.


I even got so far as to repair the cuts before two things stopped me.

First, I actually would need two shifter hangers because the builders put in two in a row to proper support the shaft before the first U-joint. Second, the U-joints they used, even if I dressed the welds down, would not fit through the bushings.


 I decided instead to install the shaft and tighten the rings down to eliminate the clearance.

Yes, this makes it a metal on metal sliding contact and it won't last forever, no matter how well I remember to maintain it.

Still, and I'm sure anyone would agree, that it is WAY better than the way it was.


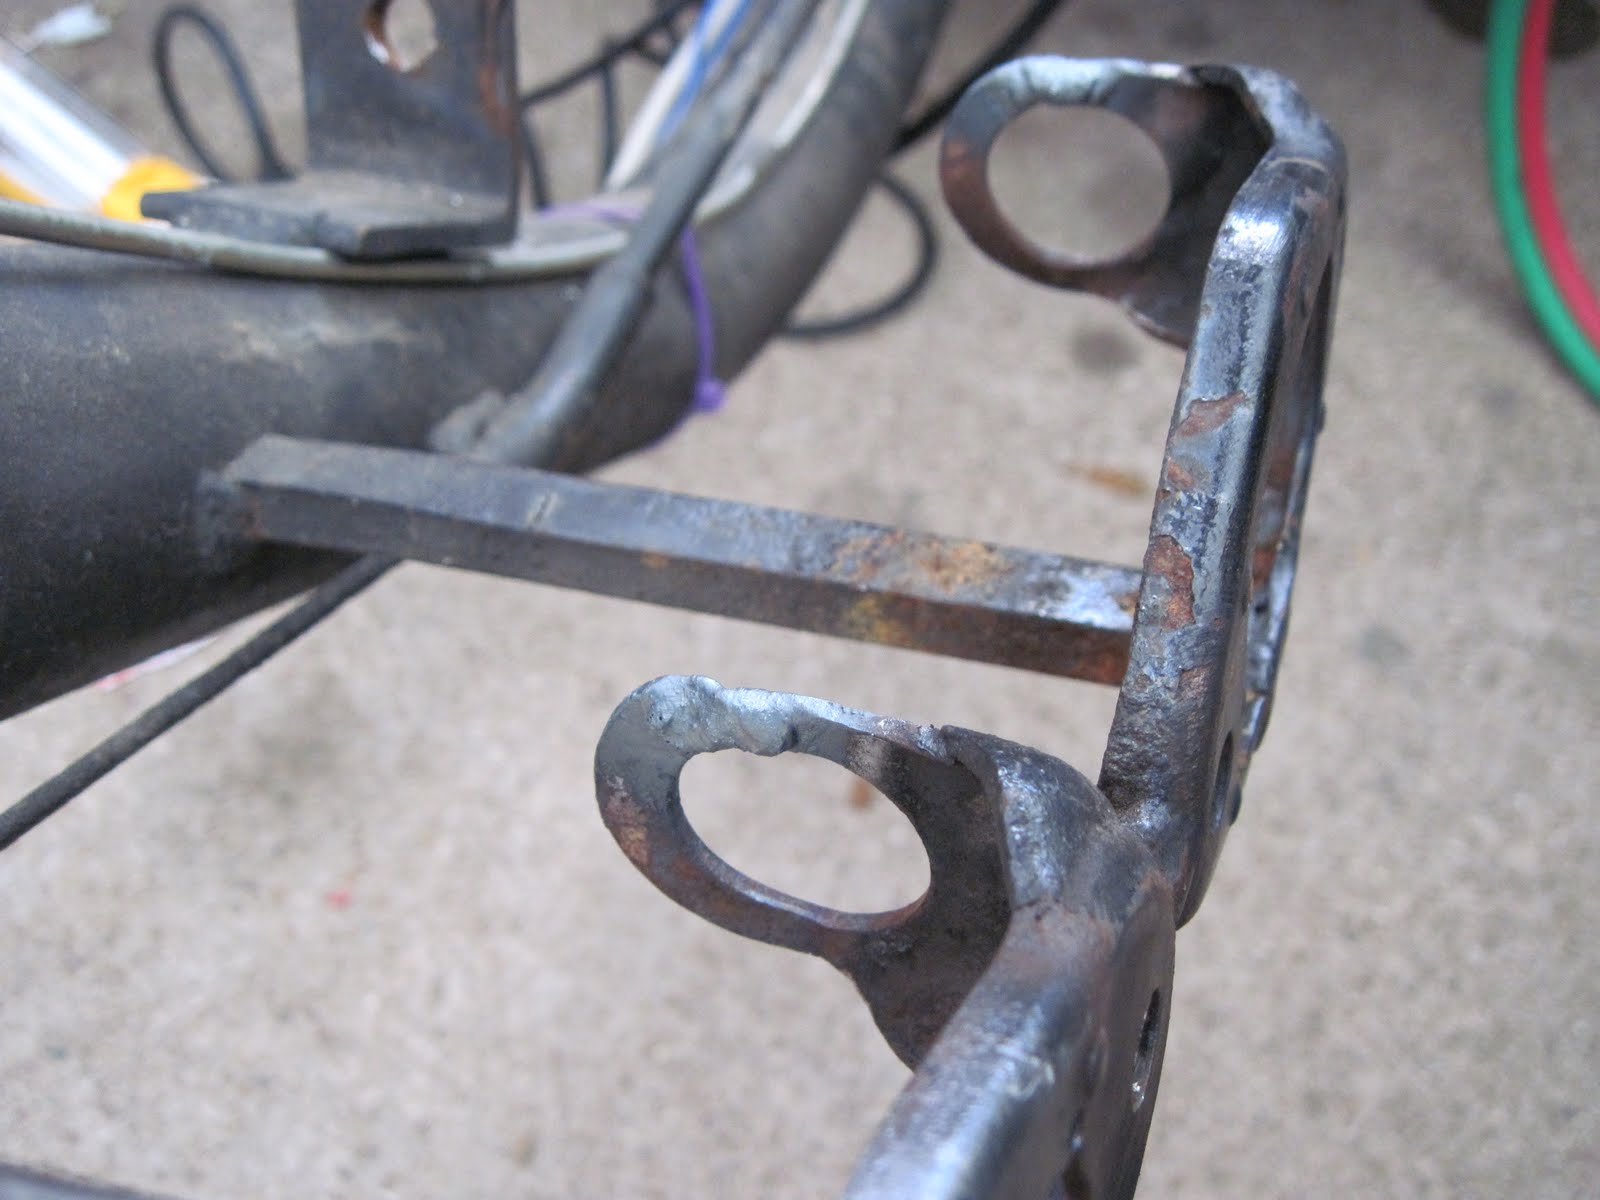
Another shifting problem is the tendancy of the shifter assembly to flex on it's single supporting rod, so I added a piece of quarter inch round rod as a brace. I then found that it would then flex in only one axis, so I added another to lock it in three dimensions.

As an aside, I have decided that I definitely prefer gas welding over wire welding. There's no spatter and very little residue, unless you didn't clean the metal well before you started. The puddle is easier to control, for me anyway.


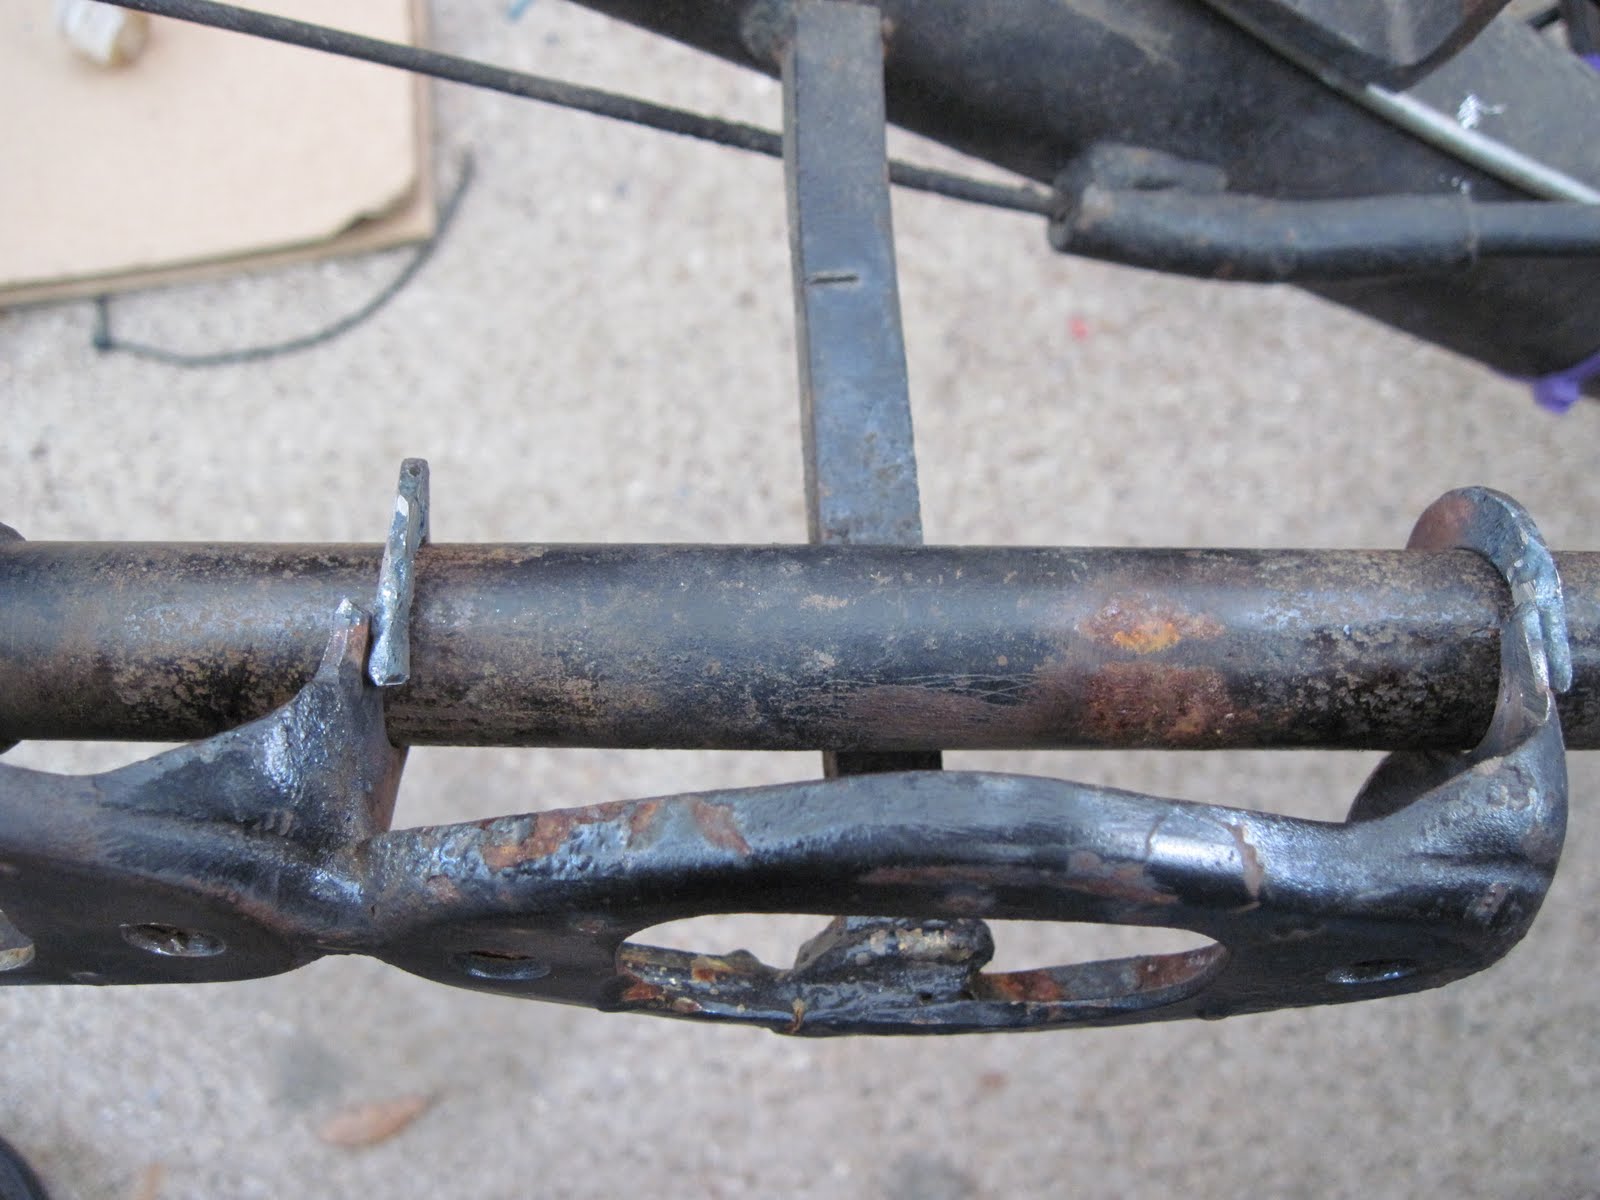
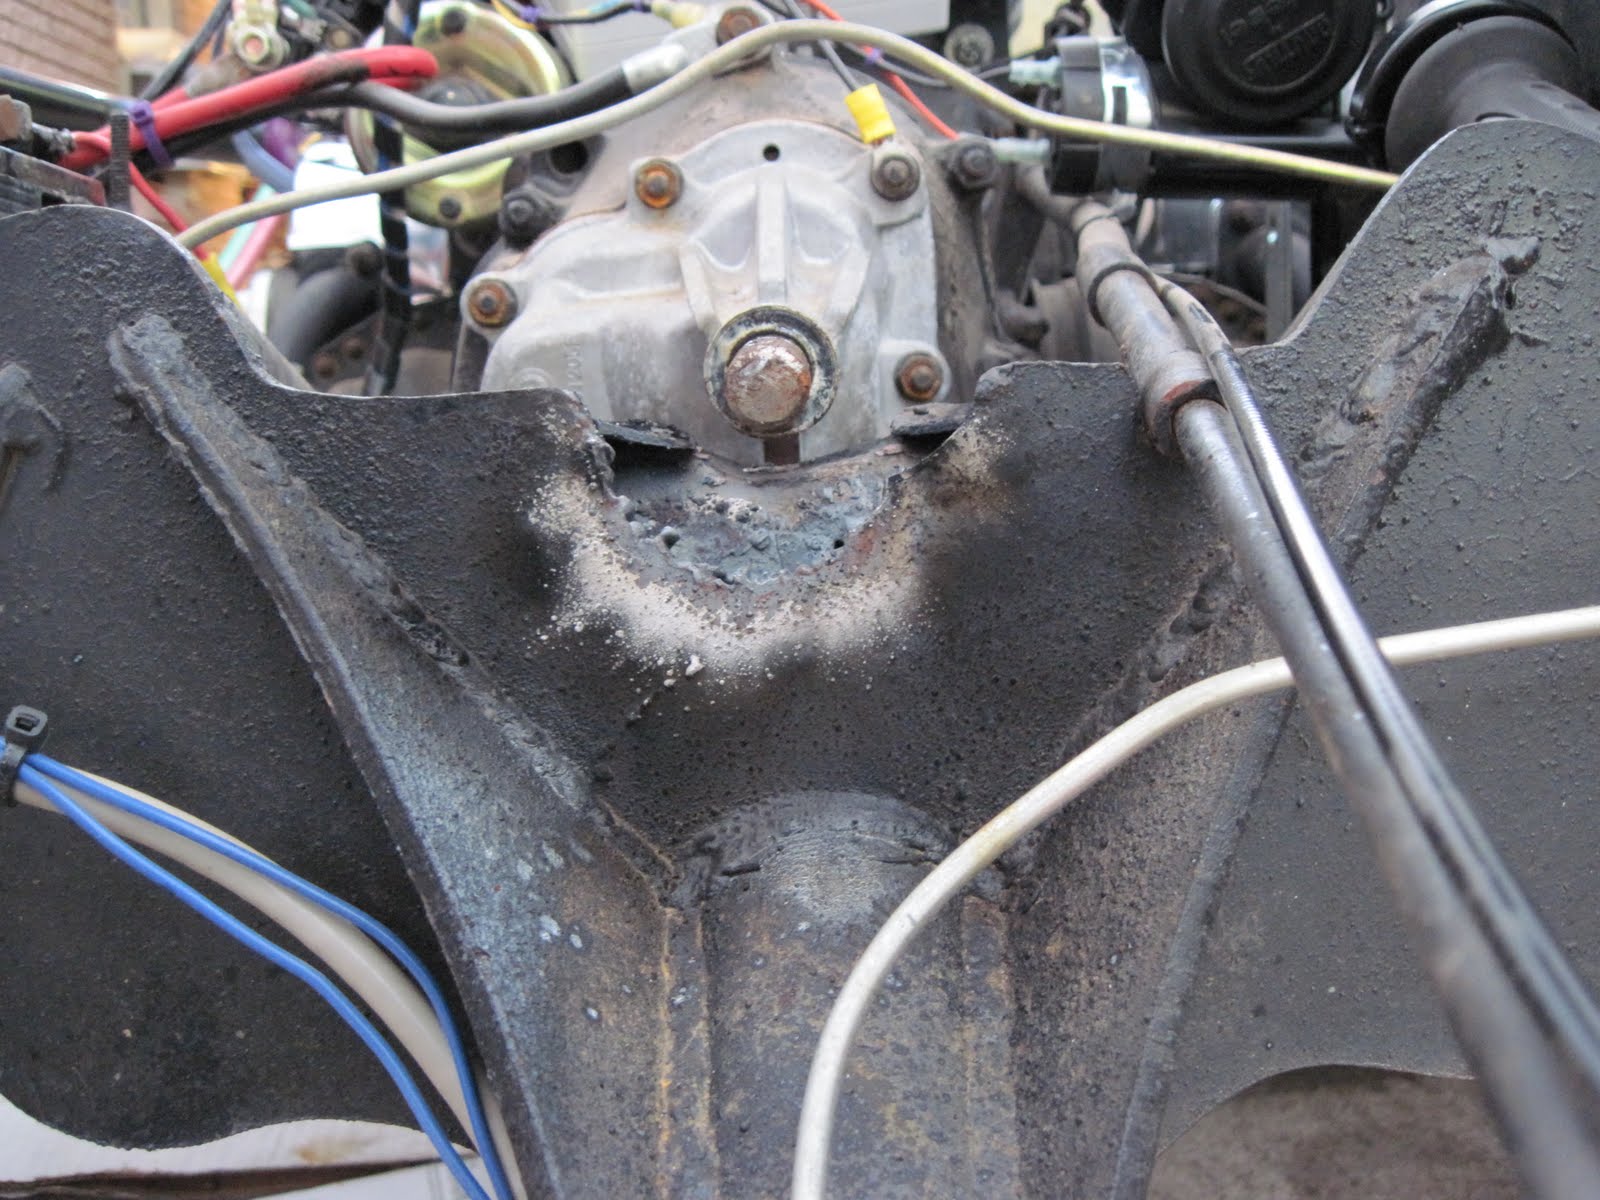
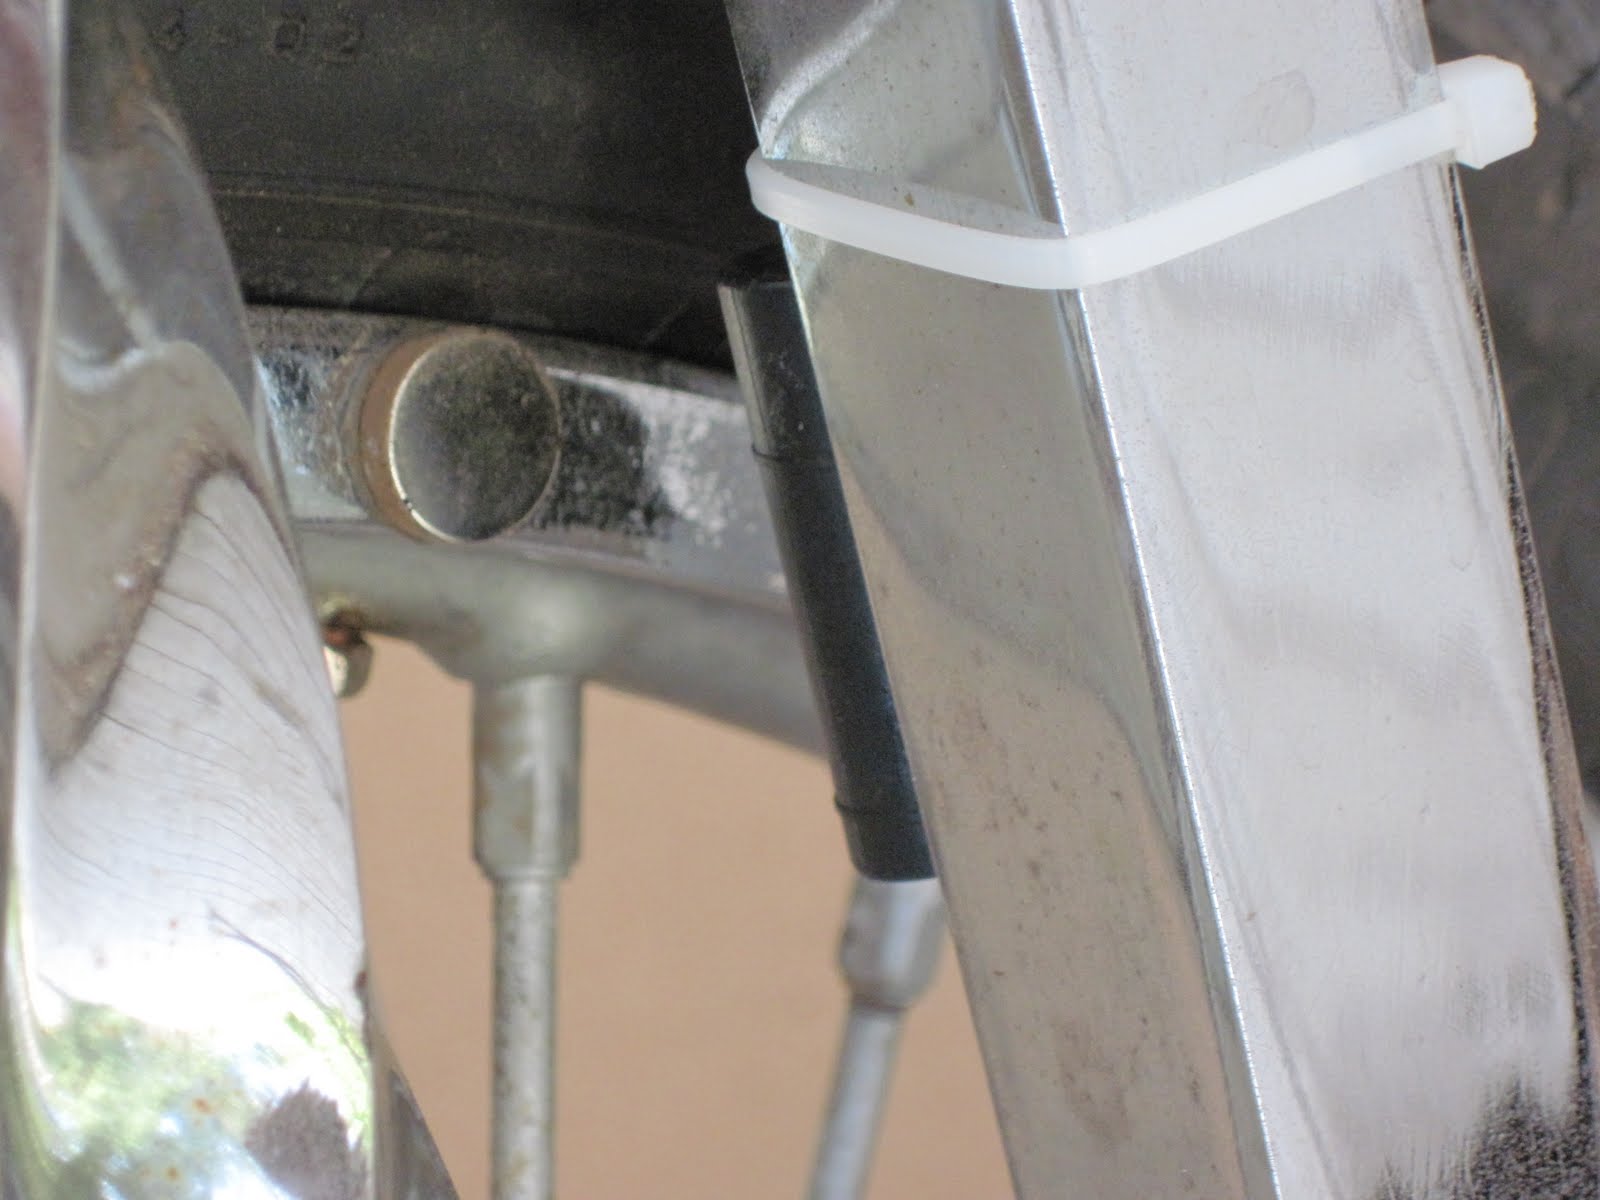
Even after these mods, it was still hard to reach 1st and 3rd. I found that there was some previously unnoticed interference between the frame and the coupler on the shaft going in the nose of the transaxle.

This is the clearance before I cut away a little more of the plate.


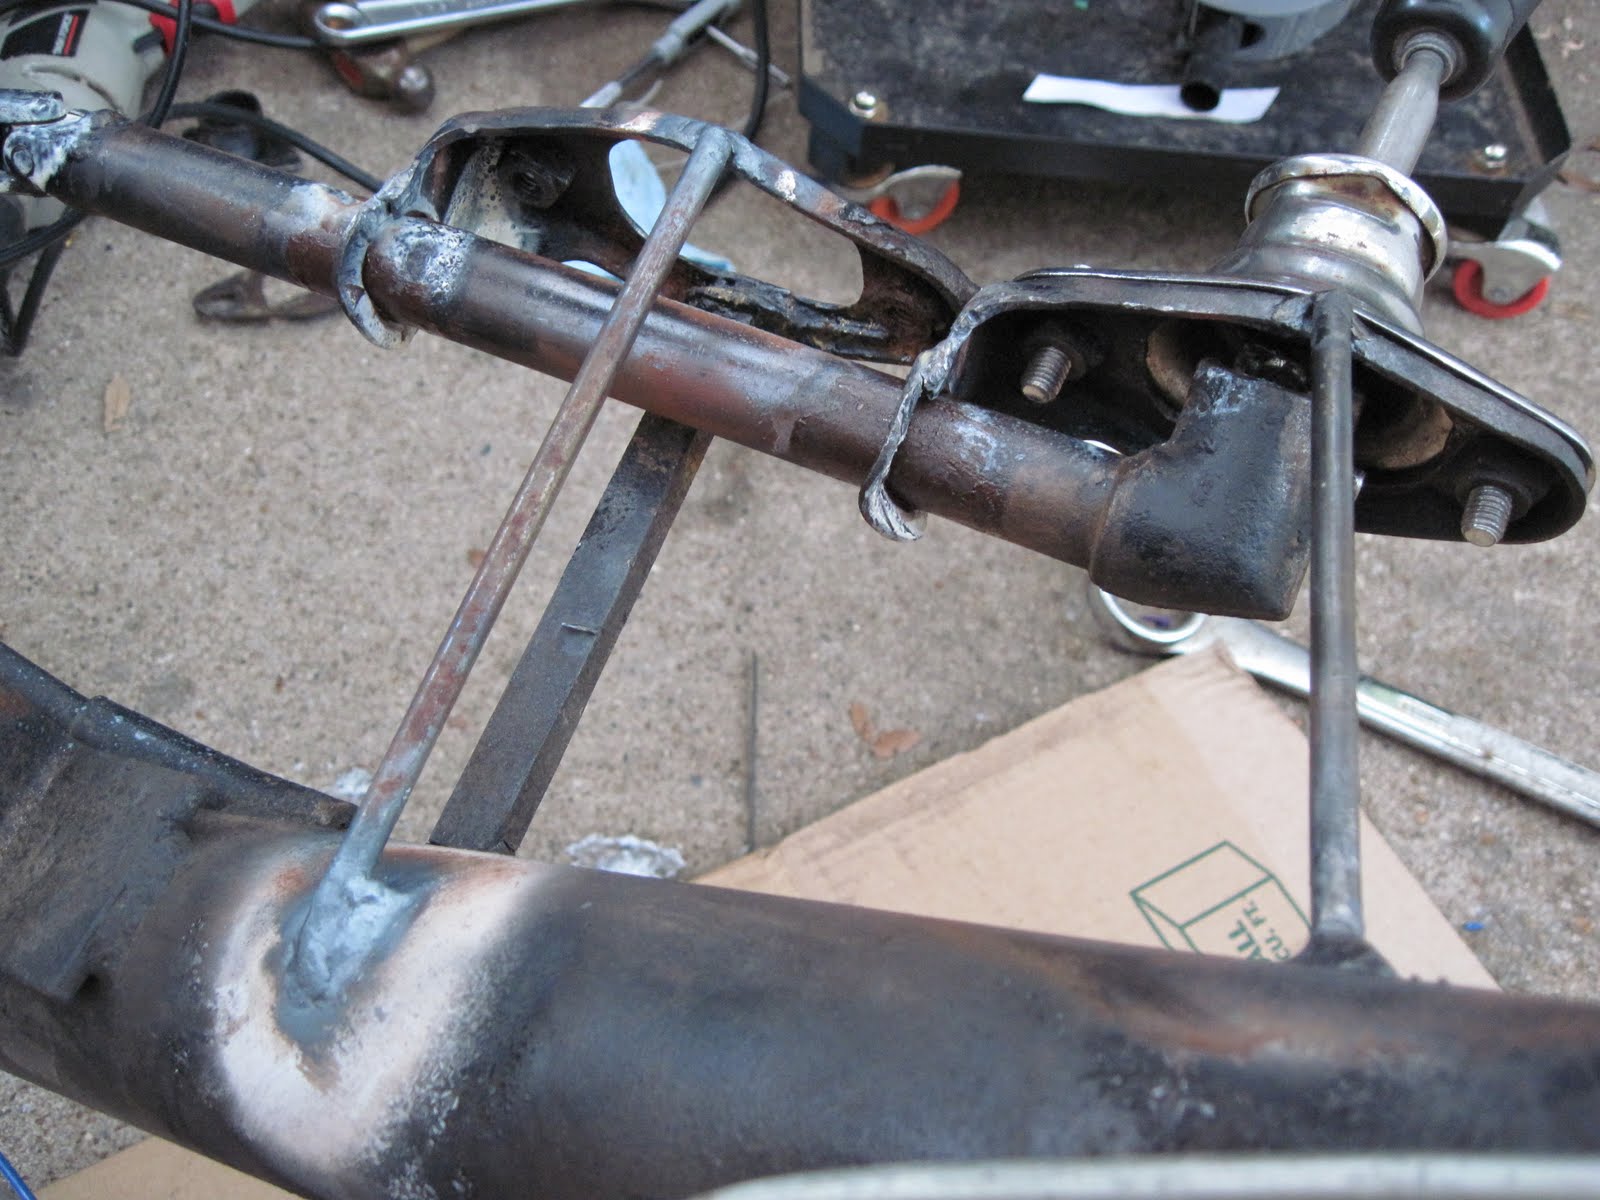
After the cut, still rough. Sorry, I didn't take any more pictures after a cleaned it up!


This cleared the way for all four gears and reverse with little or no difficulty shifting.

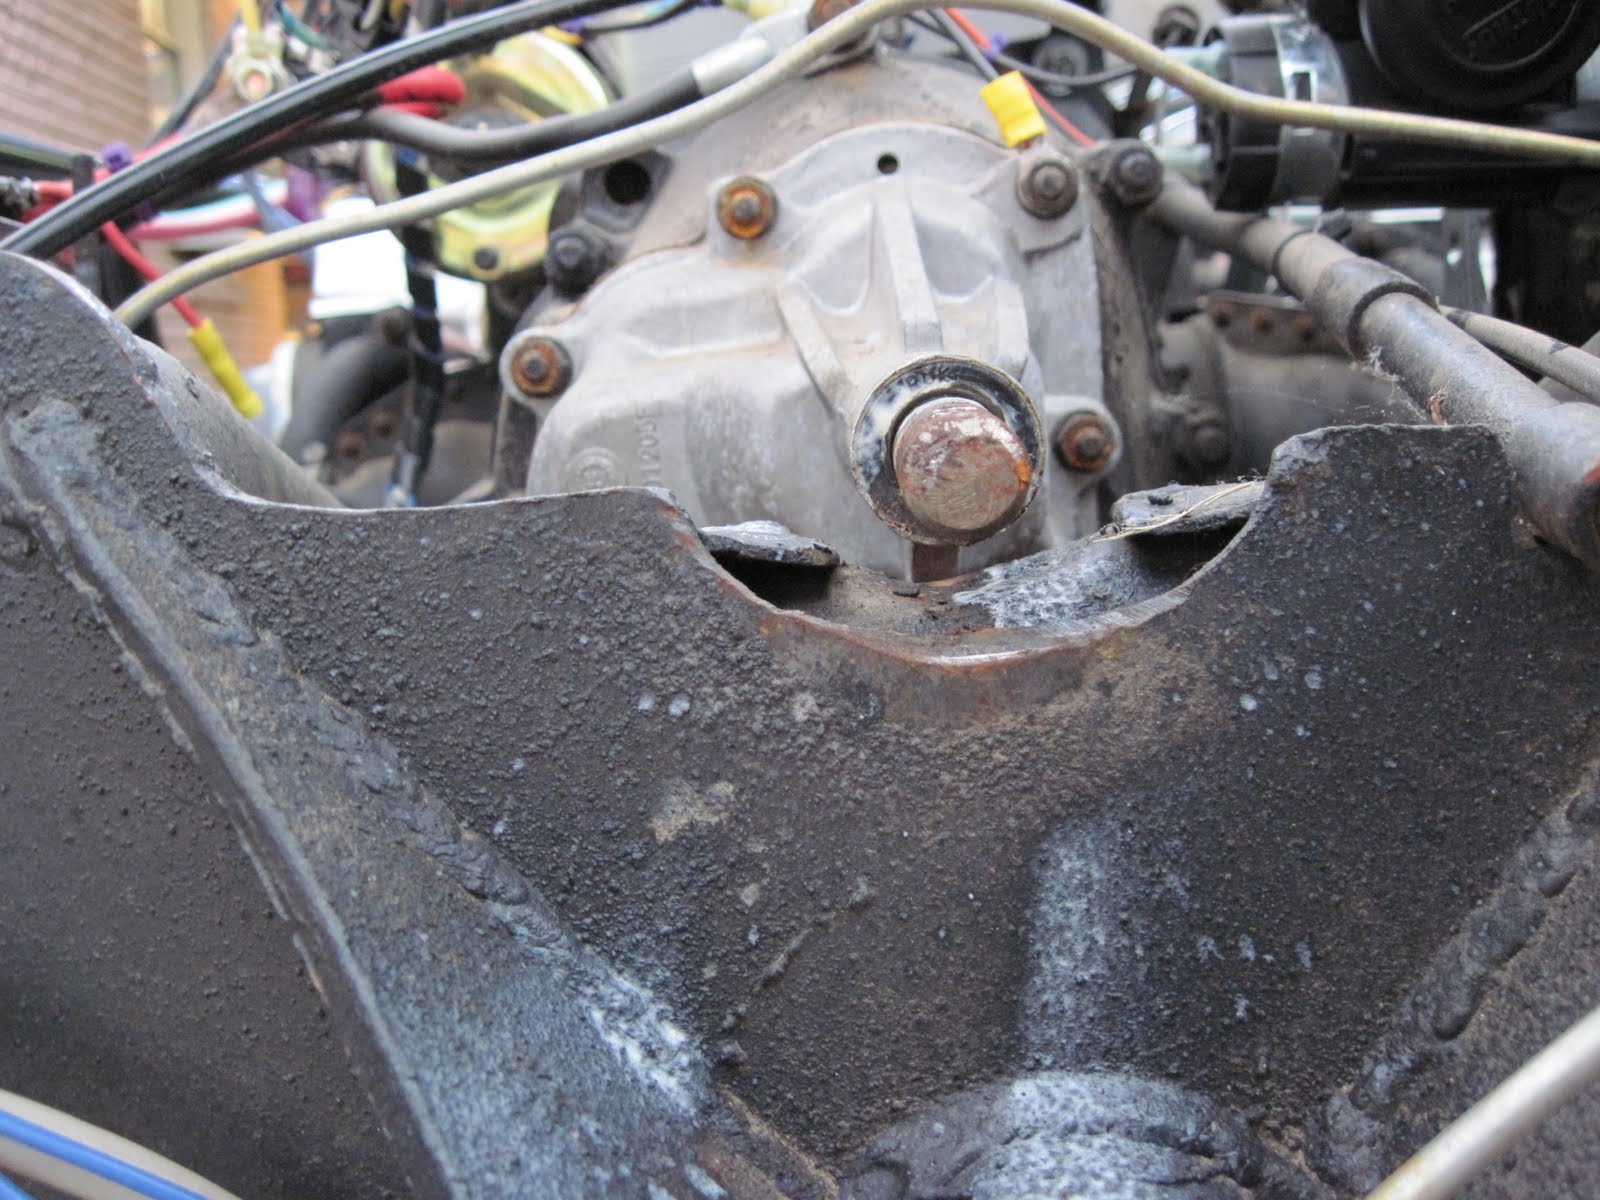
Well, some difficulty. In reading about shifting troubles, one of the symptoms of clutch disengagement problems is to sit in neutral, idling, with the clutch out. Push the clutch in, count to 3 or even 5, move the shift lever. Any gear grinding at this point indicates that the clutch is not fully disengaging. I do have a bit of that. It's much easier to downshift while still rolling; not so easy at a full stop.

I remember that the input shaft to the transaxle had a substantial amount of play in it. I could see how the clutch disc might "droop" down, allowing the top edge to contact some moving parts, even with the pressure plate disengaged.

Well, I will have a chance to investigate sooner than later.

With the trike streetable, I rode out to meet Gabby when she got off work. On the way there, I played with acceleration (which it does quite well, once past a bad hesitation off idle) and verified the speedometer against my GPS. I got to her office early enough to have to wait for a little while. There really is not a comfortable place to sit on the trike except the driver seat, not for me anyway. My...ummm...  manparts are quite crowded if I sit in the back seat. Also, since I have still not put the steps in place, my feet and legs hang, putting that much more pressure *there*. I did find a compromise that works for a short wait, perching kind of on the side of rear seat.

On the way home, I played a bit with speed, dropping back, catching up and dropping back again. Then, as we approached a particular intersection about 1/3 of the way home, I was trying to downshift and I suddenly got a continuous grind, whether or not the clutch was in. I shut off the engine, found neutral and restarted the engine; still grinding. I ended up pushing the clutch way too hard and apparently unseated the throwout bearing, for the clutch pedal lost all feedback. The grinding continued. I shut the engine off and found that, except for neural, any gear I put it in would grind when I moved the trike manually. Definitely *something* up in the transaxle.

Gabby went on home to get the truck and stinger and we got the trike home with little more difficulty. I was even able to push it up our steep driveway (with a running start) on the first try.

I priced rebuilding and/or replacing this transaxle, and while $450-500 seems reasonable compared to other transmission work I've had done, $150 for a good used one on Craigslist is even better. I should be picking it up tomorrow or Friday.

I'm home sick today. What I thought were allergies hitting me Sunday night after we got home has become an upper respiratory infection or some such. I crashed on the couch about 6:30 Tuesday night, moved to the bed about midnight and slept till about 11AM today. I even cat-napped a couple times before Gabby served a wonderful Asian style salad with blackened salmon for lunch. That was the boost I needed to get in here and write this up!

Over the next day or two, I will be pulling the old transaxle out so that I can put the replacement in as soon as possible after I get it. I really hope to be back on the road for tuning for the weekend.

Tuesday, June 1, 2010

Big Update


Short version: I got the trike on the road with an iffy shifter. Rode it a little on Saturday and Sunday. Worked on the shifter on Monday and got it much more functional. Then the transaxle ate itself.

First, a couple of pictures of it all ready to go!


To get it to this point, I did a bit of work after I finally got home Thursday night and pretty much all day Friday, as in it was after midnight when I did a short test ride.

In no particular order, and maybe even earlier in the week, I had to:

1. Put Fix-A-Flat in a rear tire, which of course required a trip to Wal-Mart.

2. Change the front tire and tube since the old one blew shortly after filling to pressure. The old bead was rusted through in a couple of places. The old wheel is MUCH thicker than expected. I'll bet that the little rusty pitted spots on it are not of any significance. The wheel needs balancing, though.

3. Built and installed the throttle cable.


4. Found and installed appropriate new spacers for the five standard bolting locations on the body, which of course required a trip to the hardware store. Quite by accident, I raised the fuel tank just about exactly as high as would fit under the body. In fact, the metal cross brace in the body clears the tank by about 1/4".

5. Installed a license plate light.

6. Wired the trailer connector.

7. Miss wired and corrected the body wiring. I had put male pins in a female connector shell. When I tested the signal lights, they were wrong in many ways. Left signal flashed both left and right tail lights. Right signal flashed the left brake light. Tail lights were completely dark. When I corrected the wrong connector shell, I had reversed the order of the pins.


8. Even after the connector fiasco, the headlights and taillights did not work. The problem turned out to be a connector pulled off the back of the fuse panel, but determining that involved removing the body, or actually would have been easier had I actually removed the body rather than simply tilting the back of it up. *That* is not as easy as it sounds. In any case, I was able to address a couple of wiring routing issues that may have come back to bite me later, so it was not a completely wasted effort.

9. Fixed rough and iffy connections on the older of the two taillights.

10. Decided to postpone the installation the keyswitch due to the need to permanently mount it. Used a small handlebar mounted switch, which of course meant a trip to the motorcycle parts store.

11. Installed the speedometer sensor and a magnet on the front wheel. I set the circumference to 1287 based on my measurement with a steel tape. According to my GPS, it's pretty close, maybe reading 1 MPH high, at least in the limited testing I could do.


12. Connected the tachometer input to the EDIS module. Pin 2 of the module connector has a pulse that corresponds with the firing of coil A. The speedo has a setting for number of engine cycles per signal. Since coil A fires once per revolution, you'd think that setting would be '1', but what they really want to know is how many of the total cylinders fire for each signal, which for a two coil wasted spark four cylinder is half. Half the cylinders fire for each signal, so the value it wanted was '0.5'. There is also a shift warning light/redline indicator that flashes the tach bargraph when you exceed the setting. I have this one set to 4000, assuming a redline of 4500 RPM.

13. Installed the shifter and what a pain that turned out to be. I knew that I was going to have to cut fiberglass in order to bolt the body on in the new higher position and, difficult as it was to do, I got through it. However, it didn't seem to matter how much I adjusted, whether I left springs in or out, the reverse lockout plate in or out.... I could never make it actually hit all the gears at any setting. I got it to where I could hit 1st, 3rd and 4th for my test ride. By the next day, I was lucky to find and keep it in 3rd. There will be a separate blog entry about the problem and repair I did to the shifter, but I will give away the ending here. It works better now, but I can pretty much guarantee it won't last and the next thing to do is much more complicated, but should help end all the problems with it.

14. Installed the bumper. I originally fitted the bumper to the end of the shock bolts. In other words, the bolt goes through the frame tower, the eye of the shock absorber then the bumper flange, followed by a washer and, perhaps obviously, a nut. While this is functional, having the  bumper flange between the tower and the shock absorber would be much stronger, having no leverage to bend the bolt. It required springing the upper arms of the bumper outward to attach the second mounting point, but it was not too tough. Not fun, but not too tough. The lower mounts were similarly not too bad, though I had some frustration getting the bolt to line back up with the threads on the second one. While I have not yet installed locking pins on the lower mounts, neither does the bumper move. I won't skip them, but I'm not motivated to jump right on them, either. hehehe

15. I connected the F-Idle lead from MegaSquirt to the N light on the speedometer, though I have not yet tied any logic to it.

16. The alternator light will need some kind of logic to make the LED light correctly. The problem is that my LED is connected between a shared ground and it's own lead, but what is needed for the indicator is a connection between +12V and the alternator. If I connect to the alternator lead, I get a bright irritating warning light when the alternator is operating normally. I think I a simple optocoupler will suffice; I probably already have one that will work. In the mean time, the 2W indicator bulb is connected adjacent to the alternator and is functioning correctly.

When all this work was done, I had not only missed my deadline of 3PM for getting it inspected, but I had missed the deadline of getting it on the road before dark, or indeed, before it because Saturday. I was taking a test ride at 12:40AM Saturday morning, much to the dismay of my neighbors, I'm sure.

Followers