Short version: I got the trike on the road with an iffy shifter. Rode it a little on Saturday and Sunday. Worked on the shifter on Monday and got it much more functional. Then the transaxle ate itself.
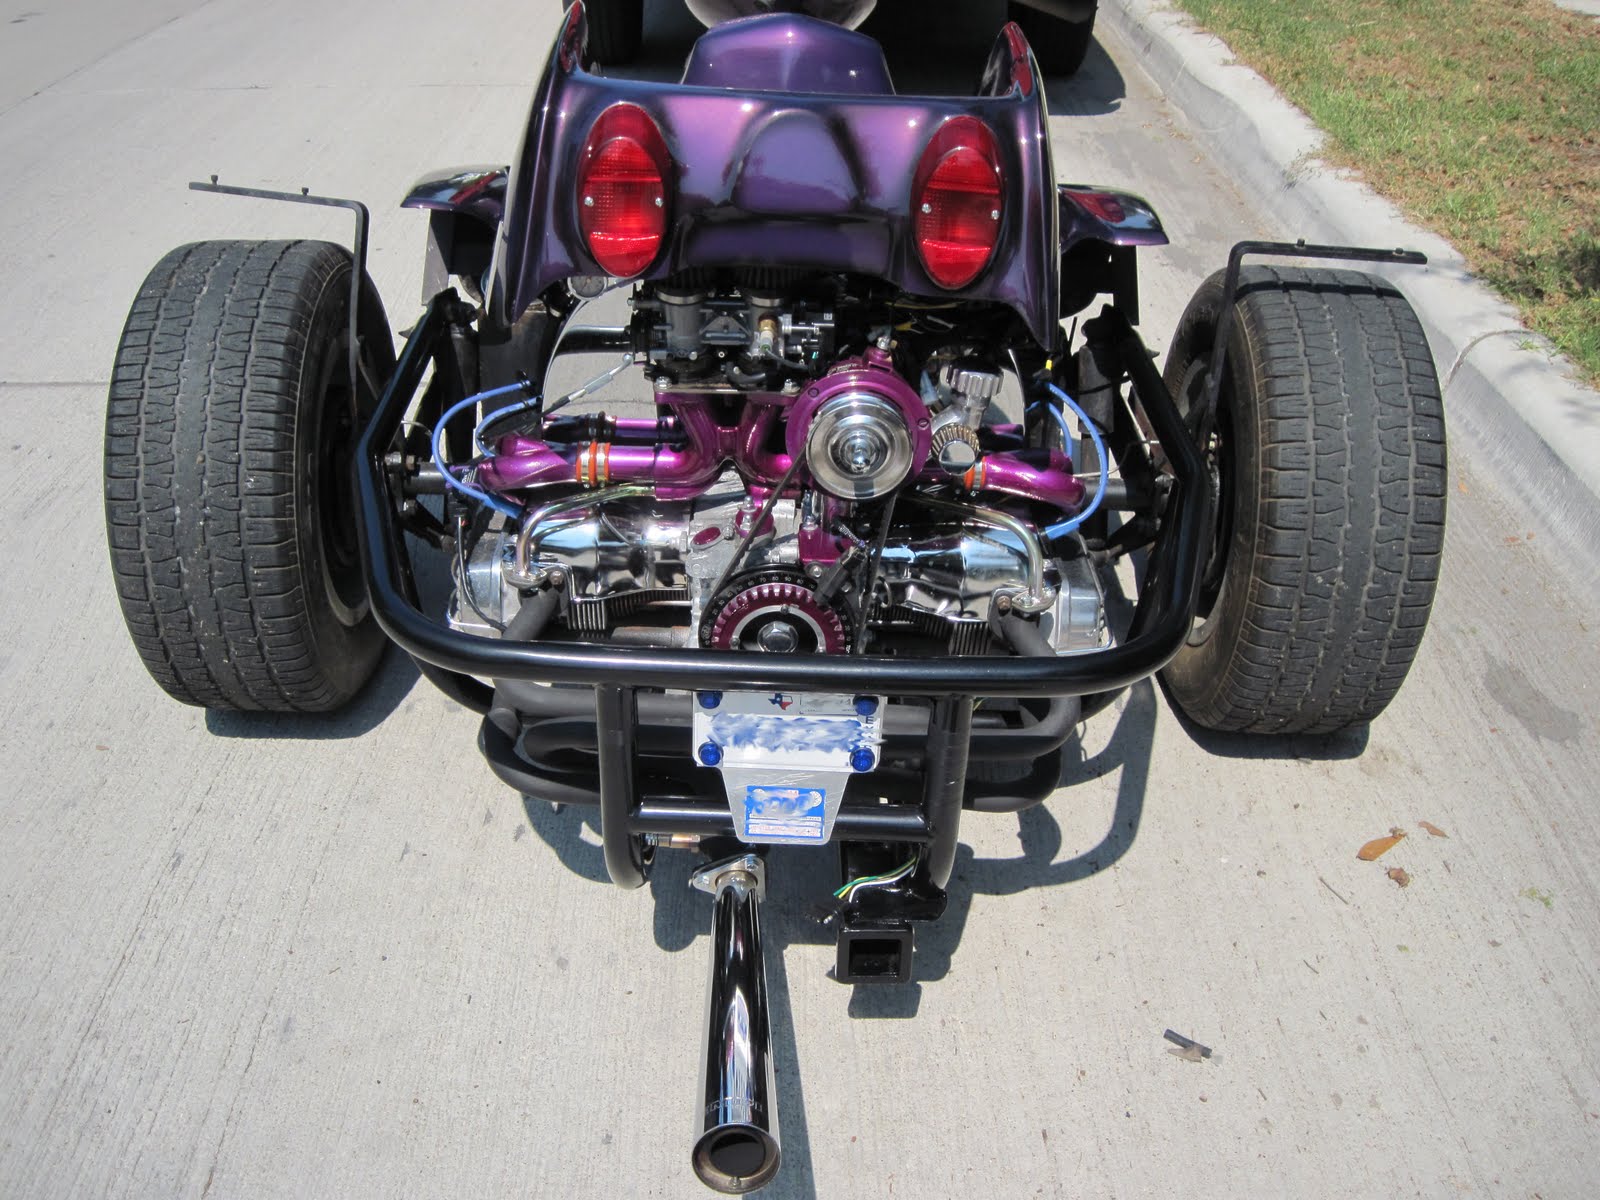
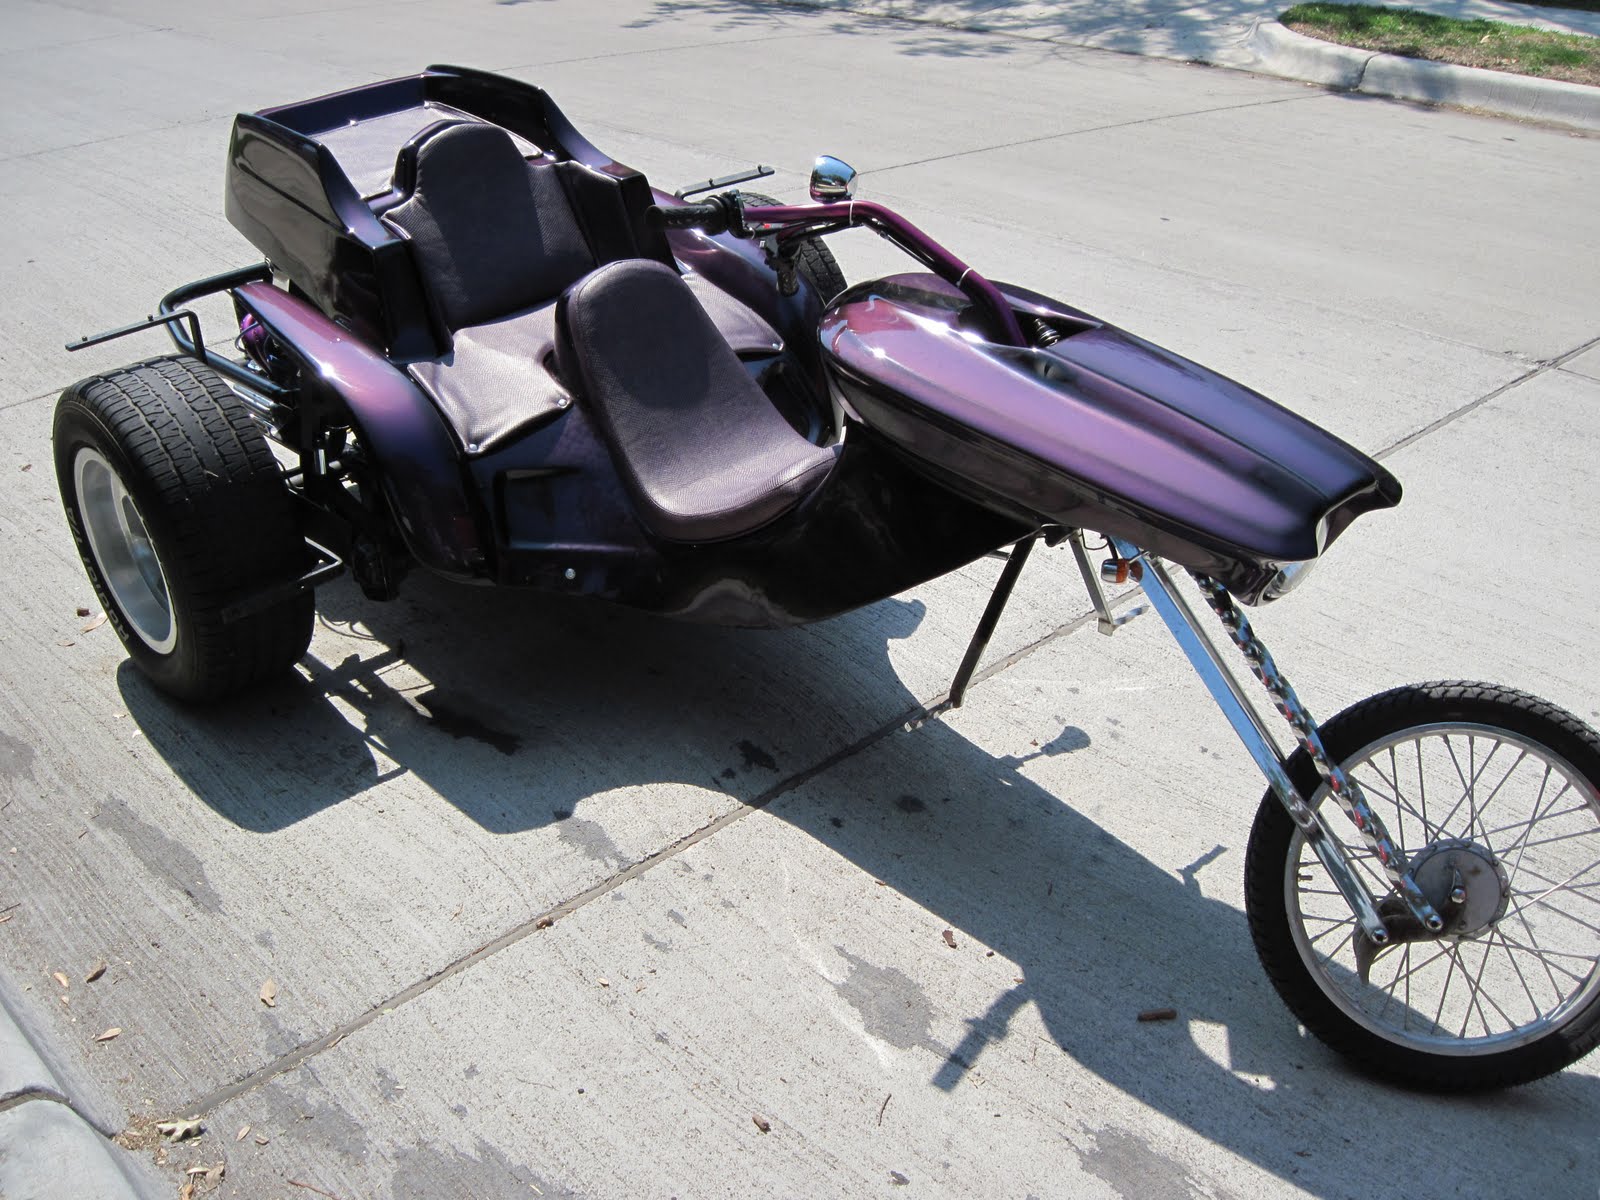
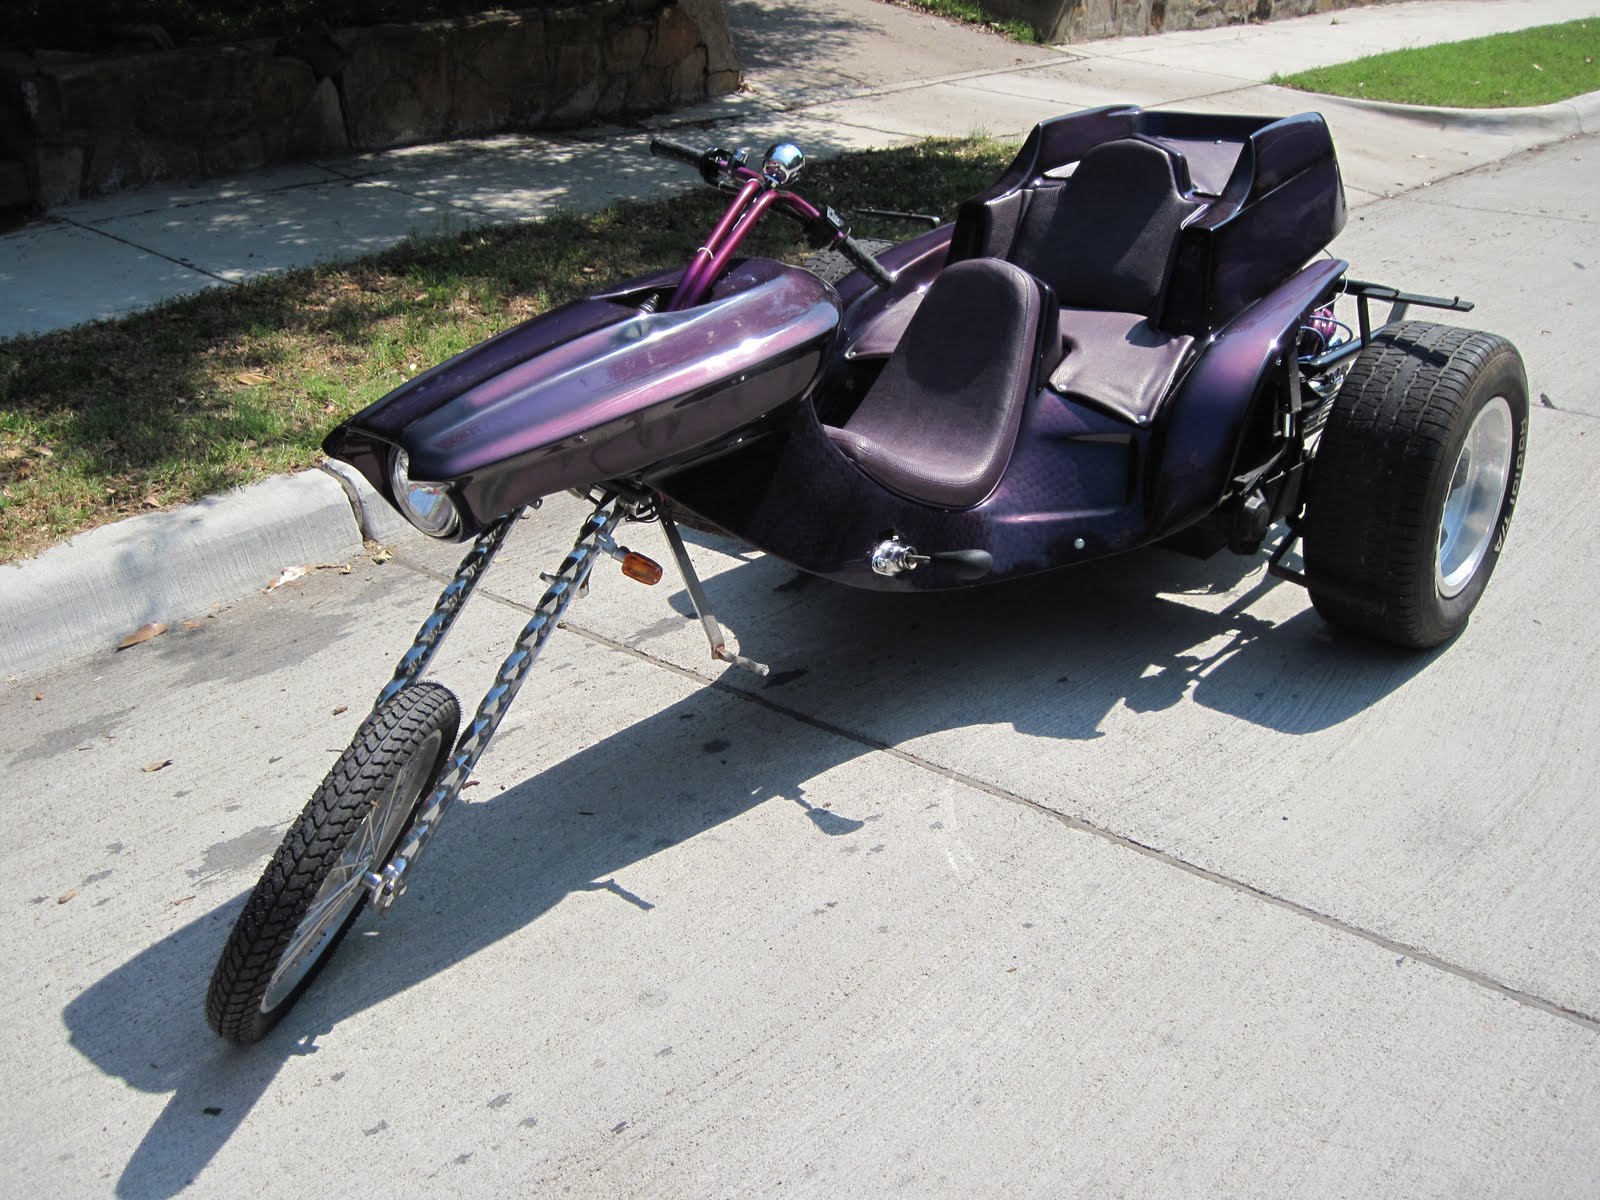
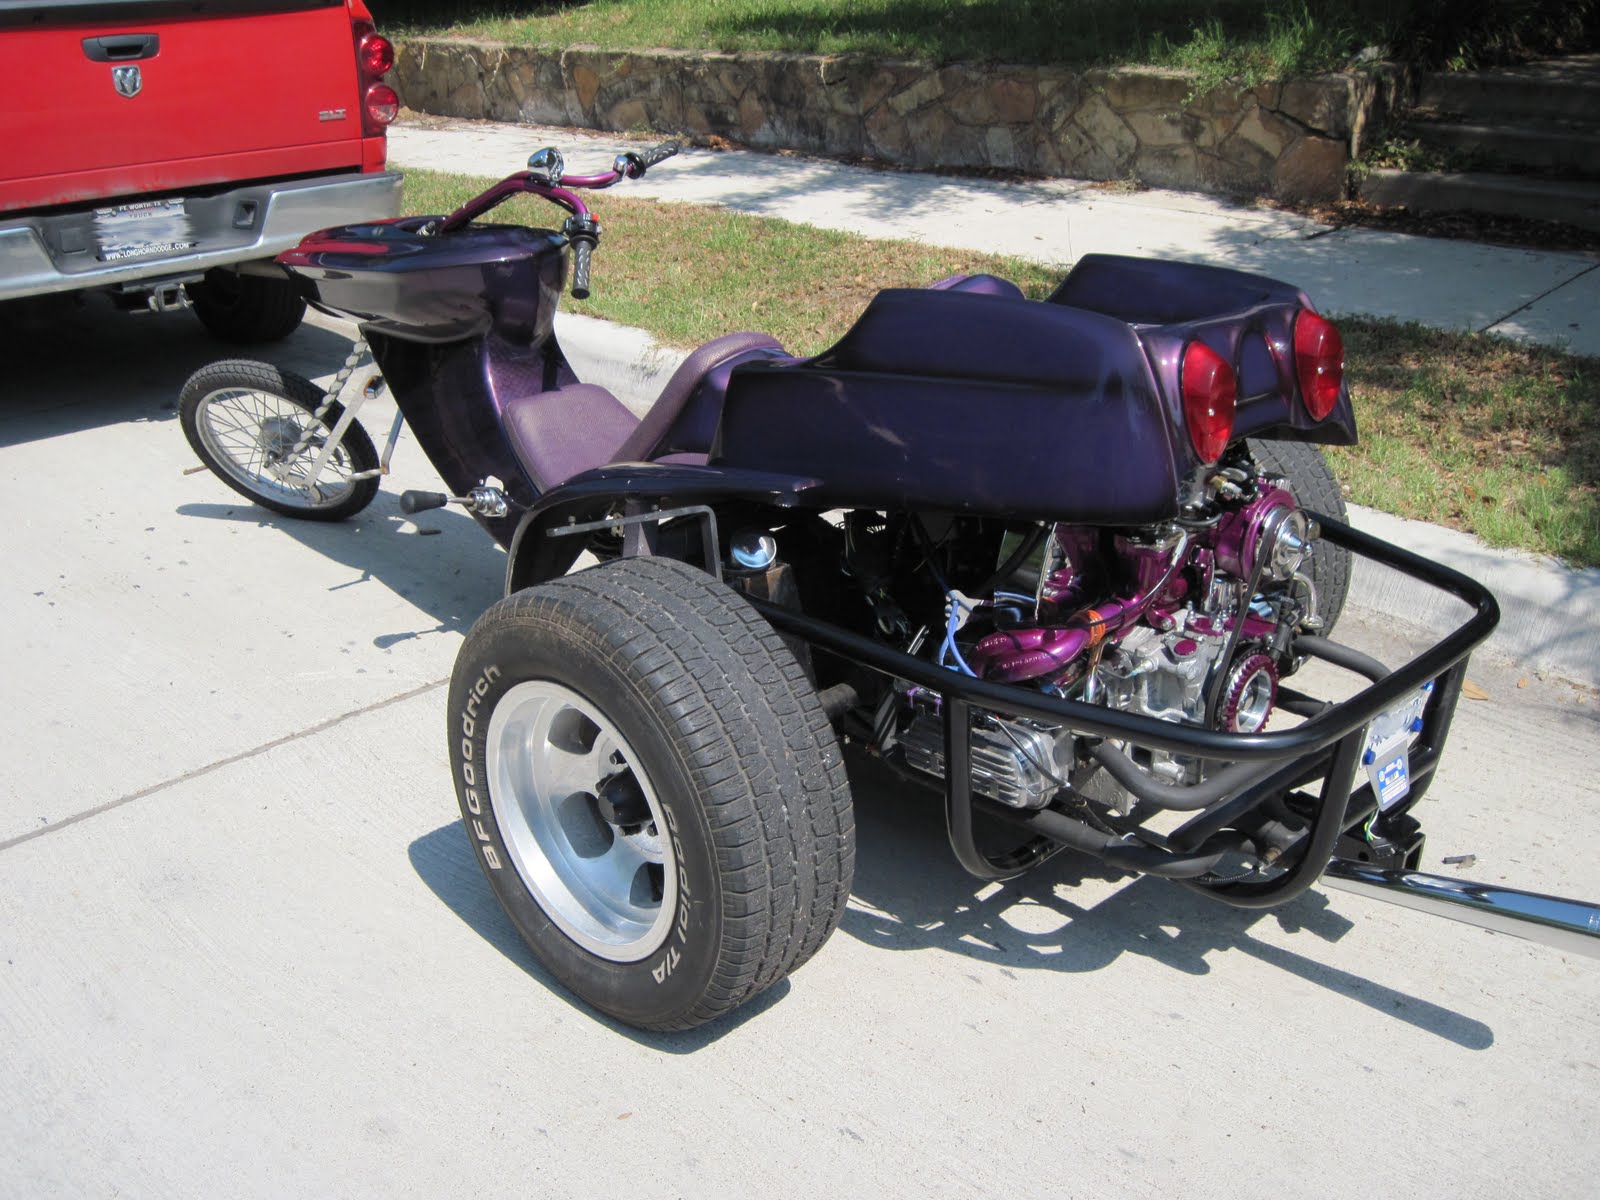
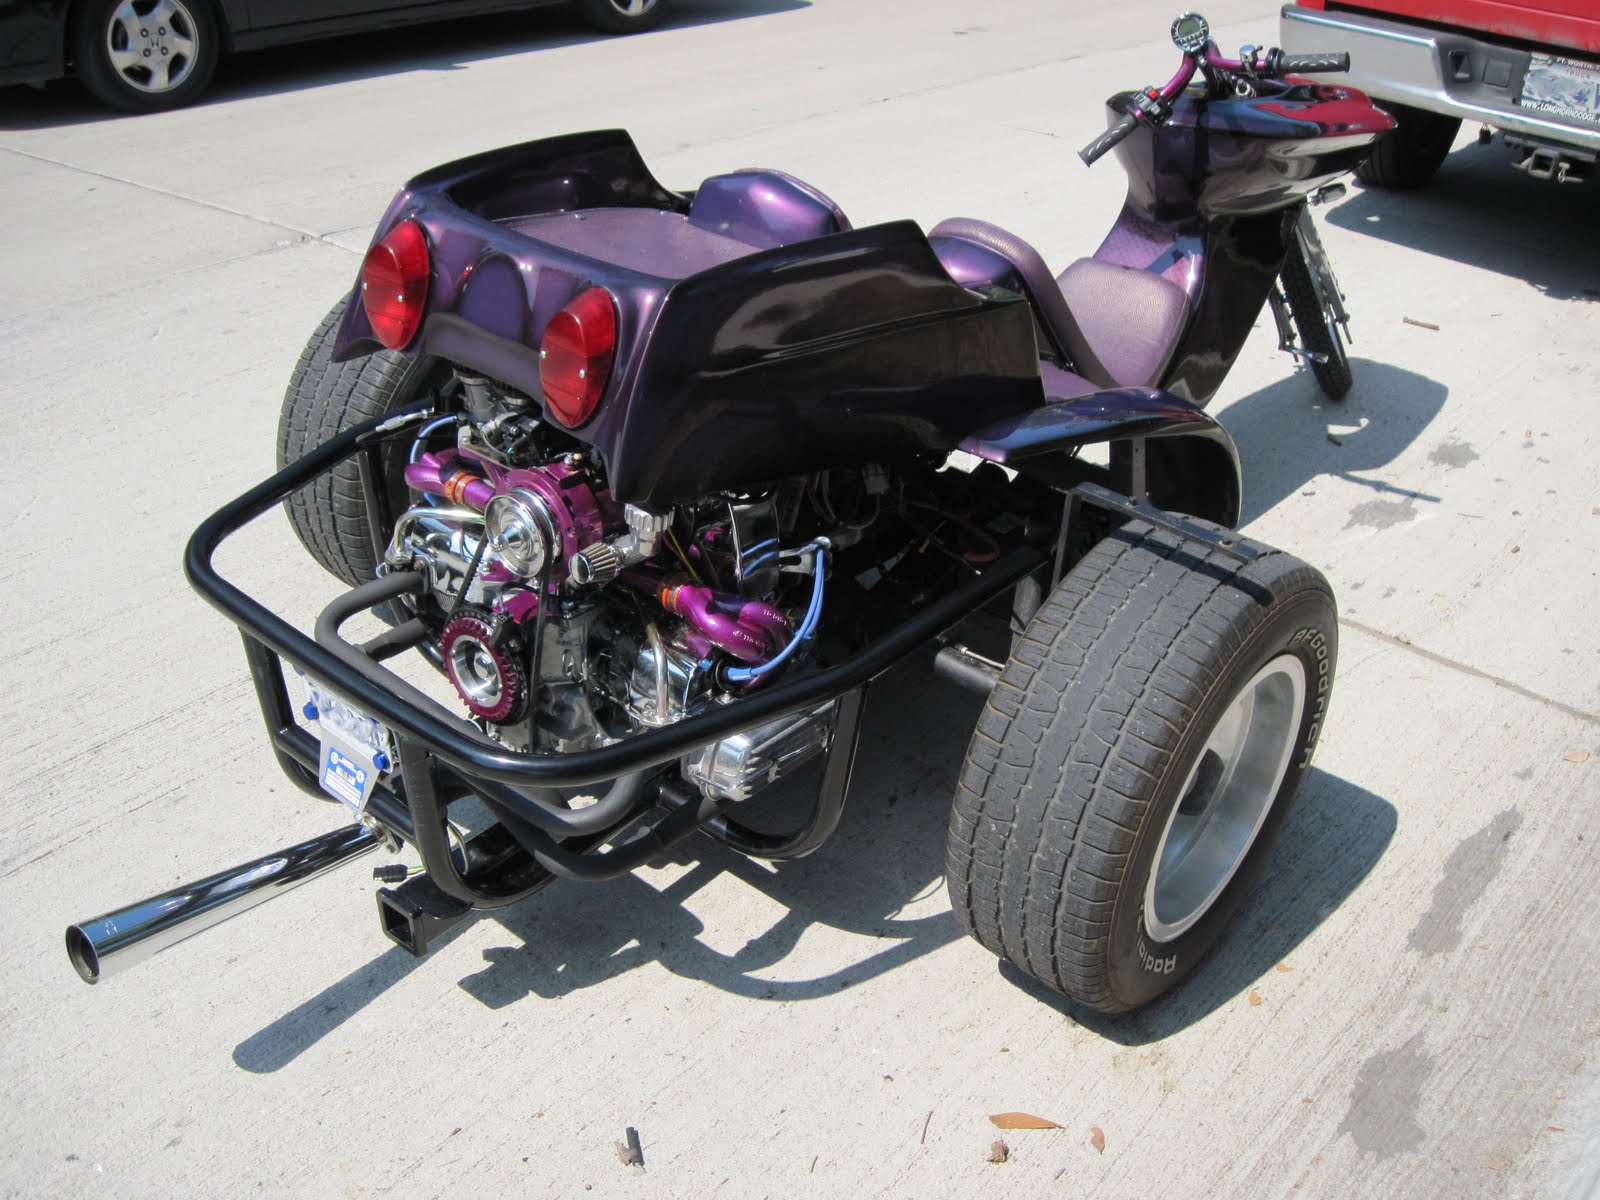
First, a couple of pictures of it all ready to go!
To get it to this point, I did a bit of work after I finally got home Thursday night and pretty much all day Friday, as in it was after midnight when I did a short test ride.
In no particular order, and maybe even earlier in the week, I had to:
1. Put Fix-A-Flat in a rear tire, which of course required a trip to Wal-Mart.
2. Change the front tire and tube since the old one blew shortly after filling to pressure. The old bead was rusted through in a couple of places. The old wheel is MUCH thicker than expected. I'll bet that the little rusty pitted spots on it are not of any significance. The wheel needs balancing, though.
3. Built and installed the throttle cable.

4. Found and installed appropriate new spacers for the five standard bolting locations on the body, which of course required a trip to the hardware store. Quite by accident, I raised the fuel tank just about exactly as high as would fit under the body. In fact, the metal cross brace in the body clears the tank by about 1/4".
5. Installed a license plate light.
6. Wired the trailer connector.
7. Miss wired and corrected the body wiring. I had put male pins in a female connector shell. When I tested the signal lights, they were wrong in many ways. Left signal flashed both left and right tail lights. Right signal flashed the left brake light. Tail lights were completely dark. When I corrected the wrong connector shell, I had reversed the order of the pins.
8. Even after the connector fiasco, the headlights and taillights did not work. The problem turned out to be a connector pulled off the back of the fuse panel, but determining that involved removing the body, or actually would have been easier had I actually removed the body rather than simply tilting the back of it up. *That* is not as easy as it sounds. In any case, I was able to address a couple of wiring routing issues that may have come back to bite me later, so it was not a completely wasted effort.
9. Fixed rough and iffy connections on the older of the two taillights.
10. Decided to postpone the installation the keyswitch due to the need to permanently mount it. Used a small handlebar mounted switch, which of course meant a trip to the motorcycle parts store.
11. Installed the speedometer sensor and a magnet on the front wheel. I set the circumference to 1287 based on my measurement with a steel tape. According to my GPS, it's pretty close, maybe reading 1 MPH high, at least in the limited testing I could do.
12. Connected the tachometer input to the EDIS module. Pin 2 of the module connector has a pulse that corresponds with the firing of coil A. The speedo has a setting for number of engine cycles per signal. Since coil A fires once per revolution, you'd think that setting would be '1', but what they really want to know is how many of the total cylinders fire for each signal, which for a two coil wasted spark four cylinder is half. Half the cylinders fire for each signal, so the value it wanted was '0.5'. There is also a shift warning light/redline indicator that flashes the tach bargraph when you exceed the setting. I have this one set to 4000, assuming a redline of 4500 RPM.
13. Installed the shifter and what a pain that turned out to be. I knew that I was going to have to cut fiberglass in order to bolt the body on in the new higher position and, difficult as it was to do, I got through it. However, it didn't seem to matter how much I adjusted, whether I left springs in or out, the reverse lockout plate in or out.... I could never make it actually hit all the gears at any setting. I got it to where I could hit 1st, 3rd and 4th for my test ride. By the next day, I was lucky to find and keep it in 3rd. There will be a separate blog entry about the problem and repair I did to the shifter, but I will give away the ending here. It works better now, but I can pretty much guarantee it won't last and the next thing to do is much more complicated, but should help end all the problems with it.
14. Installed the bumper. I originally fitted the bumper to the end of the shock bolts. In other words, the bolt goes through the frame tower, the eye of the shock absorber then the bumper flange, followed by a washer and, perhaps obviously, a nut. While this is functional, having the bumper flange between the tower and the shock absorber would be much stronger, having no leverage to bend the bolt. It required springing the upper arms of the bumper outward to attach the second mounting point, but it was not too tough. Not fun, but not too tough. The lower mounts were similarly not too bad, though I had some frustration getting the bolt to line back up with the threads on the second one. While I have not yet installed locking pins on the lower mounts, neither does the bumper move. I won't skip them, but I'm not motivated to jump right on them, either. hehehe
15. I connected the F-Idle lead from MegaSquirt to the N light on the speedometer, though I have not yet tied any logic to it.
16. The alternator light will need some kind of logic to make the LED light correctly. The problem is that my LED is connected between a shared ground and it's own lead, but what is needed for the indicator is a connection between +12V and the alternator. If I connect to the alternator lead, I get a bright irritating warning light when the alternator is operating normally. I think I a simple optocoupler will suffice; I probably already have one that will work. In the mean time, the 2W indicator bulb is connected adjacent to the alternator and is functioning correctly.
When all this work was done, I had not only missed my deadline of 3PM for getting it inspected, but I had missed the deadline of getting it on the road before dark, or indeed, before it because Saturday. I was taking a test ride at 12:40AM Saturday morning, much to the dismay of my neighbors, I'm sure.
No comments:
Post a Comment