 Headlight and turn signal connectors
Keyswitch connectors
The need to vigorously clean the fiberglass in order for tie downs to stick is apparent. I suspect they still may come loose, at which time I will epoxy on some kind of cleat.

Under seat span

Termination point. Connectors are hanging below
Also evident is my desire to wrap the wiring in *something*. There split sheath, two colors of spiral wrap and one braided sleeve in the this picture.

Tail / Stop / Turn wiring
The two tail light units were slight different, one being quite old, supplied with the trike when I bought it. The older one had a screw in it for ground; the newer one was missing the push on terminal for the turn lamp. I used short jumper wires with connectors to work around both issues.

The taillights need a gasket to properly fit and seal, but they meet the 10 foot rule quite well...


Besides the other fuel tank bracket, you can see where I elected to put the obnoxiously loud airhorn. It was nearly $50, but wow can it be heard.


Relocated fuel filter; it was too close to the axle and the line was too close to the moving clutch parts. I also rerouted the power lead to the fuel pump.
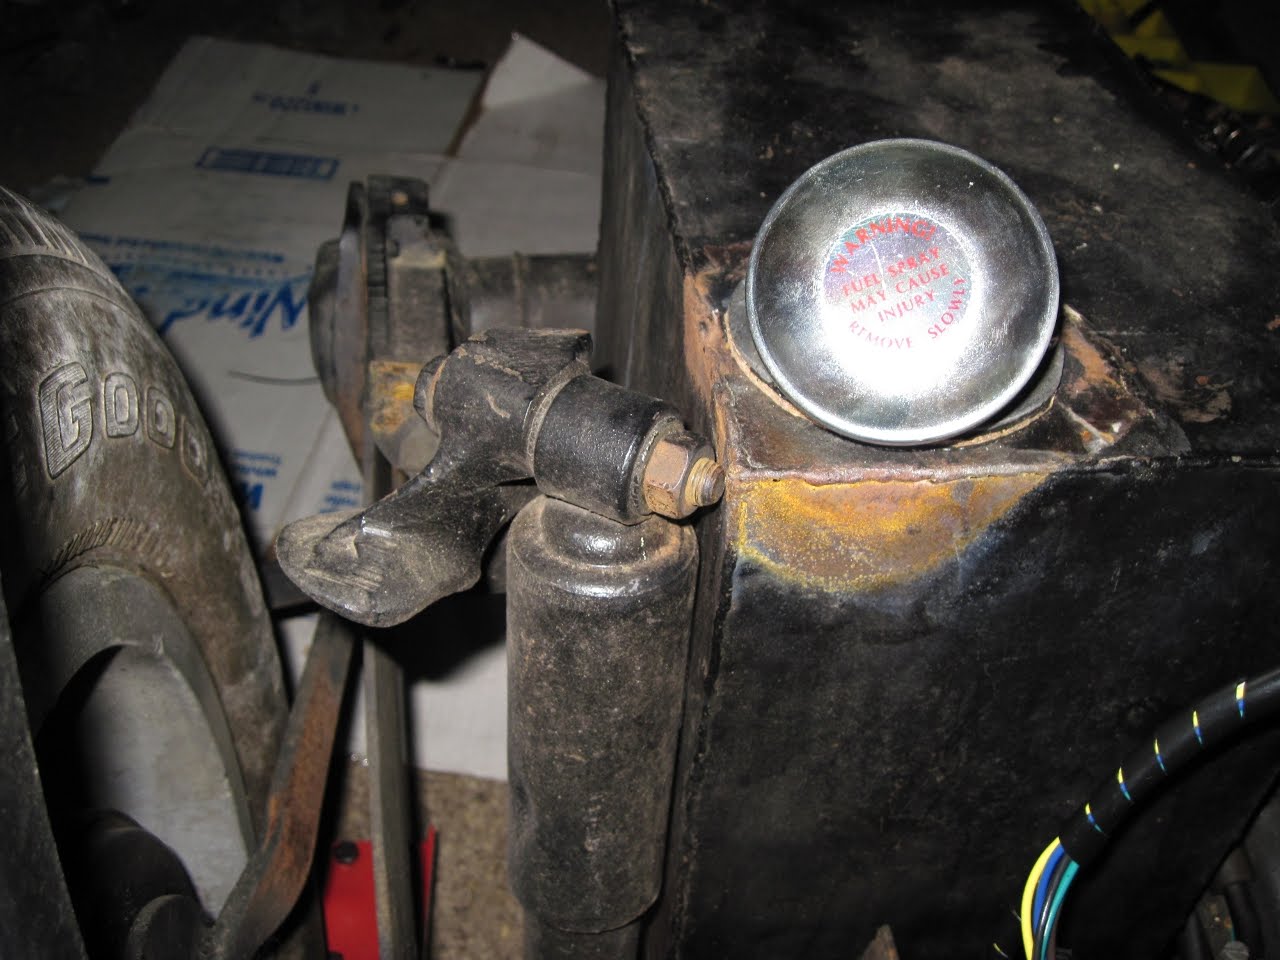
The raised fuel tank comes pretty close to the shock tower, but at least that's the stationary end!
That's all I have pictures for. I also connected the IDM pin of the EDIS module to the tach input on the speedo. I had to adjust the count for 0.5 rotations per signal, but it reads RPM now! I also set a 4000 RPM shift point. At the appointed RPM, the tach bargraph will flash.
I'm almost positive I did more than this, but I think I am too sleepy to remember them just now....
No comments:
Post a Comment