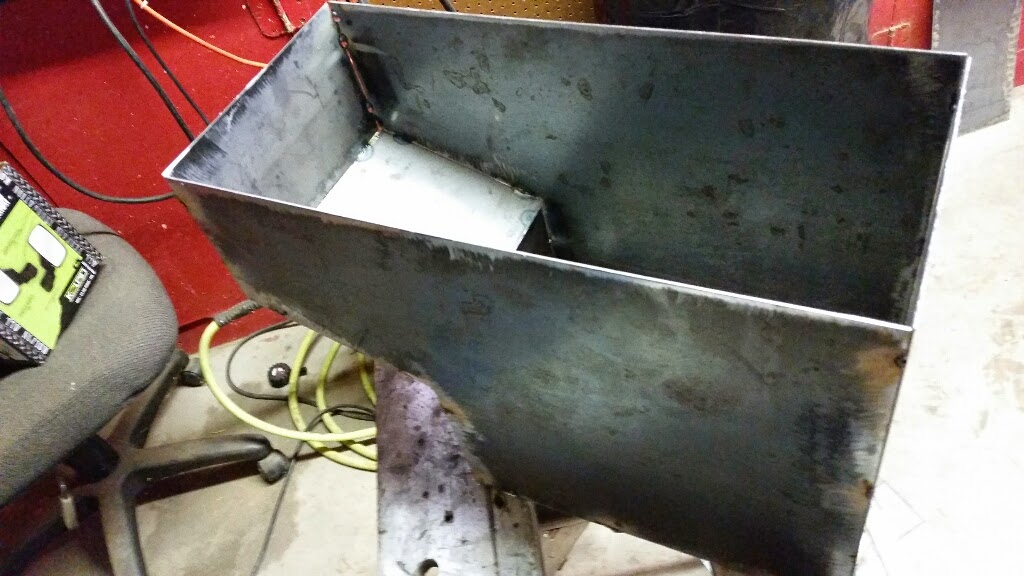
The new tank is largely finished, shown here after tacking the panels together and before welding.
I am disappointed with how rusty I was welding. I had to re-weld almost every seam.
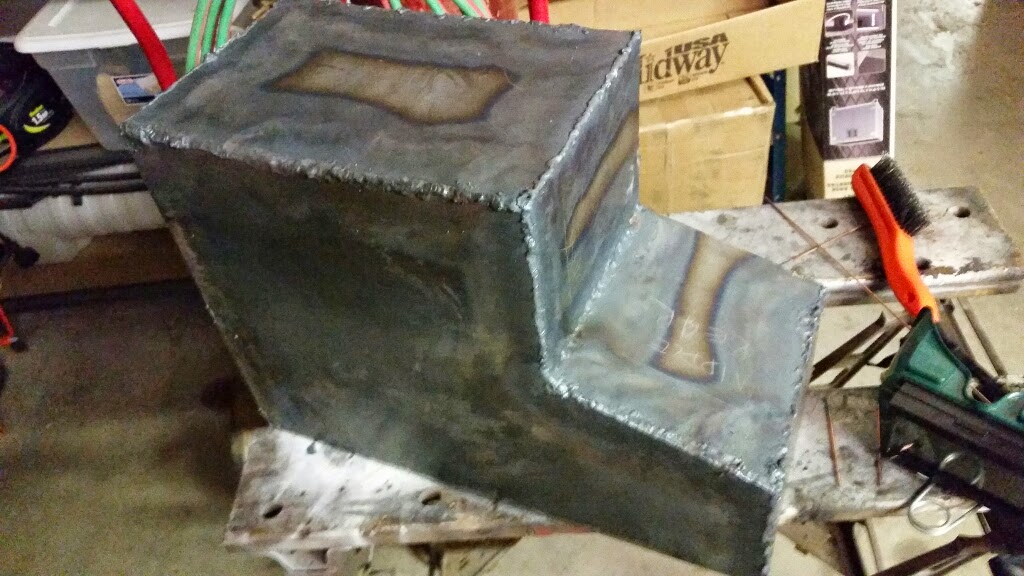
You can see how rough and blobby they are here. I spent much of Saturday grinding them clean and retouching all of them. Once I had done a few of them, I seemed to get my groove back.
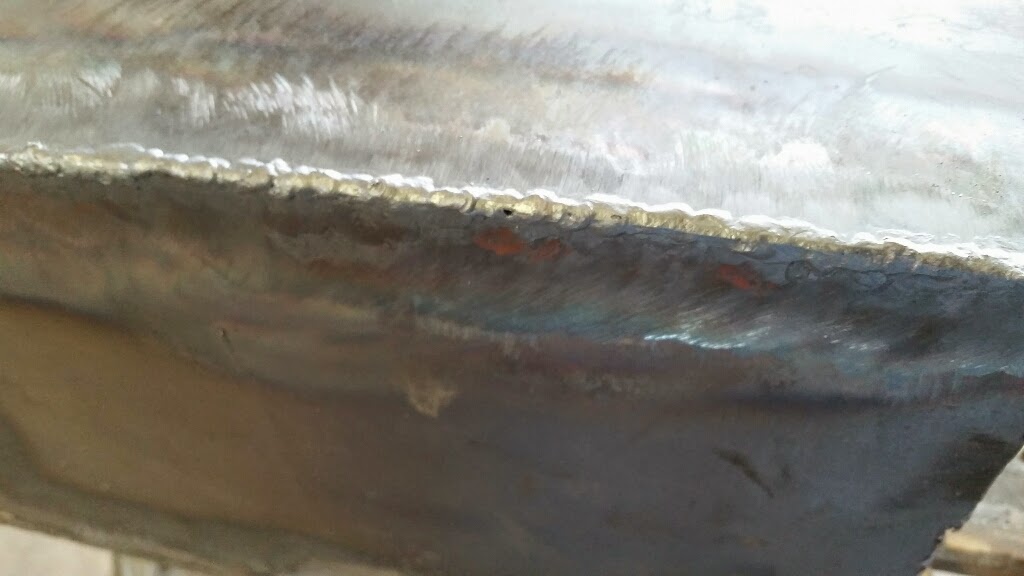
Had I started with nice welds, I would not have had to grind NEARLY as much. Pay no attention to the pinhole in the middle of the pic. It's gone now.
I have decided to go with an external fuel pump, so I added plumbing for pickup and return. Sharp observers may note that the pickup tube takes off at an angle. That was easier that rebending it or cutting it. Deal with it :)
Also visible in this picture is a baffle added to the tank. It is tacked to the sides of the tank with about 3/8" gap between it and the bottom.
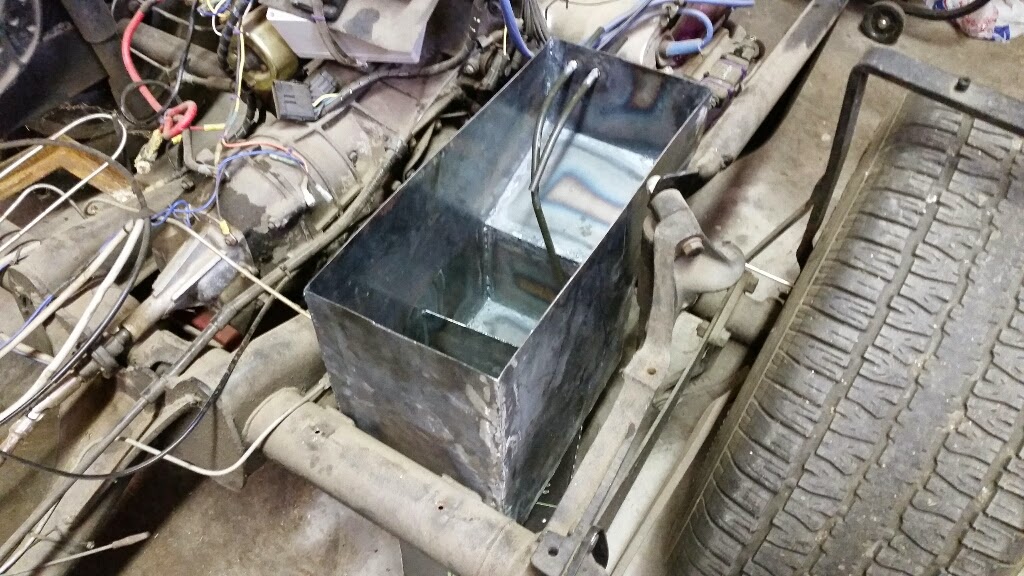
Sadly, it is at this point that I also reach another decision, or more accurately, the legacy of an earlier decision, and it turns out to be a bit painful.
I have opted for external plumbing so that I can remove the in-tank fuel pump and lower the tank in the frame. This will in turn let me lower the body, which needed to be raised to clear the top of tank. By not thinking this option through way back when I drew up the design for the tank, I didn't account for the tank extension interfering with the axle in the lower position. It almost sits on the axle in the lower position.
After much hand wringing, I have decided that the lower tank and subsequent lowering of the body is more important than the extended capacity of the tank. So, I will lob off most of the extension.

The single vertical line is where I will cut. This will still add at least a tiny bit of capacity and will under no foreseeable circumstances interfere with the axle. I had considered moving the bottom of this section up, which would allow only a little bit more capacity and would let me keep the plumbing as it is, but would still have a chance of interfering with the axle.
And to be clear, it's not the axle I presume would be damaged in the collision, but the fuel tank, right there over the exhaust pipe for cylinder 3 and right next to the spark plugs. Lets keep the fuel encapsulated until it's in the cylinders.
In a related design shortcoming, the fuel level sender, as layed out recently, is directly under the same body brace that I need to lower the tank in order to clear. On the plus side, with the new shorter top, I can cut from both the front and the back of the top to make it fit and in the process move the sender forward or backward away from the brace, whichever seems best.
This change will also hurt my plans to make a nice extended fuel filler neck. I will need to simply move the neck off the old tank. I have looked for a new neck. The only ones better than the one I have are weld in parts for aluminum. Maybe the next tank can be aluminum.
This delay has allowed me to come up with a checklist for what is needed to get this trike well on the road and I'd be fibbing if I didn't say it will be tough to make it by Labor Day. They are in no particular order:
1. The fuel tank completed, duh. Finish cutting, welding and lining. Includes new plumbing, cleaning of fuel lines and probably the injectors.
2. Wiring issues resolved; there were a couple of emergency repairs made because wires were so short that they pulled loose from the back of the fuse block and were pretty much unreachable for repair.
3. Wiring diagram; optional but almost a requirement to get all back working.
4. Brake master cylinder reinstalled.
5. Brake slave cylinders replaced (optional, but highly desired; need front wheel cylinders instead of rear)
6. Footpegs painted/powder coated and mounted; will involve cleanup grinding of attachment area on frame tube and possible refitting of mounting flange to tube.
7. Replacement of shifter; most likely, I can just take the shift lever from the new unit and leave the rest of the old one in place.
8. Ignition switch placement. This should go in the fiberglass, but I am afraid it will not be a simple project and may do extensive damage to the paint if not done perfectly. Considering putting it down by the shifter. May end up with temporary alternative, probably using the headlight switch on the control pod.
No comments:
Post a Comment