Thursday, May 20, 2010

Chassis work begins

The engine is running and there's not much tuning I can do with it until the trike is on the street. I did manage to install a fuel pressure gauge for help troubleshooting. Besides, it looks cool.

While I was typing this, the trim shop called and the upholstery is done! It will be tomorrow before I can get by there, but I'm excited about it...

I am working on chassis tasks, including chassis wiring. The nerve center for the rest of the wiring is the speedometer and the handlebar switch. The speedometer also has odometer, tachometer, fuel gauge, clock, and six indicator lights, all of which are spoken for. The handlebar switch has switches for headlights, high beam, turn signals, horn and a momentary kill switch that I am going to use for the starter. Between these two units, there are 20-someodd wires that need to go *somewhere*. Since they both mount on the handlebar, I started there.

You may recall that the trike appears to have been in a wreck somewhere in it's distant past. The handlebar was bent in that collision. I'm not 100% sure which, if indeed either, of the two bars is in unbent condition, but I elected to pay my attentions to the righthand and make it match the left.

I must apologize for not getting a 'before' picture. Using my newly acquired torch, I heated the lowest bend as evenly as I could and lifted the bar to match the left. This left the upper section slightly higher than it's mate, so I heated the middle bend and pressed down to match the left. Then, viewed from the driver seat, the end of the grip section was pointed downward. I again heated the middle bend, but this time imparted a twist rather than a simple bend until the two match as closely as I can judge.


Please ignore that the bars are not mounted straight on the forks. That joint is not important to this particular operation. It will be important when it's on the road, just not yet.

I then layed out the location for the speedometer and cut a piece of 1/8" mild steel, shaped to fit at an angle between the bars and brazed in place.


While I hope to eventually re-chrome the bars, for now they just need to look better than this, so I sanded them to rough up the old chrome a bit, cleaned it with acetone and applied the same two part Krylon X-Metal treatment as I've used on the engine trim pieces.


Tuesday, May 18, 2010

Upholstery Finally Underway

Due to delays I wont bore you with, the body was finally delivered to Chris' Trim Shop this morning.

This Blackberry photo does the material no justice, but this is the stuff I finally decided on.


Sorry about the dust....

Perhaps more importantly, I have the engine running! 

Thursday, May 6, 2010

Getting Ready for Upholstery

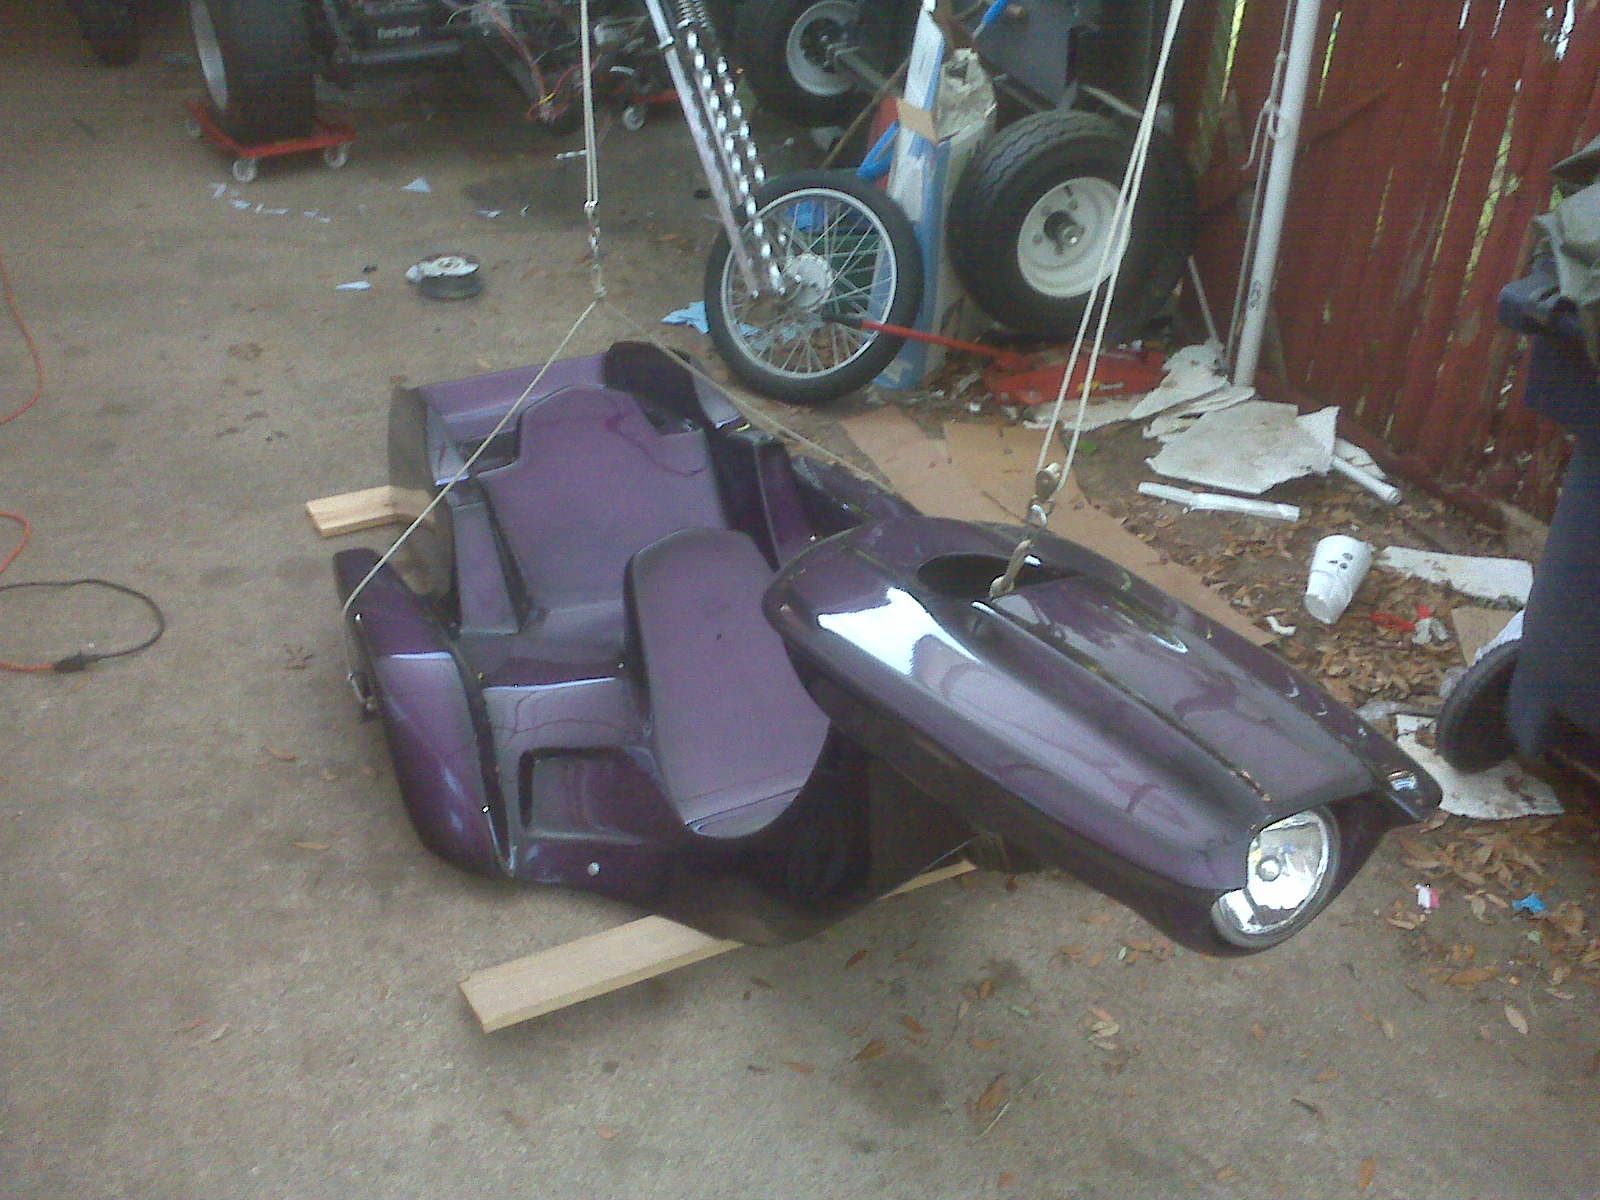
The first thing I did tonight was get the body ready for transport to Chris' Trim Shop for upholstery tomorrow. I go get my material and drop both off for the work.

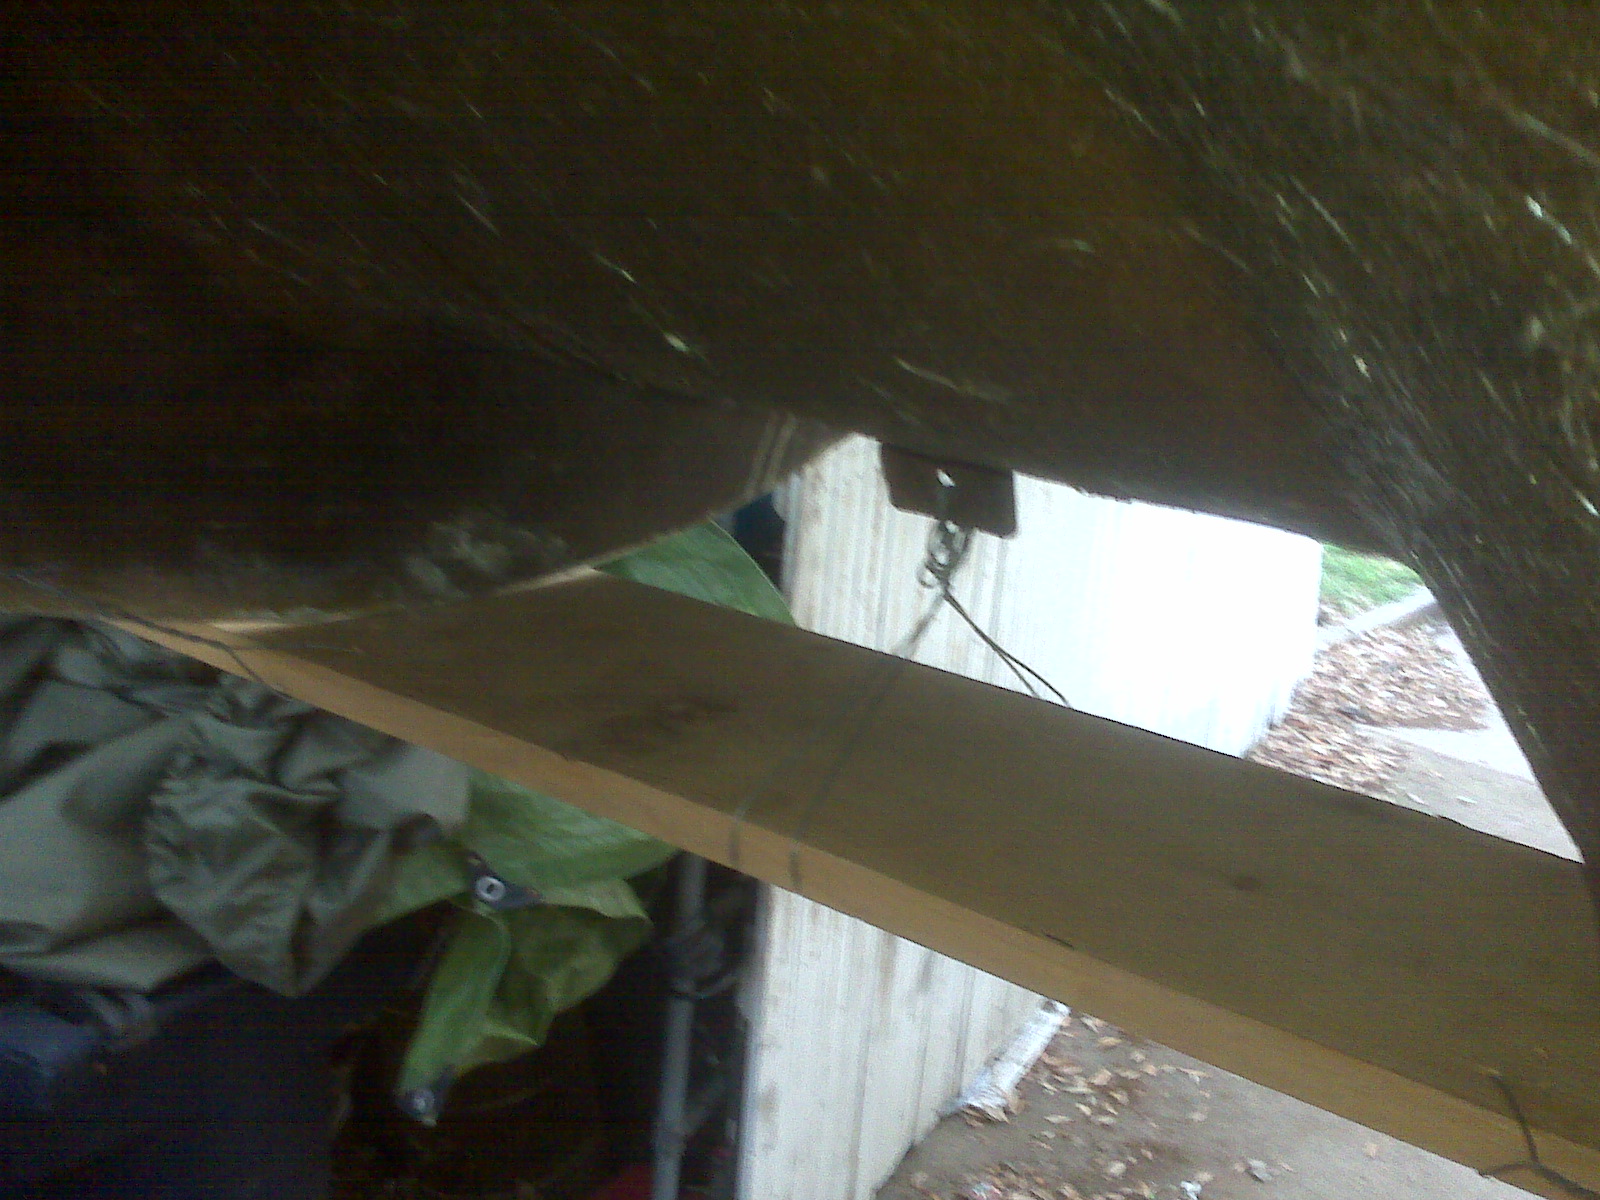
To protect the four "corners" that generally hit the ground first on the body, I wired and bungied a couple of boards to the low points.

The front still sat a little low, so I added a spacer to the bottom of that board, not shown here.

The board in the back is held on with a couple of ball cords laced through the tail light holes.

Now the body will be easier to handle with somewhat less fear of scraping the gorgeous paint job.

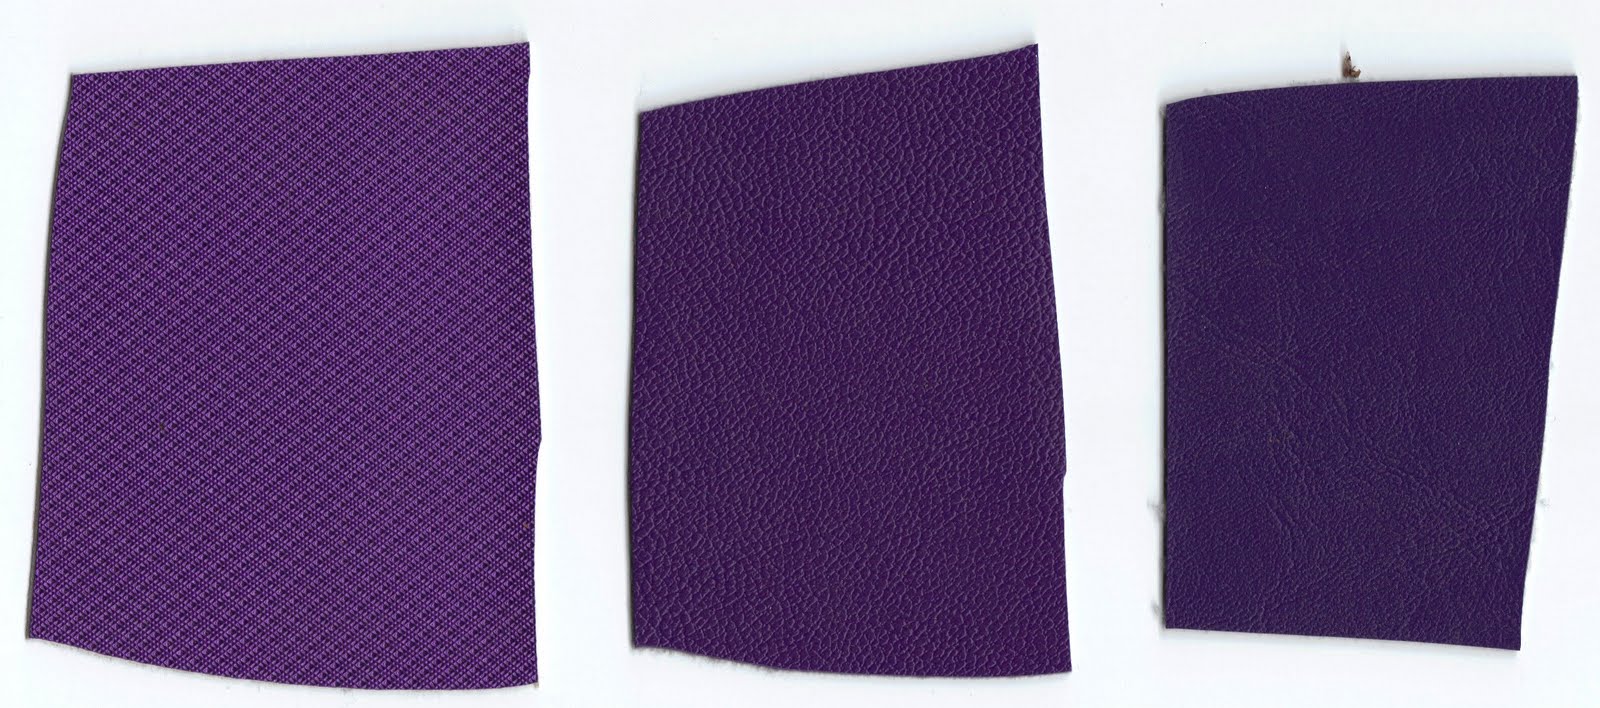
As for the upholstery, it's pretty much a tossup between the left and middle choices. Since it's only a couple yards of either, the fact that they are also the most expensive two is kind of incidental, $14.50 and $23.25 per yard, respectively.


It seems to me that the left one picks up the brighter tones of the paint better and it appears to me to be the heavier of the two, so it may well win.

The other option, available from the trim shop directly, is a black covering that has a snake or lizard skin texture, which I think is pretty cool for a dragon themed trike. I found something similar in purple on the internet, but it was so cheap per yard, I figured it probably not good enough quality.

So, unless something really cool jumps out at me, it will probably the the left one above.

Wednesday, May 5, 2010

Going in to turn four

I have basically 21 calendar days until Memorial Day Weekend, which is when I want to unveil The Dragon Trike, and only two more weeks after that before Trike Week.

Yikes!

So, tonight I did a bunch of little stuff, so much little stuff I'm sure I'll end up forgetting to list some of it.

In no particular order, I:

mounted the trigger wheel sensor bracket
mounted the trigger wheel sensor
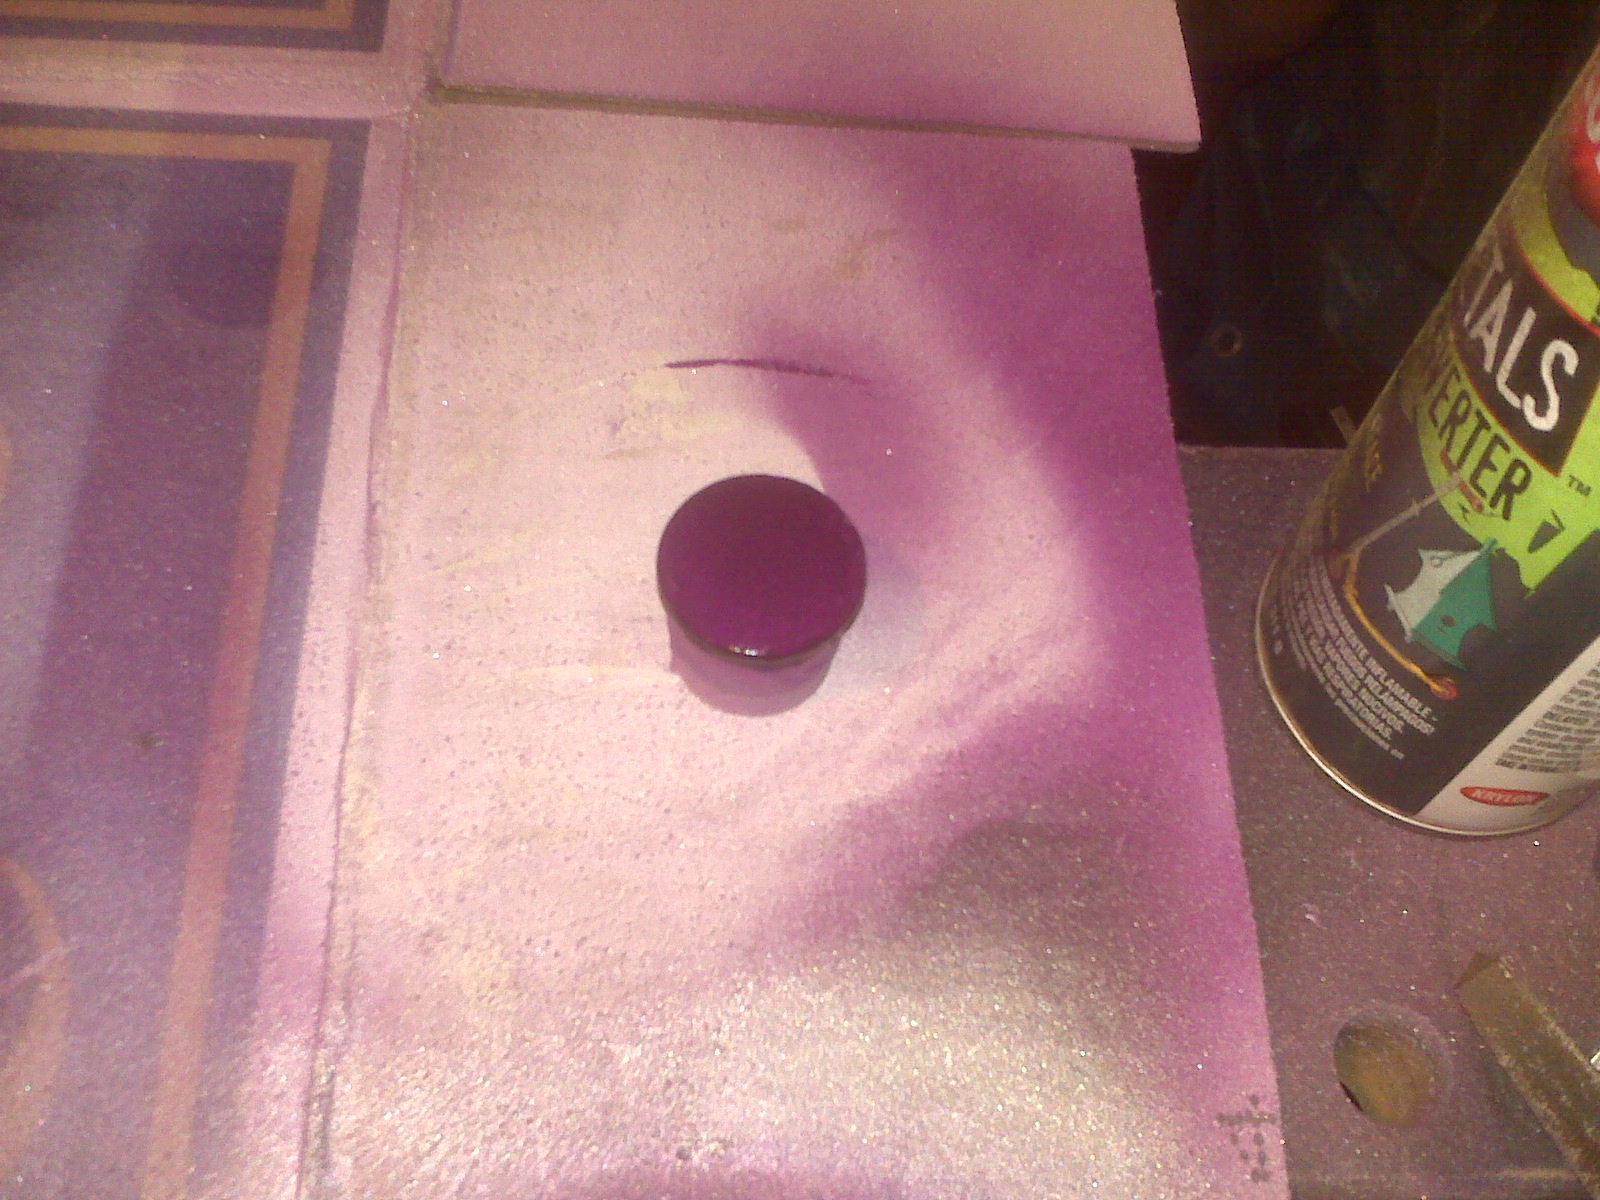
installed the newly purpled fuel pump block off


determined how to fabricate the CLT sensor

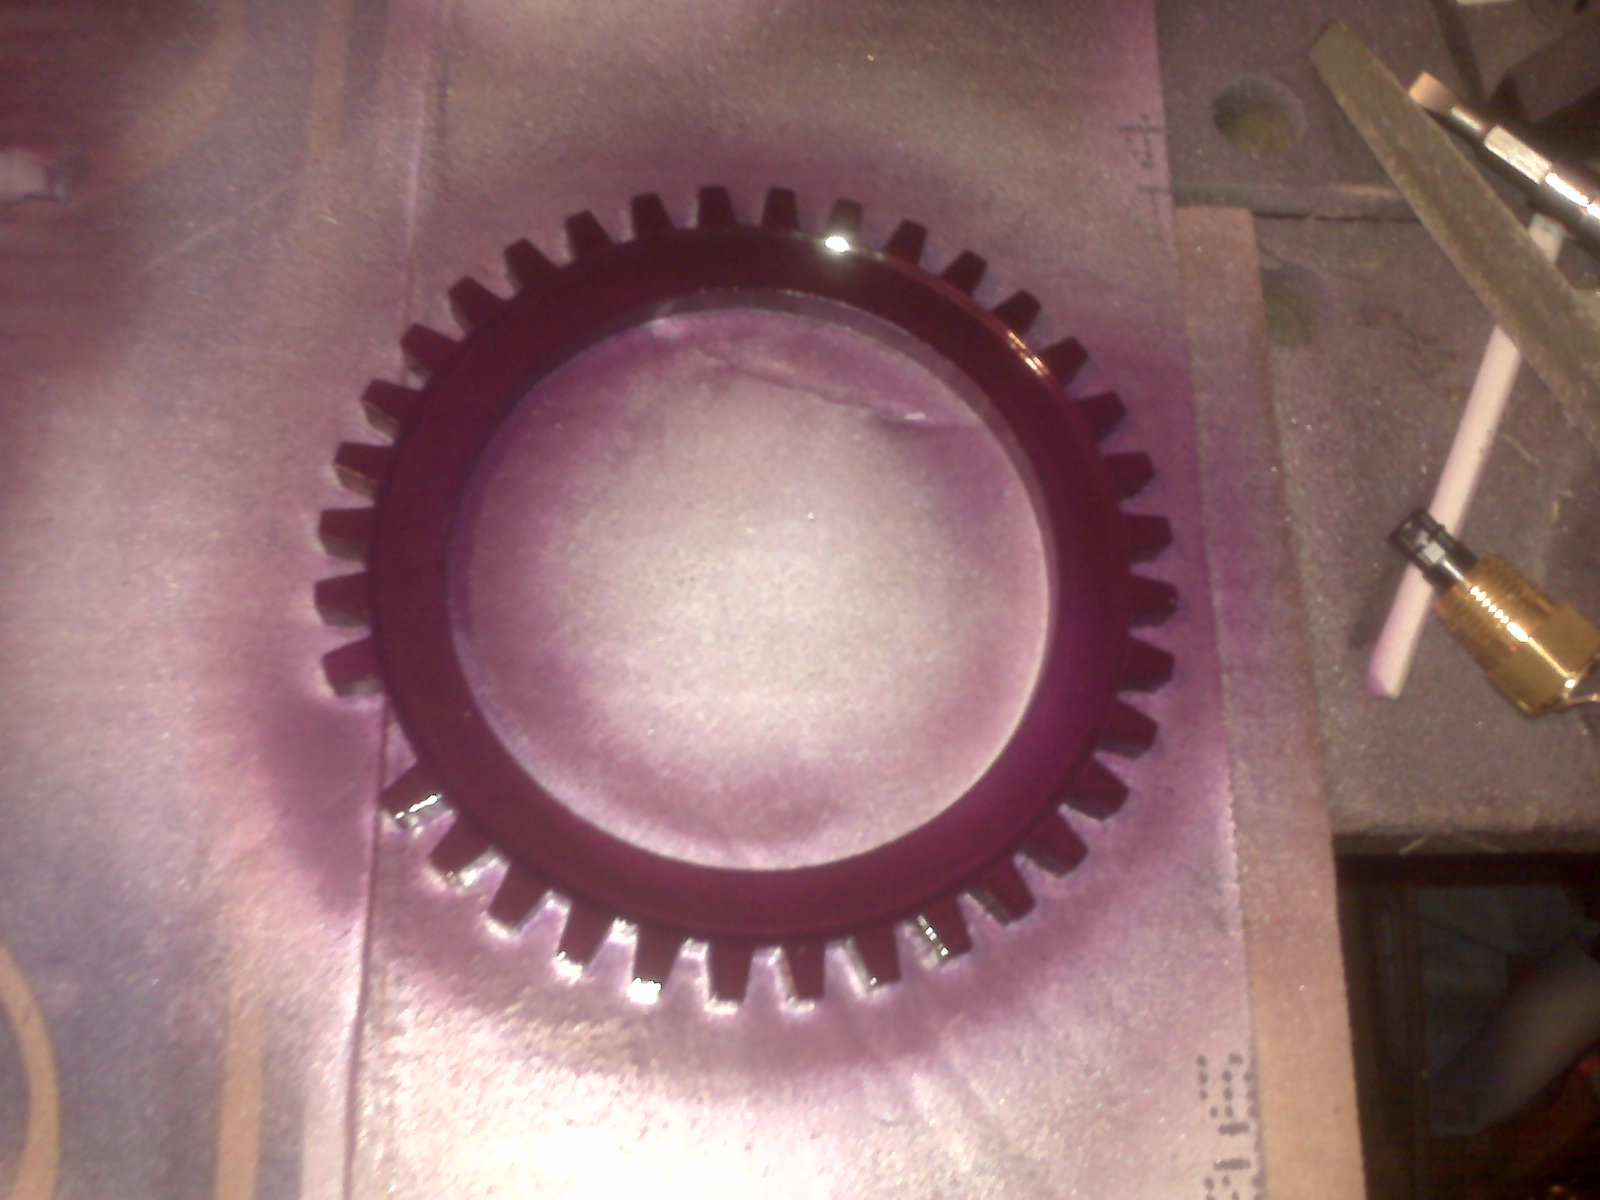
cleaned and painted the trigger ring

painted the distributor eliminator plug

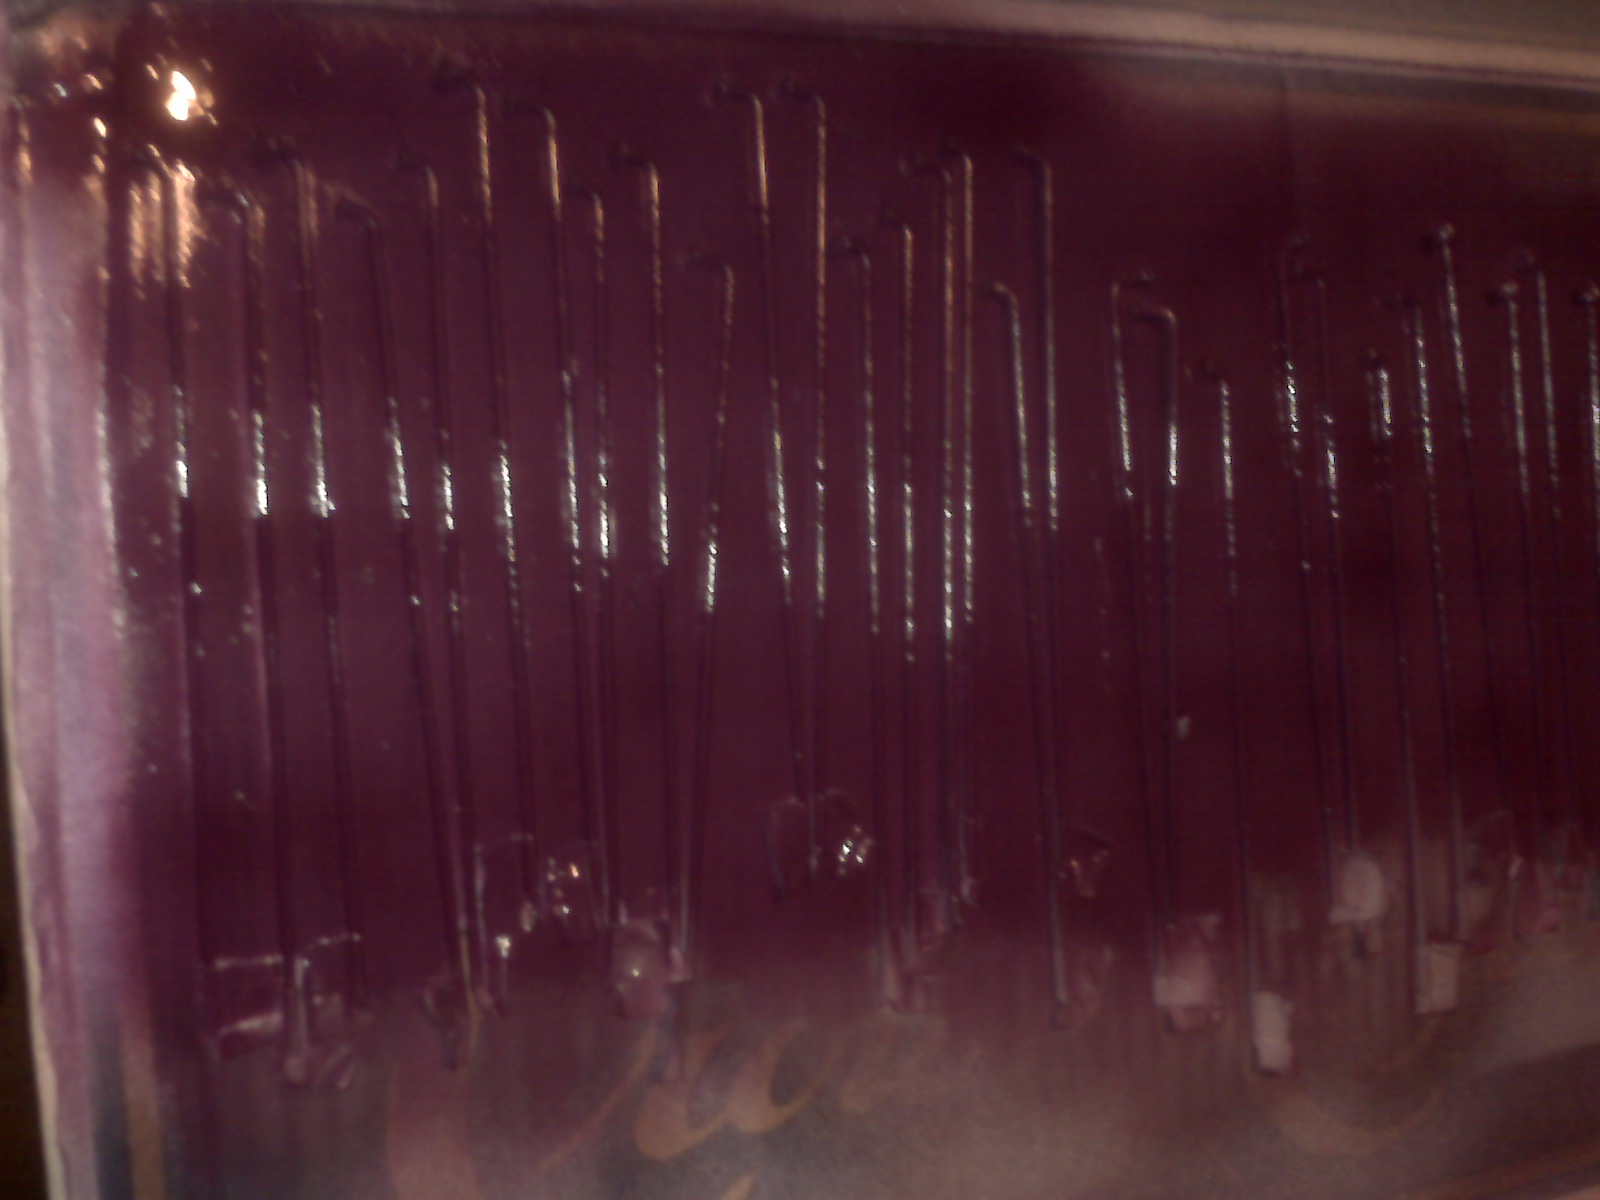
put a coat of purple on the spokes

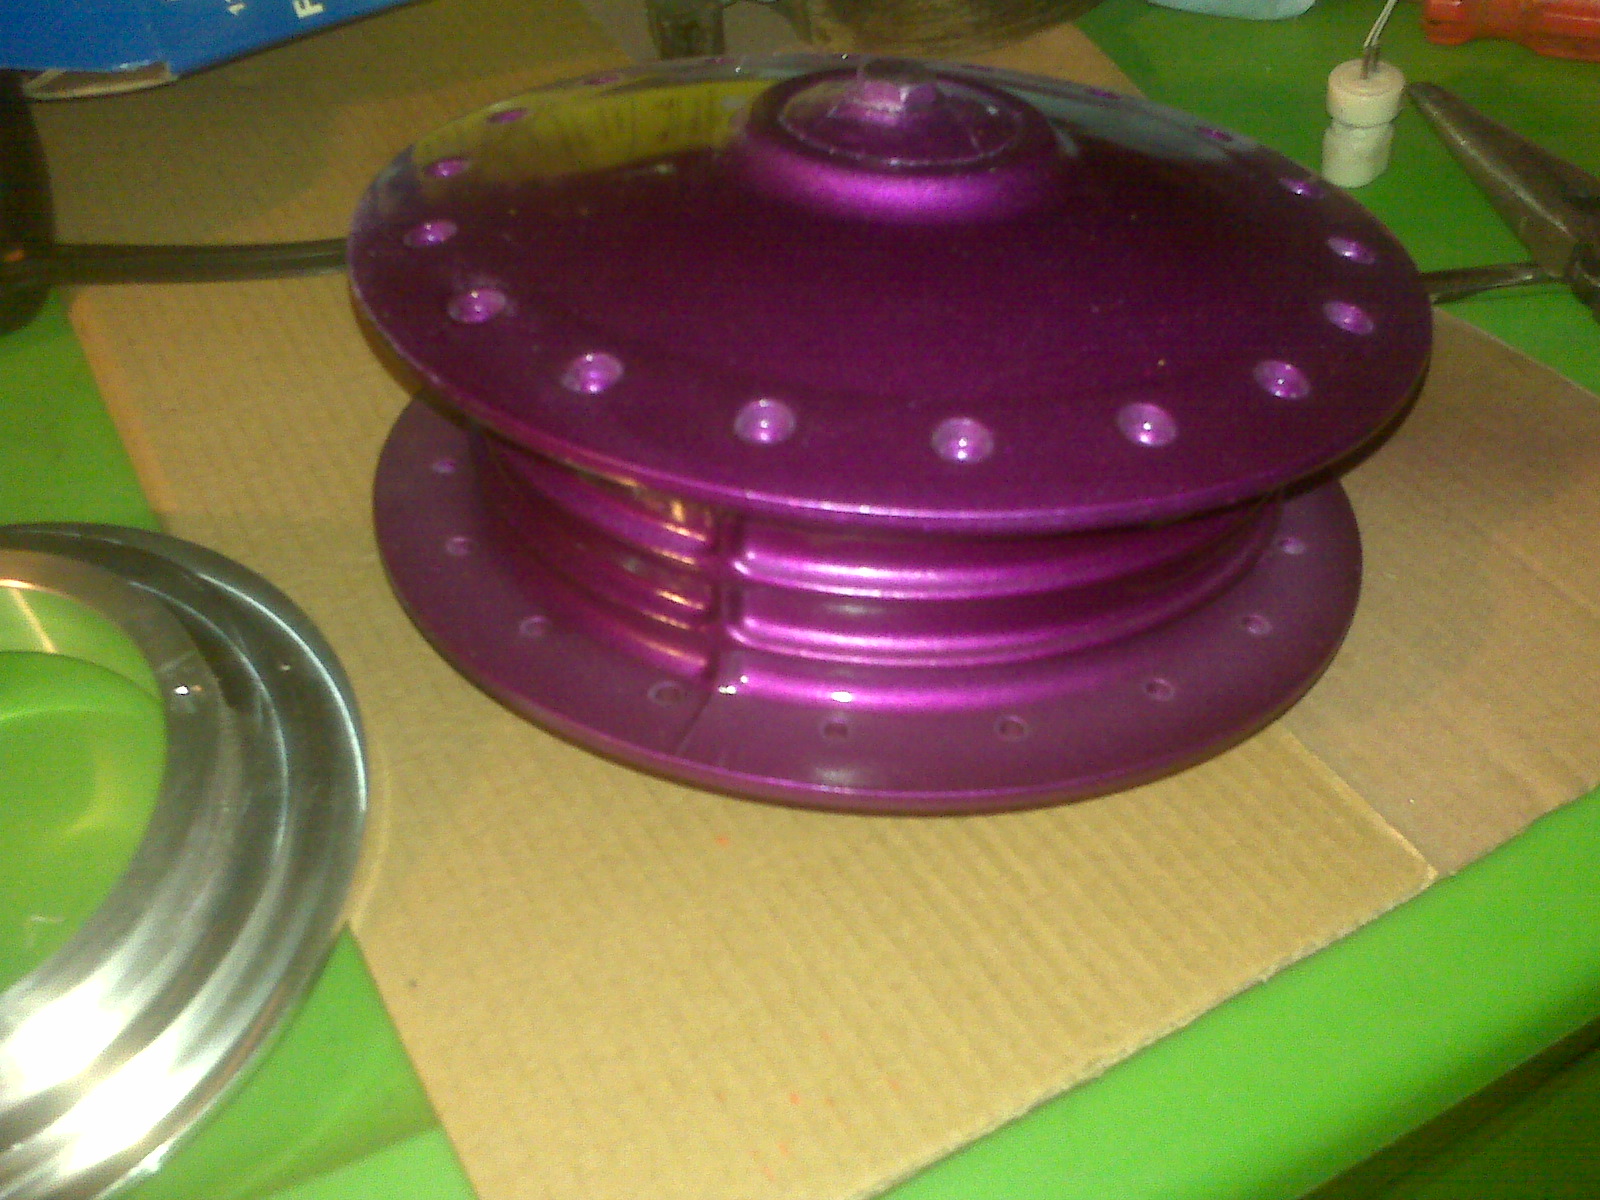
put the last coat of purple on the wheel hub

located and cleaned the distributor clamp (needed for plug)

put the body on temporarily so I could:
measure for the rear body brace

measure for the relay/fuse/ECU panel
estimated the thickness of the fiberglass where the ignition switch will go
measure the diameter of the ignition switch so I can acquire an appropriate holesaw

Perhaps the scariest,  yet arguably one of the most important things was to make a master list of tasks left to complete the trike.

There are basically four categories:

1. Things needed to start/run/tune the engine

attach and adjust trigger ring
connectorize EDIS sensor
mount EDIS module
mount coil pack
cut plug wires as needed
wire relay/fuse board
mount ECU in weatherproof box relay/fuse board
wire all sensors etc to ECU
mount fuel pump and filler spout to tank
mount fuel tank (possibly higher off ground)
connectorize fuel pump
get fuel filter
connect fuel pump to filter and TB
build CLT sensor
connect vacuum to MAP; plug unused ports
mount O2 sensor
wire OS sensor module
baffle in stinger (for my ears)


2. Things needed to make the trike driveable/testable

build throttle cable
connectorize and install switch pod and speedo
install throttle
install grips
wire alternator light
wire oil pressure light
wire alternator to battery
mount and wire ignition switch
modify/build rear body bracket
mount relay board to body bracket
finish front wheel

3. Things needed to make the trike roadworthy/legal

wire headlight
wire tail/brake/turn lights
find front signal lights
wire front signal lights
find backup light
wire backup light
wire license plate light
find license plate
get and install front brake cable
mirrors
inspection
build footrest
install bumper

4. Things needed to finally finish the trike (mostly cosmetics)

fenders
polish rear wheels
through body filler tube
This as complete a list as I can imagine at the moment, but I'm sure I will remember other points along the way!

Tuesday, May 4, 2010

Wheel work continues

What's more tedious than wire brushing 36 spokes? Cleaning them individually with acetone and taping the threads so you can paint them.


I also base coated and painted the hubs. Once the moving hub dries, I have one coat to do on the side hidden in this pic.

A coat of purple on the spokes and I'll be ready to give lacing the wheel a try.

Monday, May 3, 2010

Front wheel

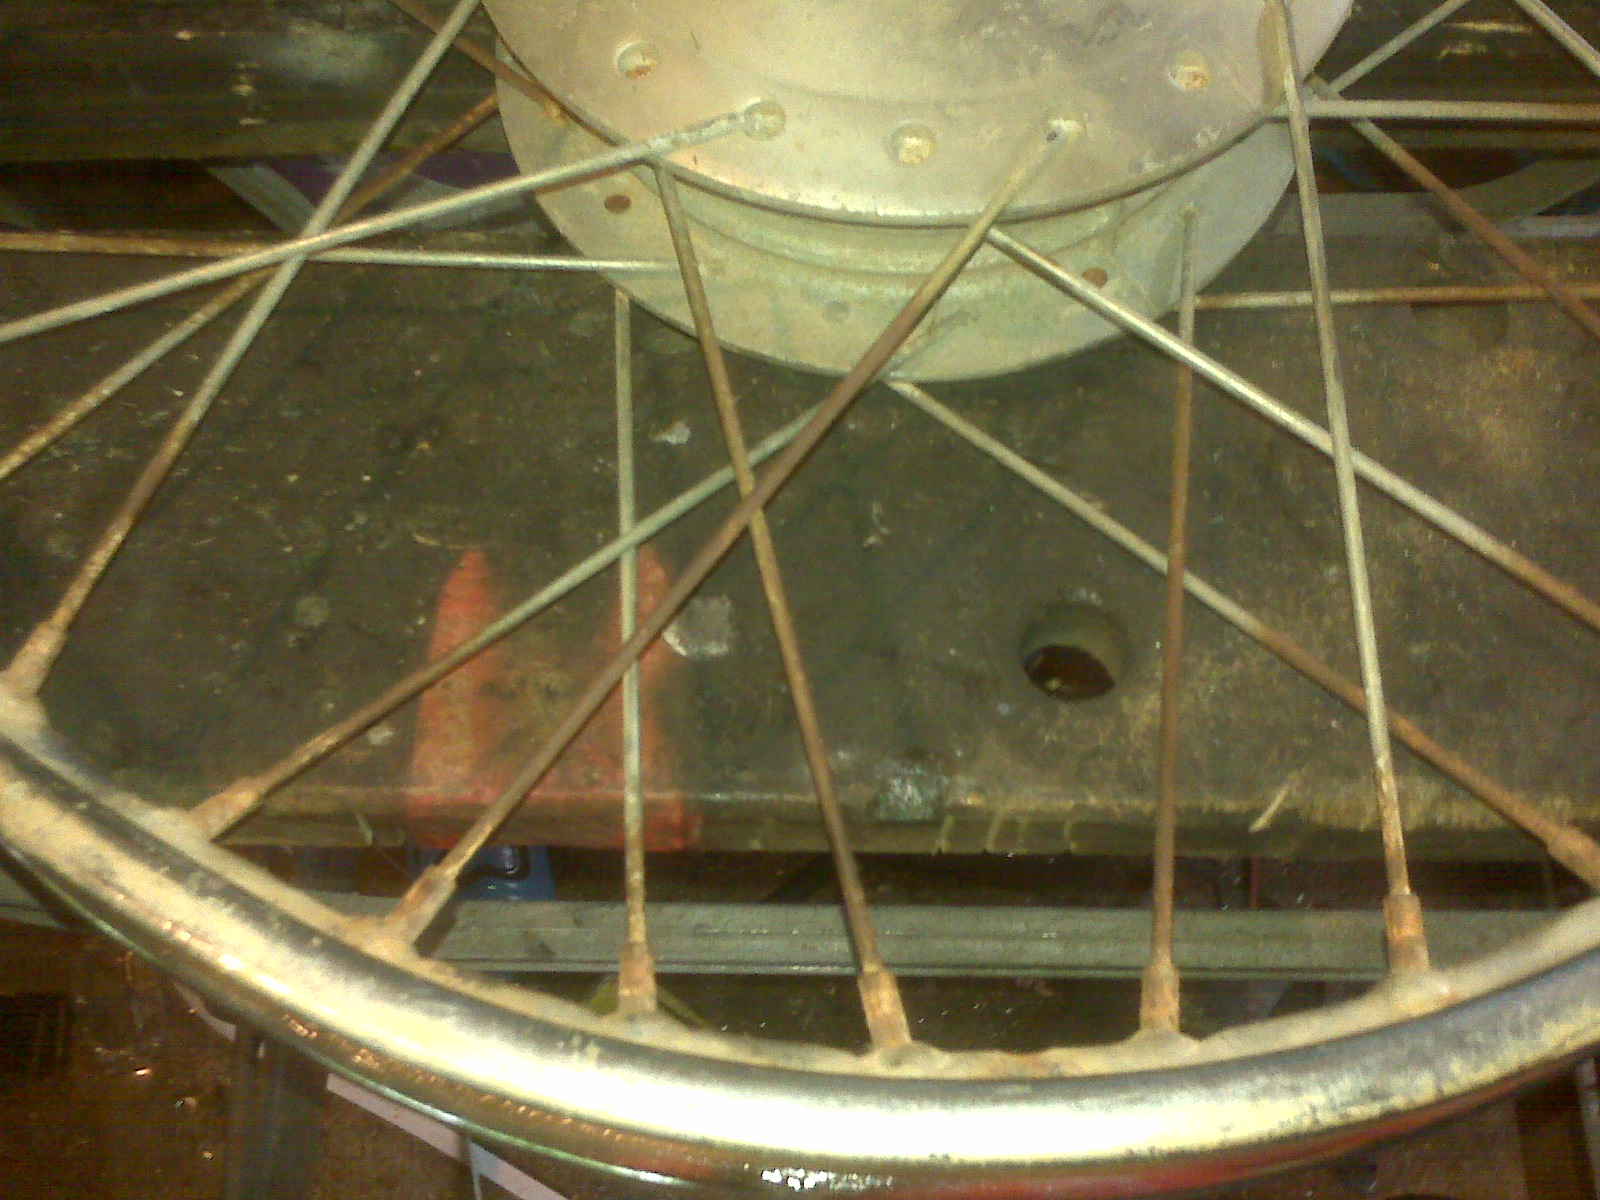
We stopped at the local motorcycle boneyard and found a front wheel that should work for the dragon trike. It's a 2.50x17 from a Honda CL70 Passport scooter/moped.


It was probably serviceable as is, but most of the spokes were lightly rusted, and the hub was a bit unsightly, so I elected to unlace it. Having trued a wire spoke wheel in the past using these and other directions, I think I can rebuild it. Besides, now I can paint the hub purple like the engine pieces.

If it sounds tedious to remove 36 spokes, wire brush each and sort them by the bend in the head, don't try it with 120.

The same boneyard had a new tire of the proper size, a Cheng Shin moped tire. It was only $7, so it was hard to pass it up, but upon reflection, maybe I should have. It's rated at a maximum speed of 50 km/h. That's 30 mph for US. I found a nice Michelin Gazelle rated for at 93 mph from BikeBandit. It's on the way.

Friday, April 30, 2010

Receiver Hitch

Beginning with this post, I'm going to start displaying most pictures inline rather than with links. I've had a little feedback that indicates that people who look at these updates almost never click on the links, so they don't see the pictures.


Unfortunately, I again neglected to take any pictures until I was finished.

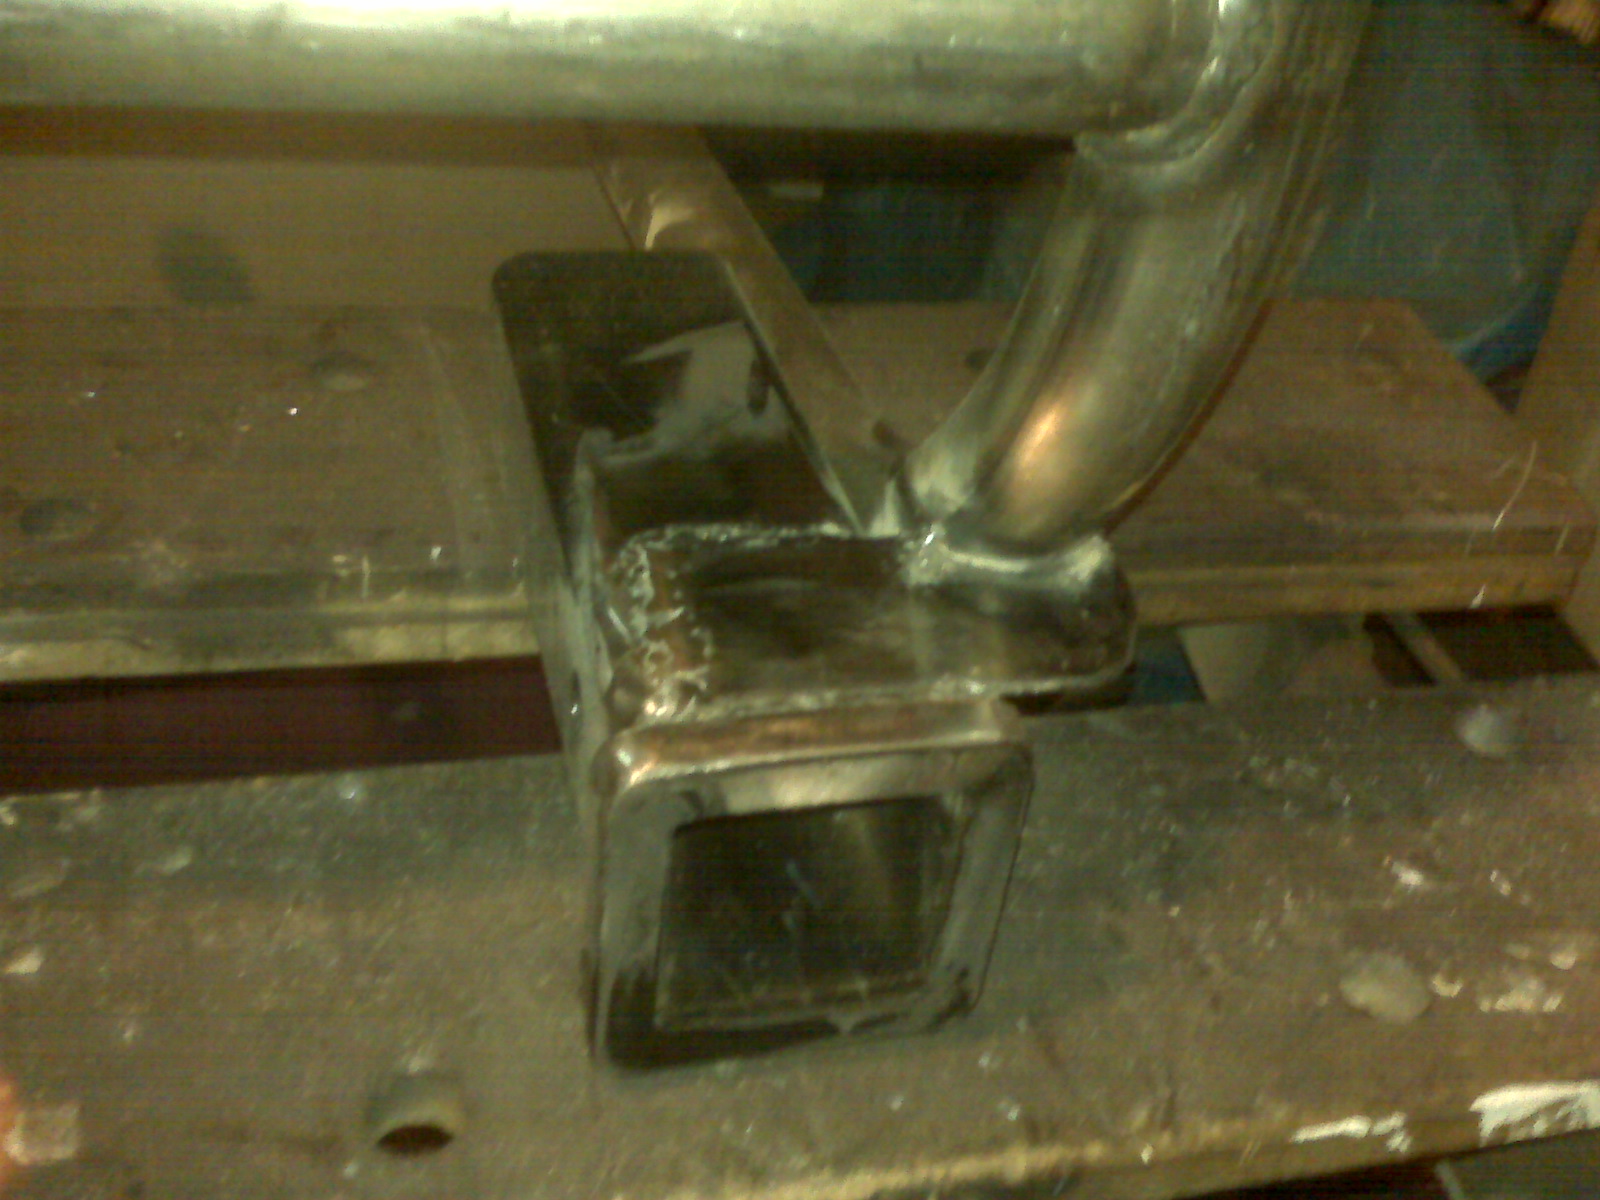
Because of the location of the exhaust, the hitch is a bit to the right of the center line. I don't expect this to be a problem and it was far less complicated that trying to both center it and stay out of the way of the header.


After mocking it up on the bench in several ways, I decided that the easiest would be the simplest, too. I cut a piece of 2" x 1/8" flat mild steel and cut a semicircular hole in one edge. I then ground it to match the profile of the bumper tubing at the angle where it meets.


I sanded all the paint off the contact areas of the receiver tube, clamped the plate in the proper spot and welded the plate to the receiver tube. I then mocked it back up with the bumper and tack welded the flat to the bumper tubing and the back of the receiver tube to the bumper tubing there.

I flipped the bumper over and welded the flat to the bumper tube and as much of the contact area at the back of the receiver tube as possible. This back joint looked too small to me, so I sanded more paint off the bottom of the tube and welded a small flat piece to bridge between the receiver tube and the bumper tube.

I also added a mounting tab for the license plate. By its location, it will also probably hold the interface for the O2 sensor. Sorry for the funky upsidedown pic. No, that is not a small anvil stuck incongruously to the bumper tube. It is actually sitting on the step of the workbench with the face on top, but I wanted the license plate bracket to look "normal".


I dressed and sanded all the joints and it's ready to hand off for powder coating!

Followers