Monday, May 31, 2010

Shifter Trauma

The trike was a hit at the event. Sadly, I could not take it anywhere due to the shifter issue. I had to fight for any gear I could find and leave it there as long it would stay. The site had what could best be described as decent dirt roads and most any significant bump would make it jump out of gear, a clear symptom of the problem.

After we got home last night, I sat down and looked at Jamar shifters. I think I can adapt one to my situation if replacing the stock shift rod hanger doesn't work well enough. I think it likely will.

The ones on the trike (it has two to support the length of the initial shaft) were cut in the ring. I think someone chose to do that rather than go to the rather frustrating trouble to properly replace the shaft bushings. To do it correctly, the shaft needs to be pulled out, new bushings installed and the shaft put back in. Because of the welds on the u-joints on this shaft, they don't fit though the installed bushings. With the ring on the hanger split, you can bend the ring open enough to slide the bushings into place. Trouble is, the ring is weakened when bent and more bending makes it worse. It gets so weak that normal shifter motion can push the ring open. Eventually, it will break.

I have a new shift rod hanger. It should be easy enough to pull the shaft out, cut off the old hanger and weld on the new one. I may need to dress the u-joint welds a bit to reinstall the shaft, but next time it will be much easier.

After that, I hope to have it roadworthy enough to do some tuning on the engine. With what little riding I was able to do, I think it goes lean at higher throttle openings, which only makes sense. I couldn't experiment there in the driveway :)

Saturday, May 29, 2010

It's not intolerable...

There will be a much more detailed breakdown of all the good and bad, but here's a quick assessment from my short test ride.

The engine did pretty well, better than I expected, really. It was drivable. It felt like a standard 1600 with a 009 distributor, a little balky off idle, but it pulled pretty good. At least in the gears I was able to use.

Earlier today, I discovered a problem with the shifter and sure enough, I had to deal with it. In my ride, the only sequential gears I got was 3rd and 4th, and I was going much too slow for 4th. I never actually engaged 2nd or reverse, but I ground them down a bit.

The clutch and brake both take more effort than I'm used to, but I don't suppose that's actually a problem.

The worst thing is that the bars are VERY close. Turning to either extreme caused them to meet me in the ribs.

On the other hand, it seems to fit Gabby pretty well.... :)

Almost made it

I tried very very hard, but I just didn't make it before midnight.

It is only about 12:30, though!

I'm about to take a late night test ride... I'm sure my neighbors will appreciate it....

Friday, May 28, 2010

Closer... closer....

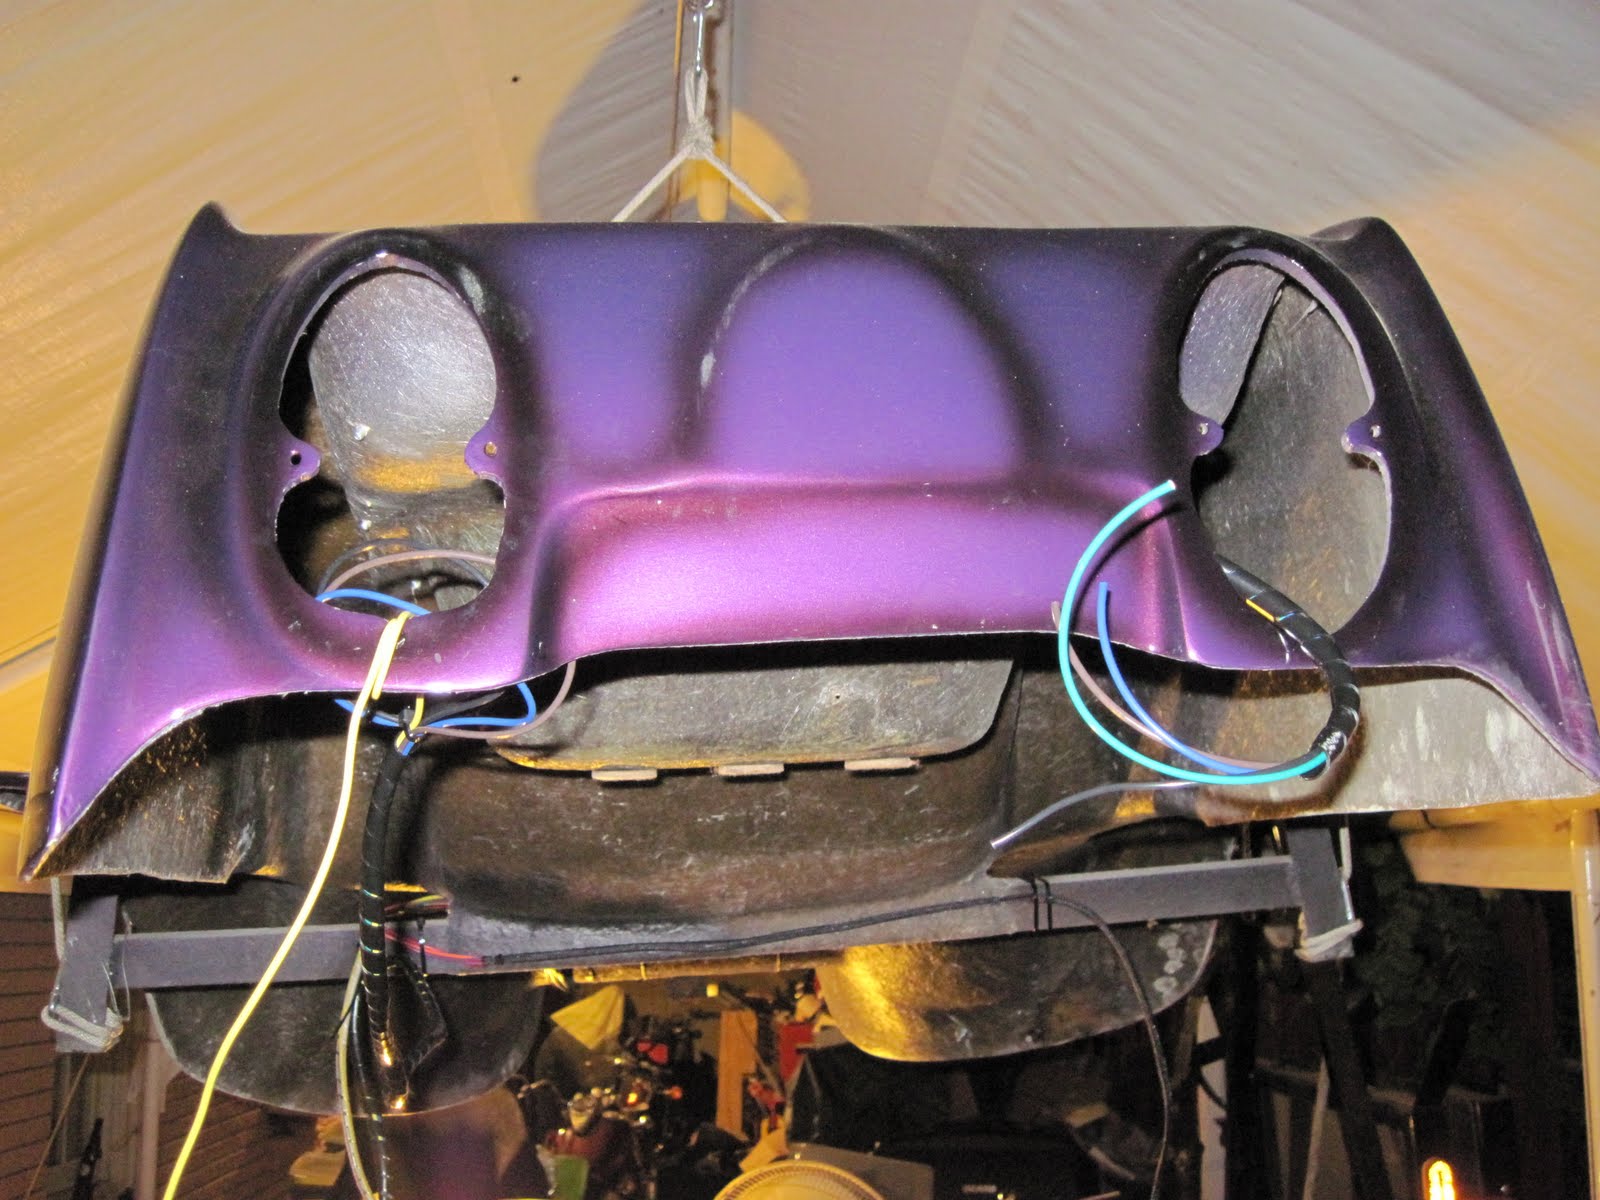
I finished the body wiring, complete with split sheathing...


Headlight and turn signal connectors


Keyswitch connectors

The need to vigorously clean the fiberglass in order for tie downs to stick is apparent. I suspect they still may come loose, at which time I will epoxy on some kind of cleat.


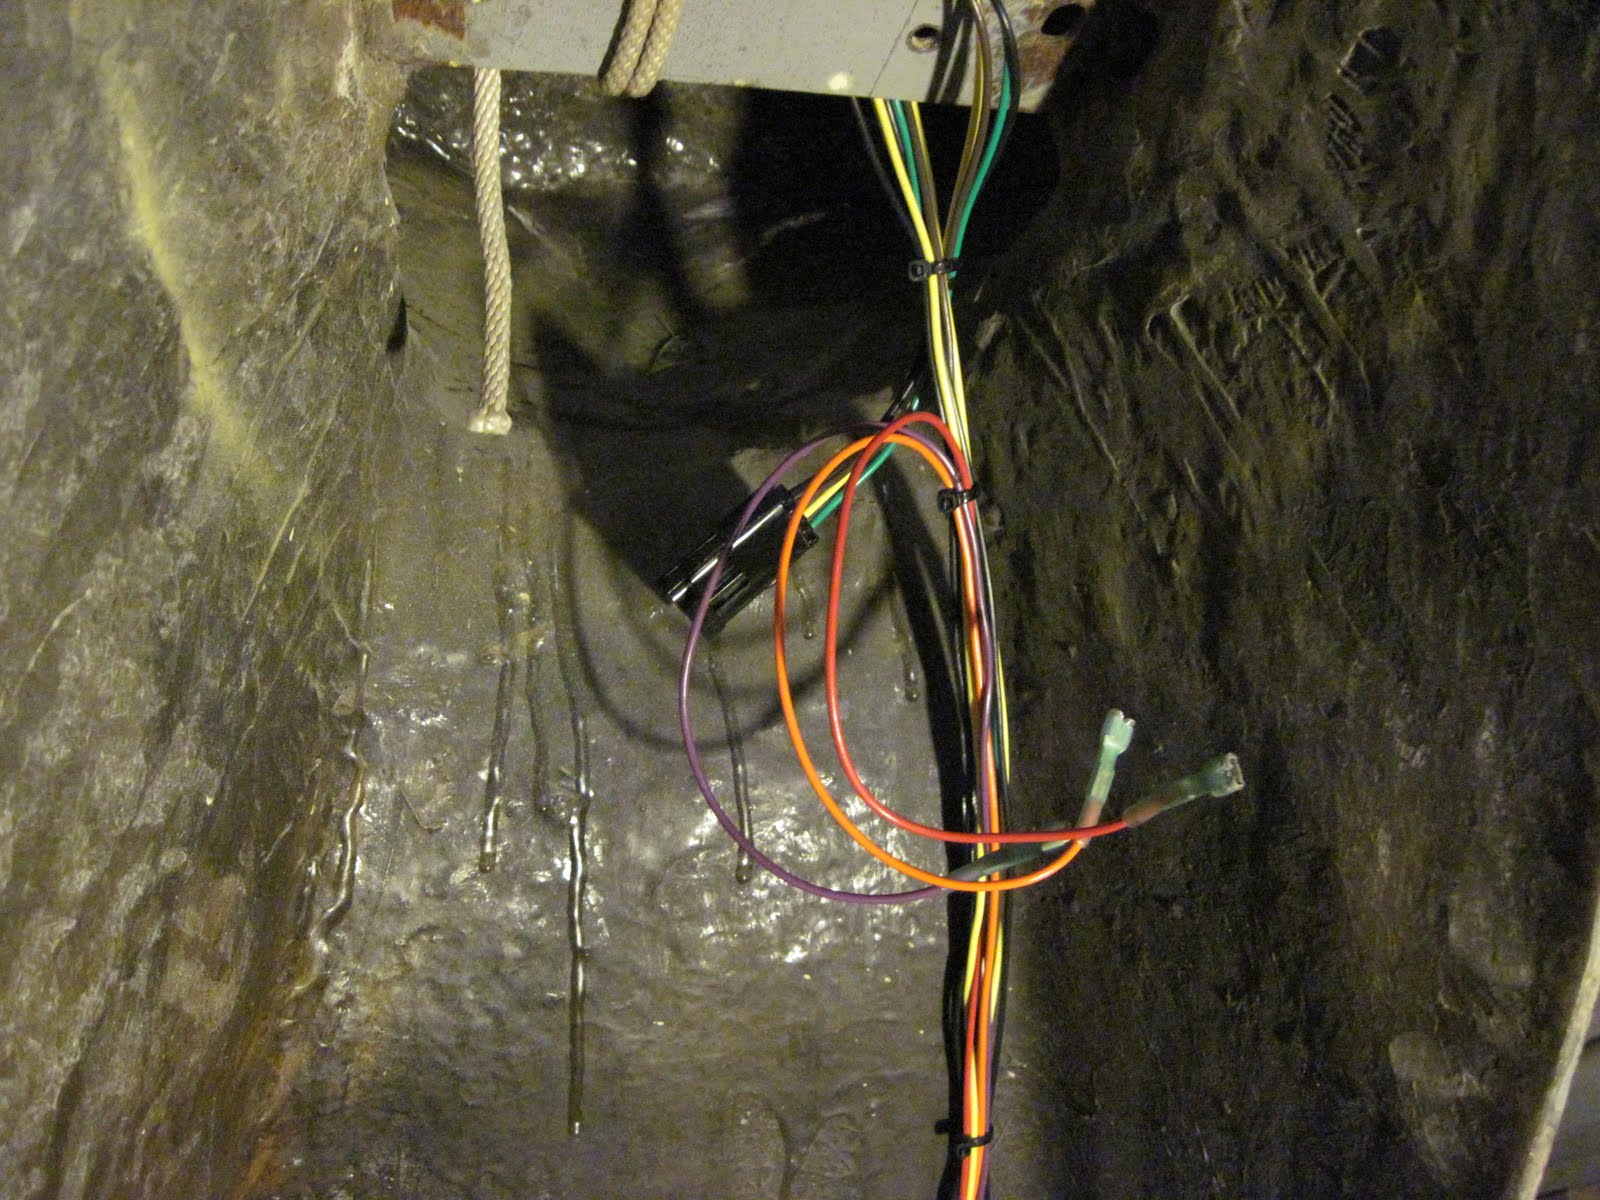
Under seat span


Termination point. Connectors are hanging below

Also evident is my desire to wrap the wiring in *something*. There split sheath, two colors of spiral wrap and one braided sleeve in the this picture.


Tail / Stop / Turn wiring

The two tail light units were slight different, one being quite old, supplied with the trike when I bought it. The older one had a screw in it for ground; the newer one was missing the push on terminal for the turn lamp. I used short jumper wires with connectors to work around both issues.


The taillights need a gasket to properly fit and seal, but they meet the 10 foot rule quite well...


I got about 2 more inches of altitude, and thus fuel pump clearance, for the fuel tank. I started the engine several times, and almost immediately, it was running extra lean andshopwing low fuel pressure. I presumed the filter was probably clogged. Since the tank should have been exceptionally clean after applying the POR15 liner, I wondered if the liner had dissolved due to the alcohol content of our modern gasolines. I fumbled around until I found a light source to inspect the inside of the tank. I discovered that I was suffering not from liner dissolution or clogged filter, but rather a dearth of fuel. Some of those tests must have burned VERY rich.


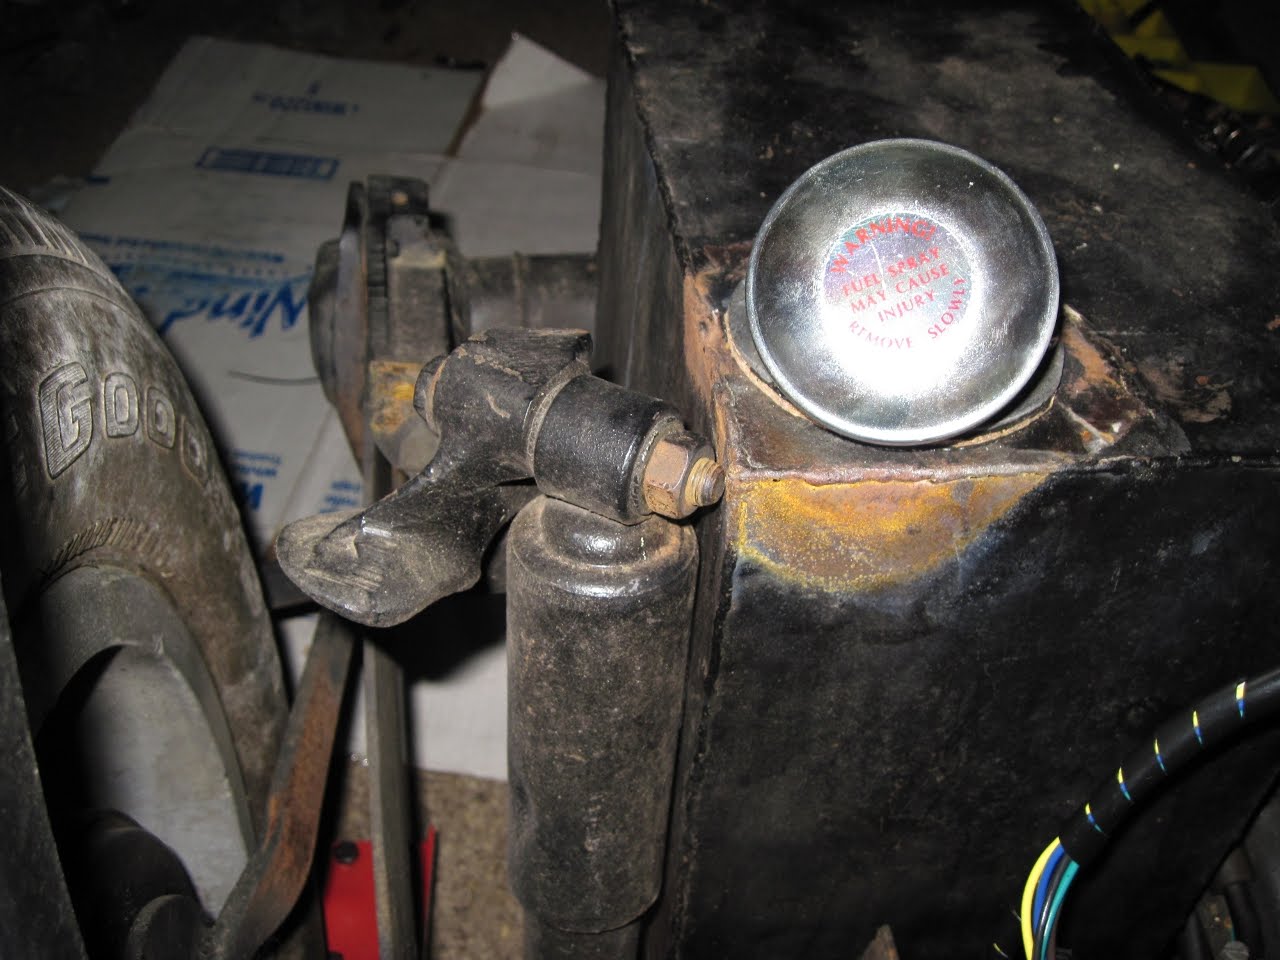
Besides the other fuel tank bracket, you can see where I elected to put the obnoxiously loud airhorn. It was nearly $50, but wow can it be heard.


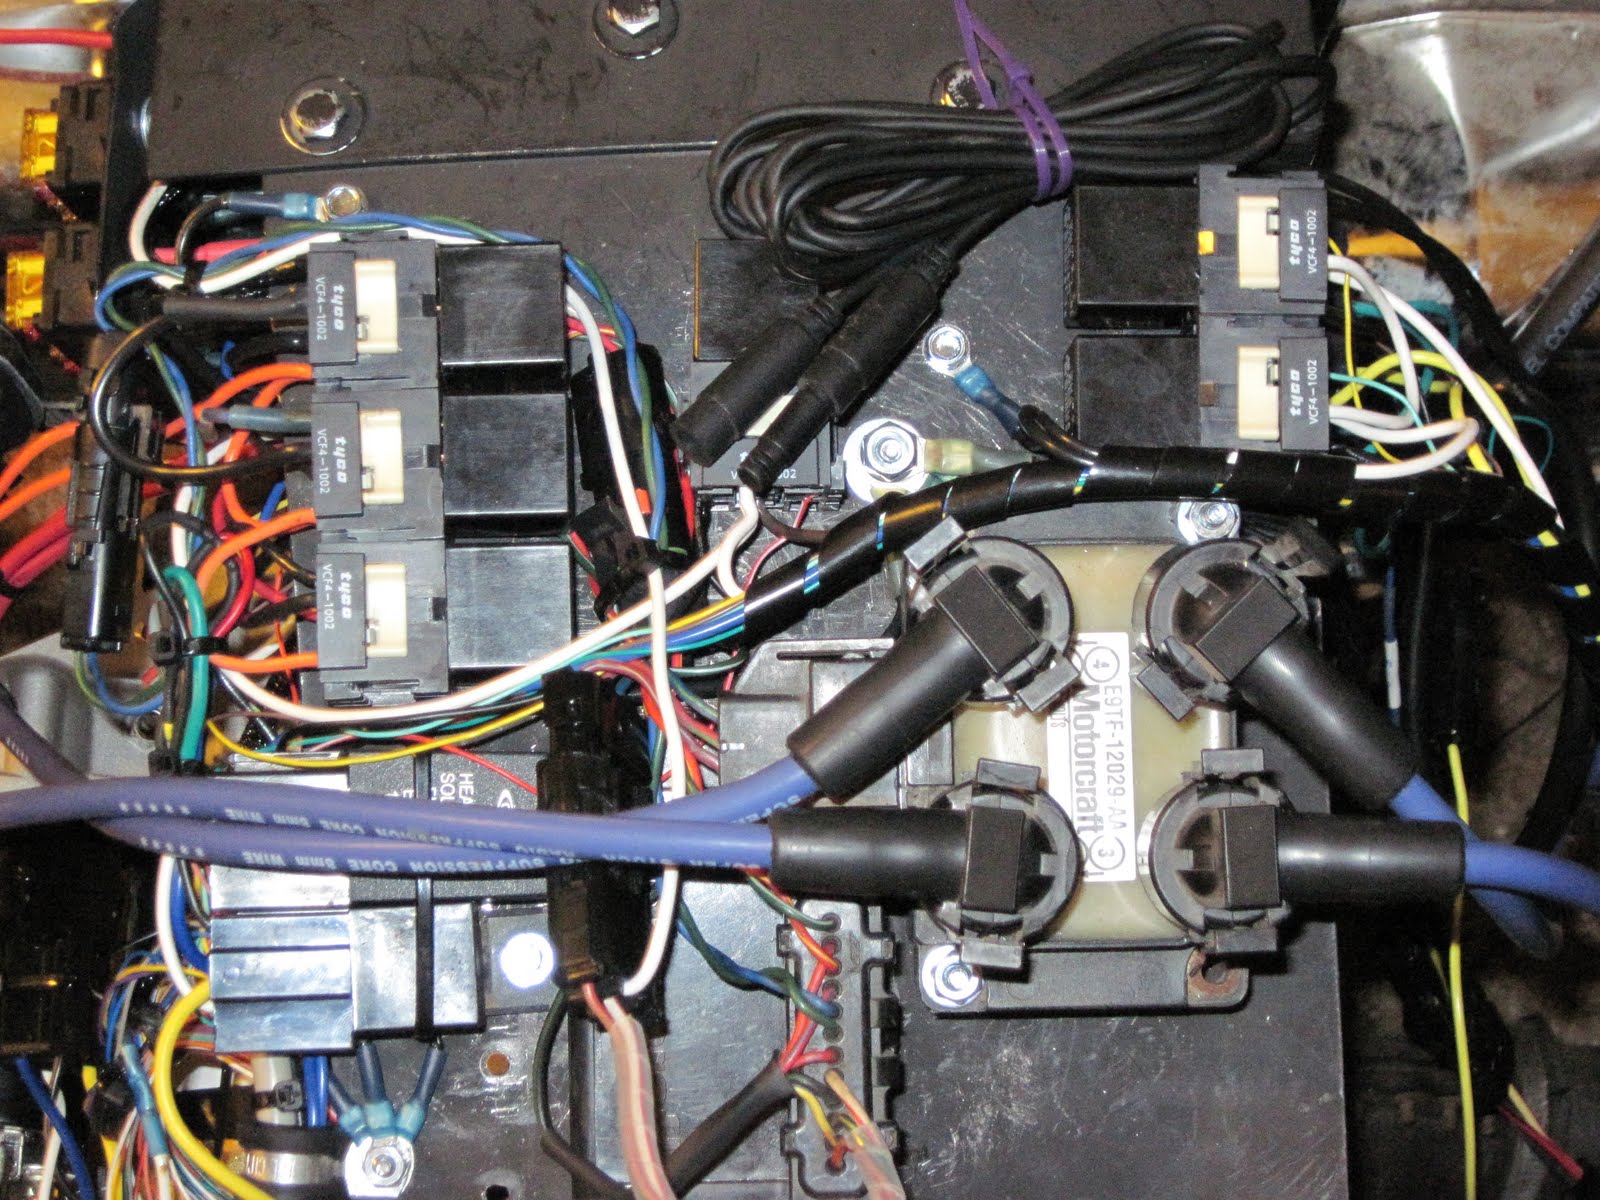
I installed a couple of Mr Gasket sparkplug wire loom. Because it's chrome, it doesn't show up very well in this photo, but it looks really nice in person.


Relocated fuel filter; it was too close to the axle and the line was too close to the moving clutch parts. I also rerouted the power lead to the fuel pump.


The raised fuel tank comes pretty close to the shock tower, but at least that's the stationary end!


That's all I have pictures for. I also connected the IDM pin of the EDIS module to the tach input on the speedo. I had to adjust the count for 0.5 rotations per signal, but it reads RPM now! I also set a 4000 RPM shift point. At the appointed RPM, the tach bargraph will flash.

I'm almost positive I did more than this, but I think I am too sleepy to remember them just now....

Thursday, May 27, 2010

Body Wiring

I had several delays and thus started a little late, but I managed to get a bit done.


What's left on the body is to mount and connect the tail lights and secure the wiring to the body. I see JB Weld in my near future.

I have a plan that might work to mount the turn signals on the body, but I'm pretty sure they will go on the front end. I think they will look better there.

Along with few 'little' things like relocating the fuel filter (the filter is too near axle and the fuel line too near clutch lever), mounting my obnoxiously loud horn and installing the bumper (besides the protection it provides and the trailer hitch, the license plate mounts on the bumper), the major things keeping it off the road will be building the throttle cable and the front wheel/tire.

I say wheel/tire because if I don't get the new(ish) wheel relaced in time for the weekend, I need to at least change the tire on the old wheel.

The throttle cable shouldn't be difficult, but it cannot be skipped!

The only purchase I think I will need to make is grips and a second mirror mount.

Of course, once it's actually on the road, I still need to tune the EFI system. I think I can have it running reasonably for the weekend, though probably not optimally.

Hey, if I don't get stranded in the median on I-20, I'll be well beyond pleased.

Wednesday, May 26, 2010

My Feet Are Tired!

After setting out some grass in the front yard and doing so overdue pool maintenance, I got to wiring. By midnight, I had reached a hard stopping point, though slightly short of my goal. I had wanted to have *all* chassis wiring done, but I am short a horn, need to do some ECU programming before I hook up the N light and I need something to make the alternator light work right.

A Volkwagen alternator needs a filament bulb to make the built in voltage regulator work right, so you can't just put an LED on it. I have a generic indicator light that I have been using. It's pretty common to put an LED indicator in parallel and put the LED on the dash. However, the voltage that lights the light is low enough that it wont light the LED on my speedometer. I will need to investigate, but in the mean time, I will put in a temporary switched 12V lead to my generic indicator because it won't charge without the bulb in place.

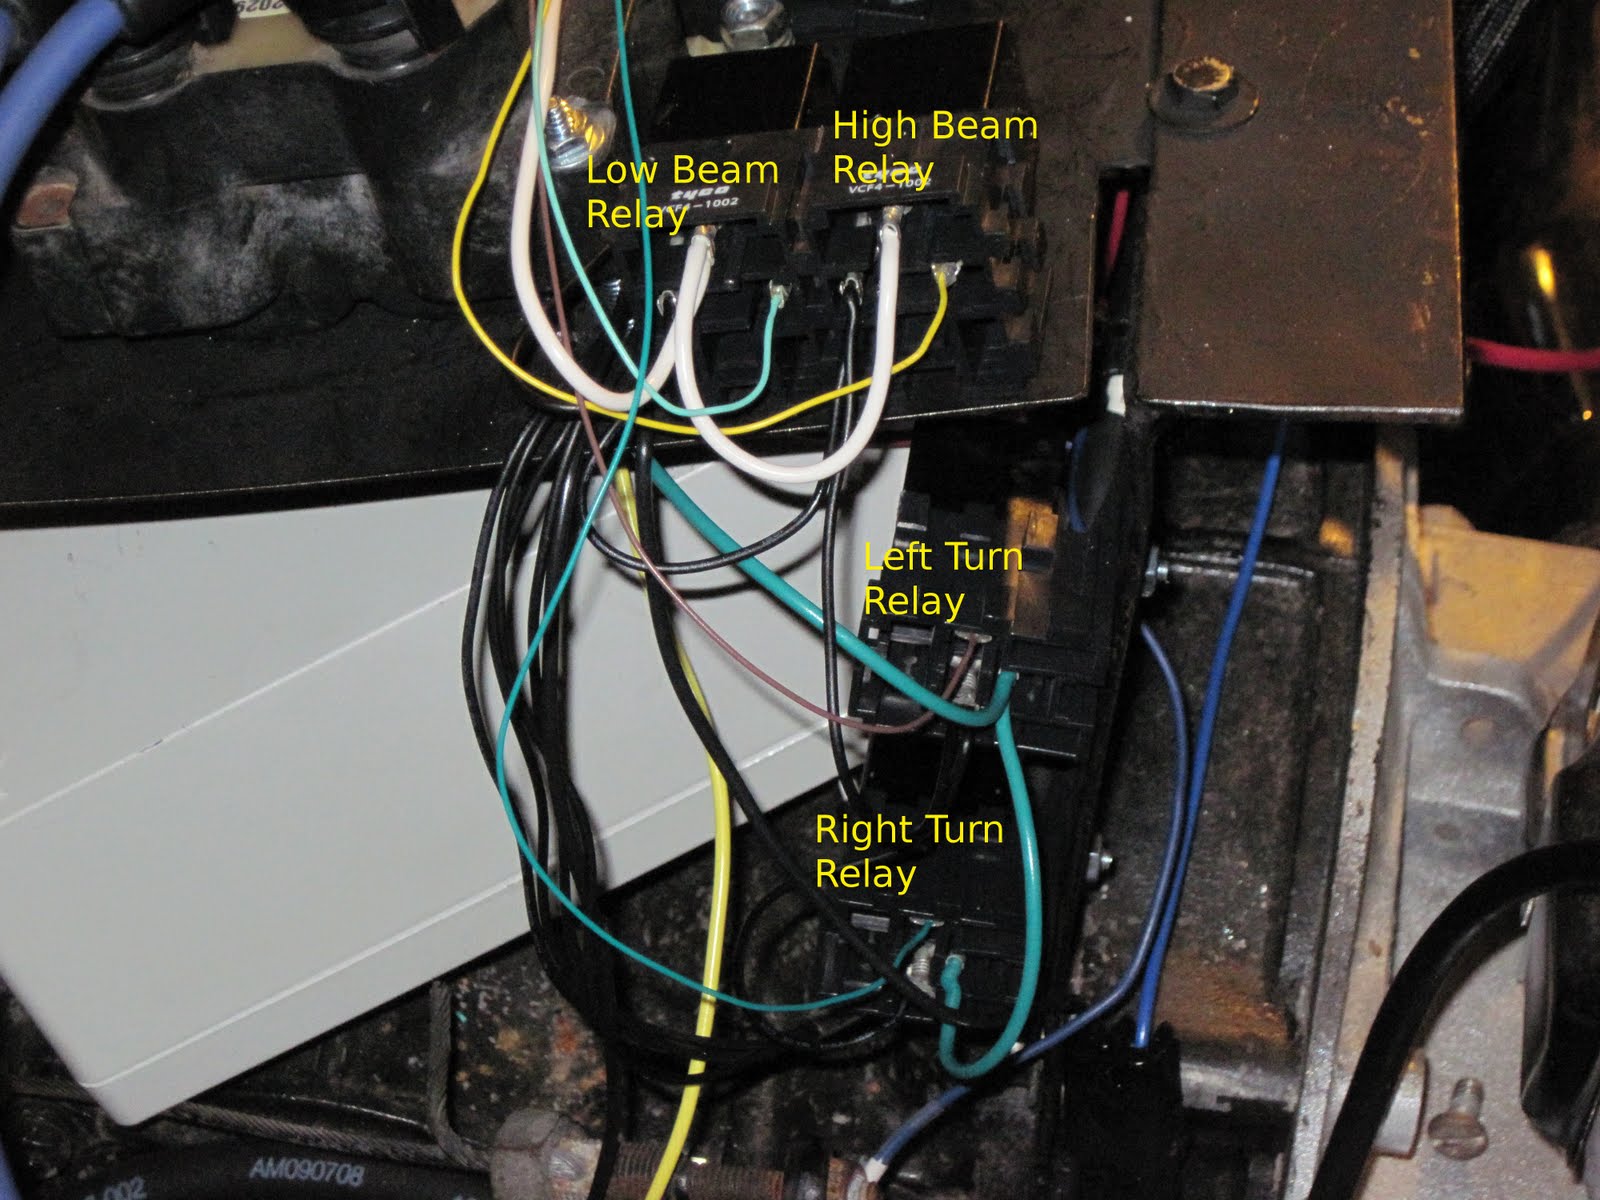
I replaced the "standard" electronic flash that I had with a flasher made for LEDs. Where the other flasher needs a load of about 1A to flash correctly, this one is rated for 20mA to 25A. It works perfectly with the relays. In this setup, the relays and the LED turn indicators on the speedo are the only load on the flasher. It drives a relay and the lights are driven from the relay.

Since I am out of Tyco sockets for the Bosch relays (who'd have thought eight wouldn't be enough?!)  I used a relay with a mounting tab and a regular pigtail socket for the horn circuit. Since the pigtail sockets also have a facility for connecting them together, I put the flasher in an adjacent connector and ziptied the flasher to the relay, which is mounted to the plate with the other relays. It looks better than it sounds. All I need now is a horn, hopefully a loud one.

I put wire and connectors on for the body wiring, headlights, taillights, brake lights and turn signals, along with a spare wire that I envision as being for some kind of accessory lighting. I also connectorized the keyswitch, which will also be on the body soon.

I spent a significant amount of time cleaning up the wire routing and putting in zip ties and spiral cable wrap. Some of the wiring cleanup involved making an extension cable or two so that certain wires weren't stretched like guitar strings.


All in all, I have very little chassis wiring left before it's inspection ready. The alternator and N indicators are really optional, as is the tachomter (need some diodes to wire than in) and the speedometer sensor (front wheel; electrically very simple, but I'd like to hide the wiring to it as well as I can; it will be running down the chrome springer front end.

Tomorrow, a couple of mechanical issues and body wiring... Hopefully I won't have to stand and stoop the whole time!

Tuesday, May 25, 2010

Lights at the End of the Tunnel

I see them.

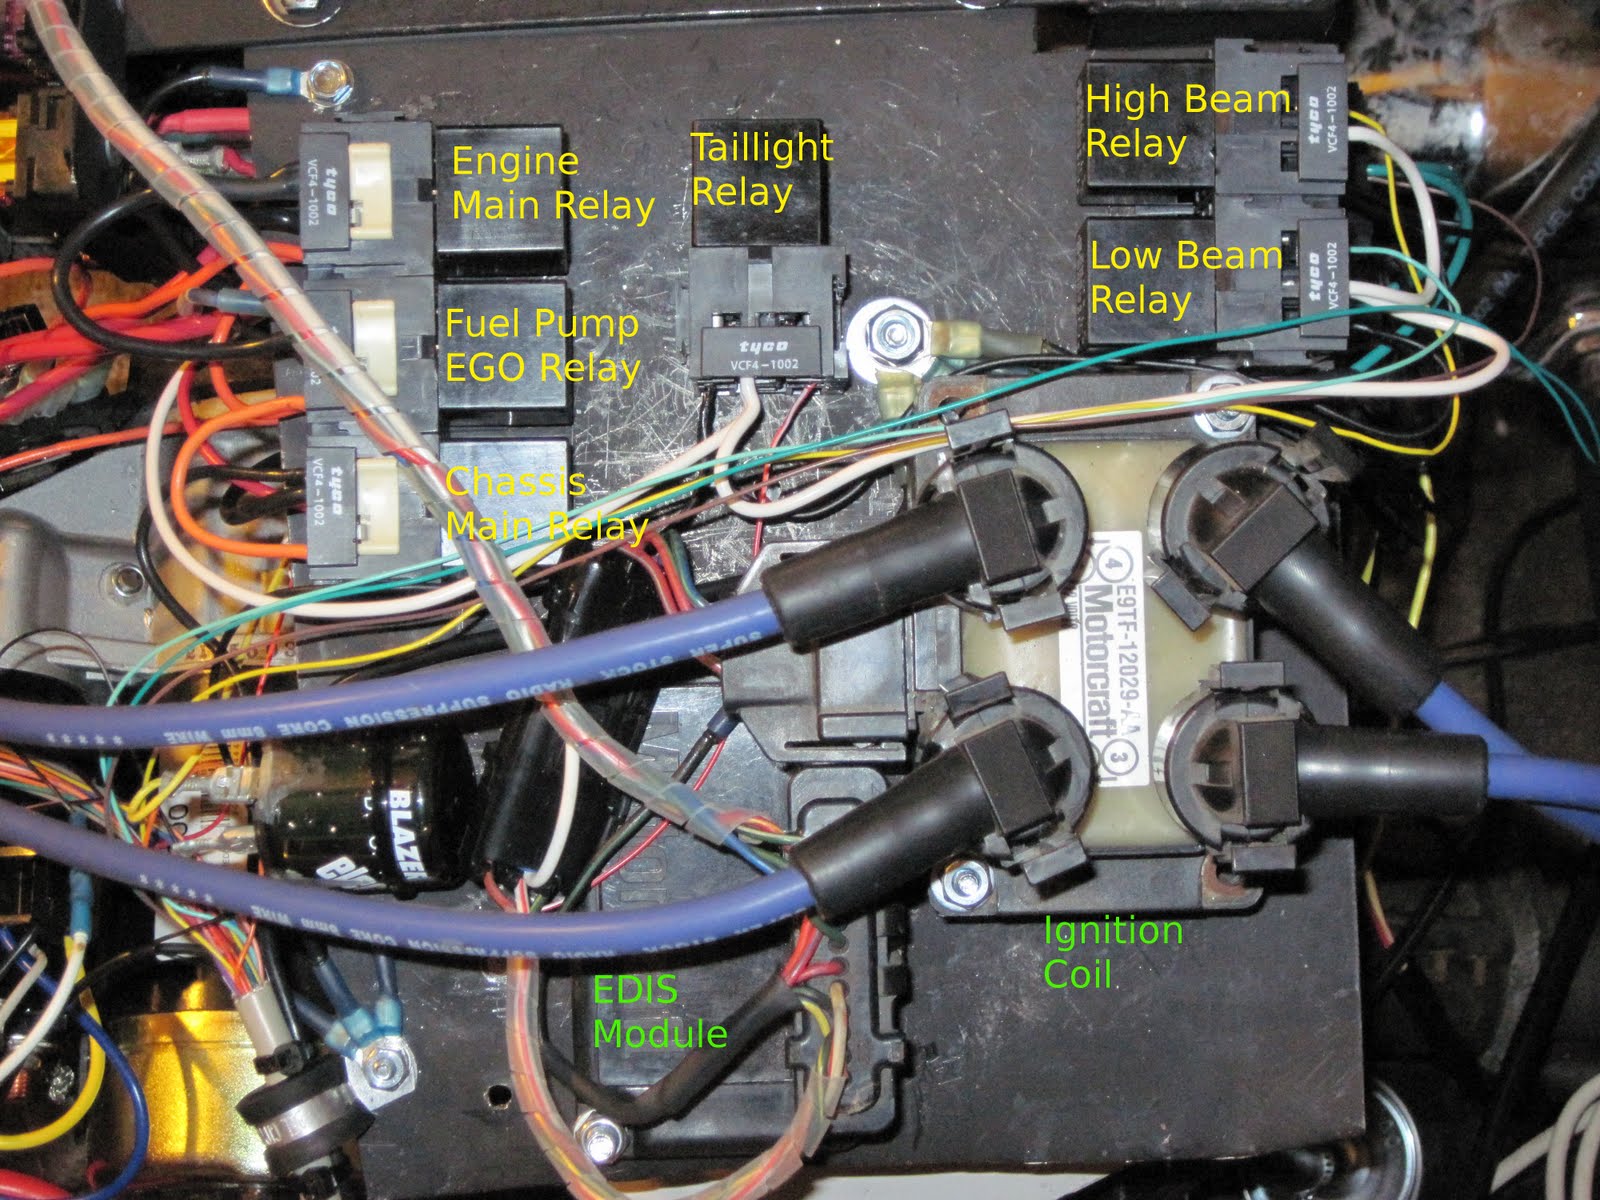
Tonight was mostly wiring relays, but that sounds deceptively quick and easy. I connected coil and power to 5 relays that control the headlight, taillights, and turn signals.


All these wires will be dressed up when I'm completely done!

I also wired the starter relay. It is zip-tied to the starter itself to save me room for another relay socket.

What's left to wire on the chassis:
front turn signals
speedometer sensor
connector or two to connect the relay outputs to the wiring for the body
brake light switch
horn relay and horn
a connector the license plate/trailer plug on the bumper
optional back up lights

I will then need to install the tail lights on the body and wire them and the headlight to a connector or two to mate the connectors on the chassis.

The hardest mechanical work left is to remove the fender brackets, though I will be putting the fenders on at a later date. Removing the brackets may involve removing the wheels. I also need to add spacers to lift the body so that it clears stuff it didn't used to clear, like the engine and the springs on the front end. That will mostly involve stacking washers or cutting wood blocks or something for four spots, but I will need to weld an extension on the frame tab under the seat.

That should have everything to the point where it can be inspected and become street legal for the first time since it was wrecked sometime in the '80's!

I need a proper permanent footrest, though that will doubtlessly need to wait until after the weekend.

Followers